Here is a quick idea for using up all those fabric scraps from sewing masks this year, or some other infinitely more enjoyable sewing project or stash. six years ago I started making a homemade ornaments for family. Some years were ‘commemorated’ with : glitter or yarn, felt or ribbon (where are the photos of these hmmm), although, no hidden meaning in the design or materials, just supplies that are found and inspiring. That said, given all that is 2020 (waving hands around), transforming fabric scraps from masks into something festive seems like part of the closure needed and good use of a plentiful supply.
Supplies
- Fabric, scraps
- Batting scraps
- ribbon and or felt scraps
- Sewing machine
- Needle and embroidery thread
- Rotary cutter, ruler
- Template (optional)
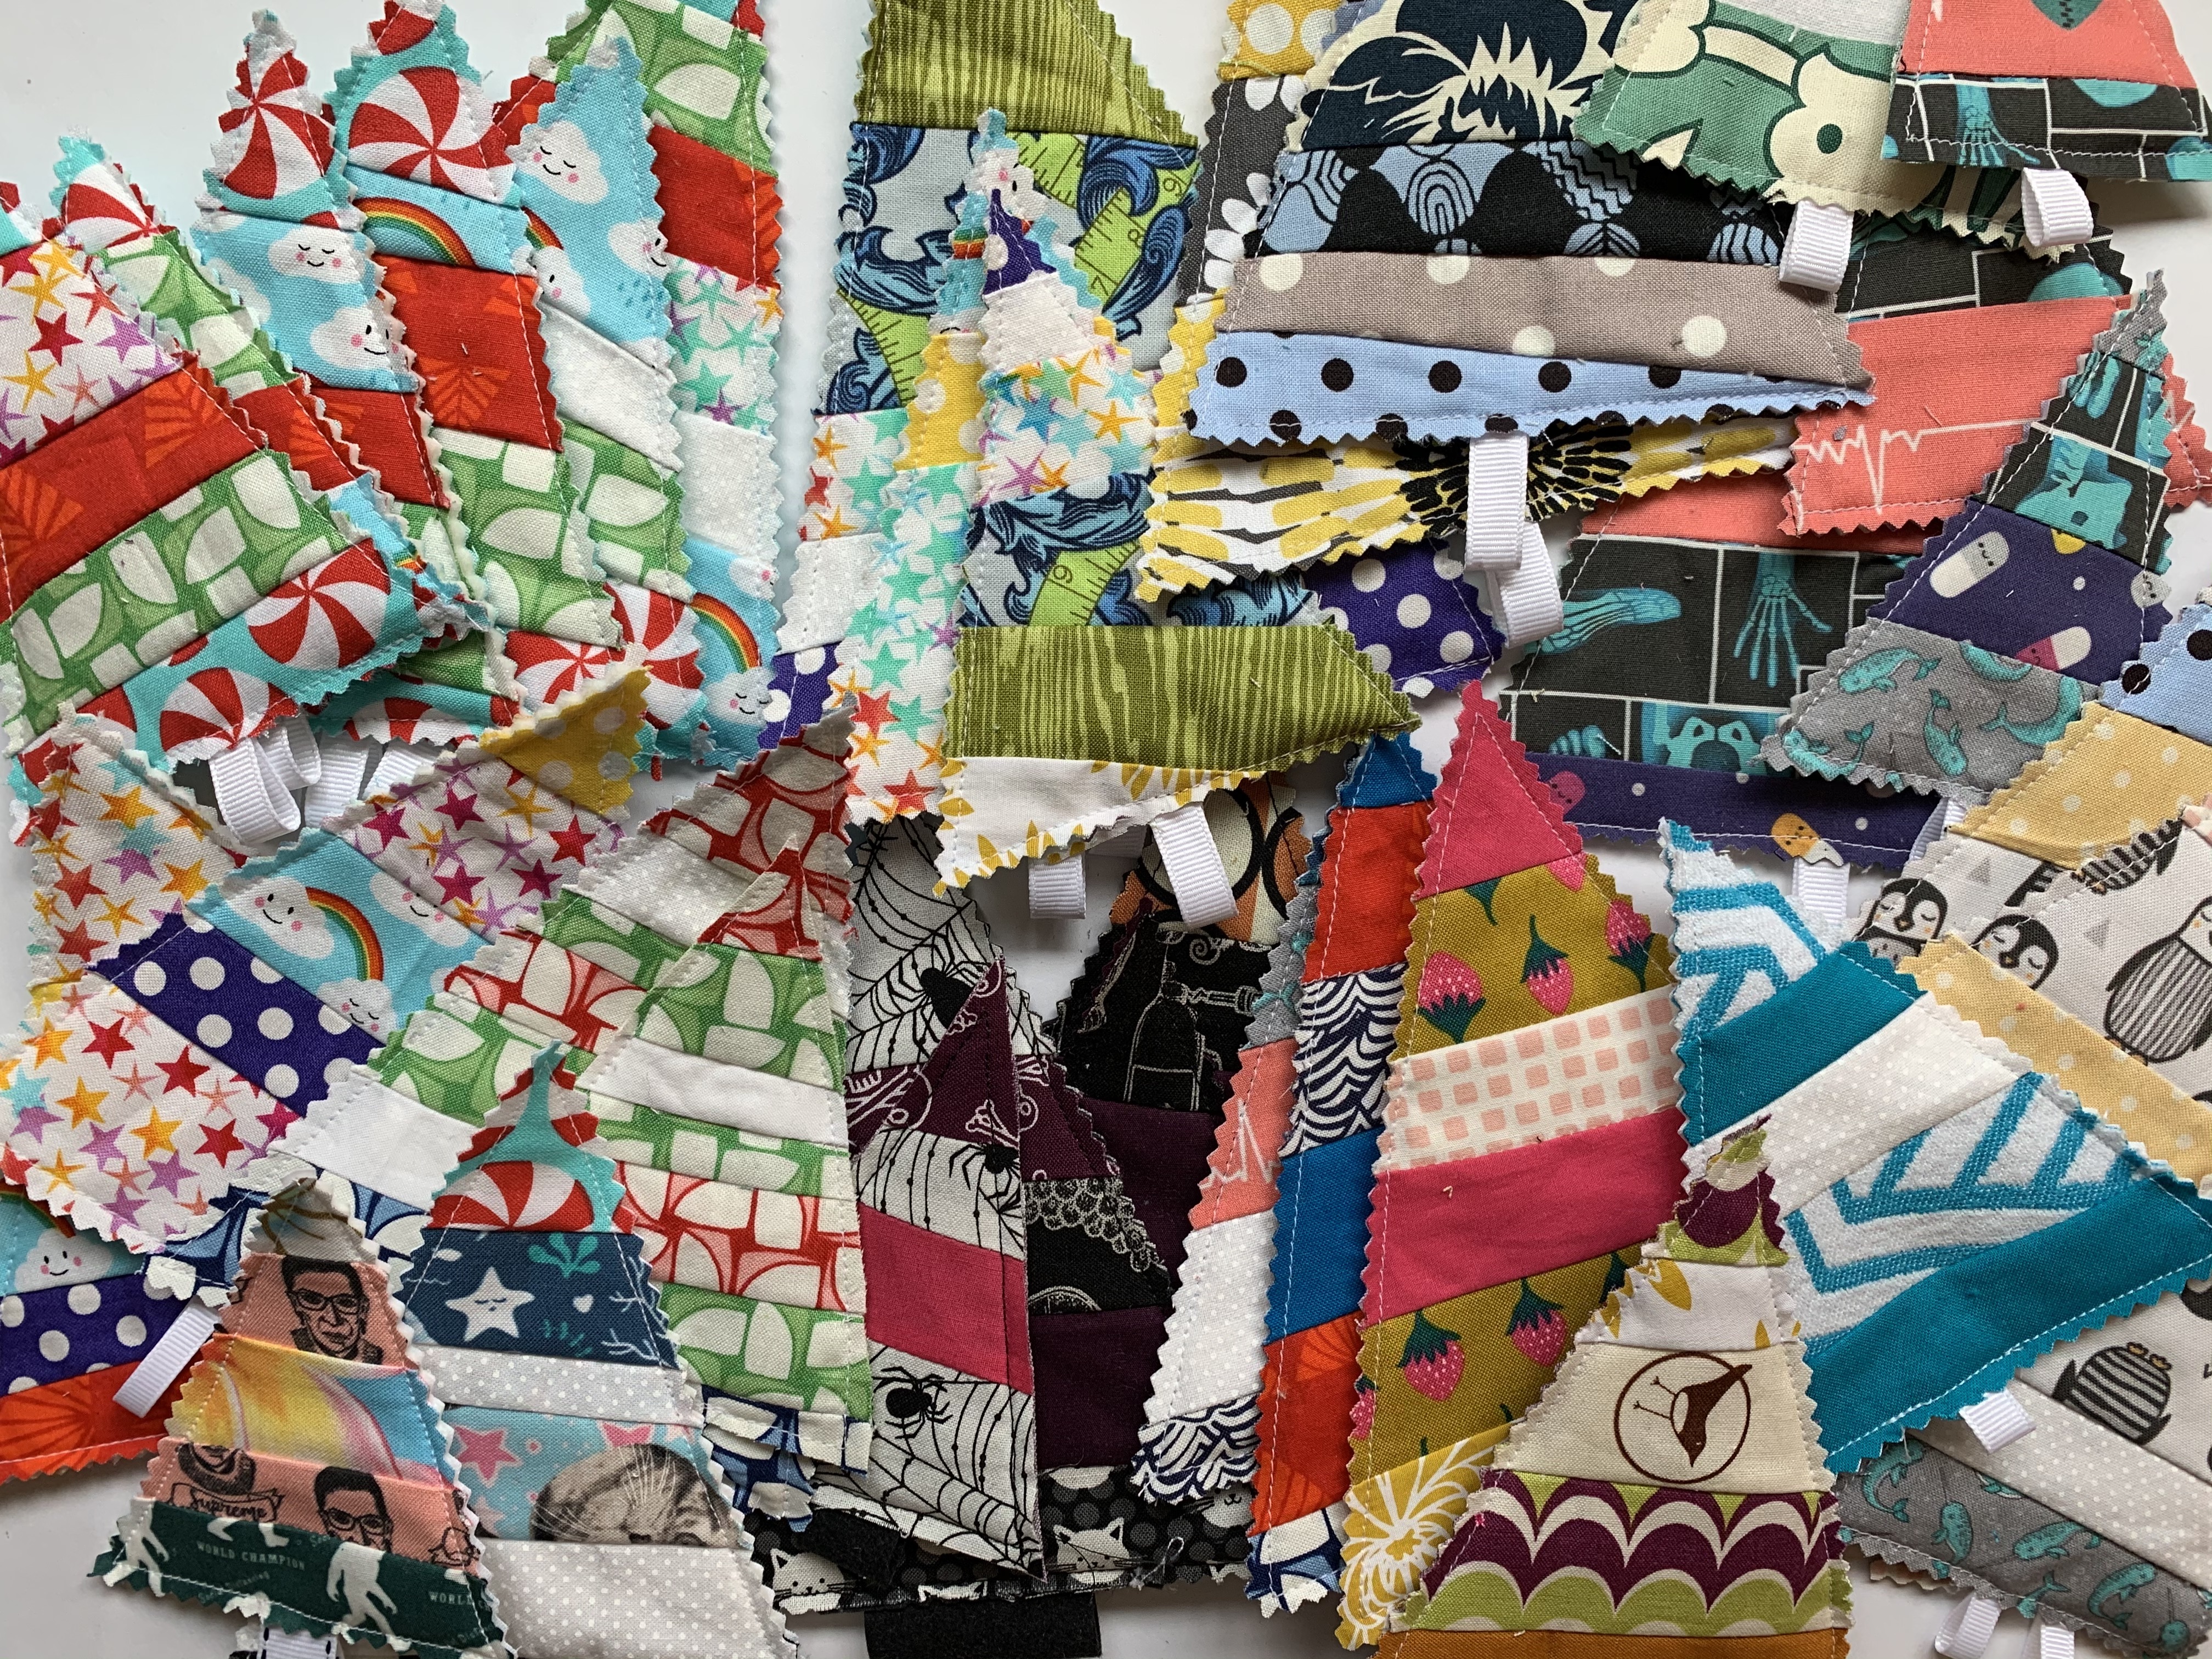
Make a triangle (acute isosceles) template out of (scrap) paper, approximately 4 inches high to help with consistency on the angle when cutting out fabric trees with my rotary cutter and ruler.
Playing on the string quilting technique, simplified with no foundation: sew scraps right sides together along one edge, open, finger press, sew the next scrap piece onto one edge (right sides together), press and continue until the pieced fabric is big enough for the size triangle or shape you design. Press it with steam and cut into triangle shape. For the back either cut a matching triangle shape from a whole piece of fabric or use another pieced triangle. For the middle cut a smaller triangle (~ 1/4 or so less around) with same angles out of batting or a couple layers of felt.


Are the scraps all the same width? Nope. Not necessary, you could trim if you wanted.
Are the seams perpendicular to the base of the tree? not necessarily.
Could you use elastic or cord straps for trunks? Of course and extra nose wires for loops.
Why so much geometry? It’s fun to use and reliable.
Is there fabric from every mask in the picture below? Sadly (is it sad?), no.
Are they still cute if wonky? Indubitably.
Place the batting in between the two fabric pieces (right sides out), pin the trunk centered in between the layers at the bottom and sew around the edge leaving ~ 1/4 fabric. Trim with pinking shears and use needle and embroidery thread to make a loop at the top. Viola!