
My maiden voyage into vermiculture – the addition of 2,000 new “pets” to the Beacon Hill farm.
Who: Red Wiggler, Eisenia Fotida – not just any worm’ll do

What: Can consume organic material equivalent to their body weight each day to produce castings equal to 75% of their body weight each day. I plan to feed them stuff the chickens won’t eat or far gone for the hens. Their starter meal though, was pretty fresh. However, the irony is that chickens LOVE worms as snacks…..
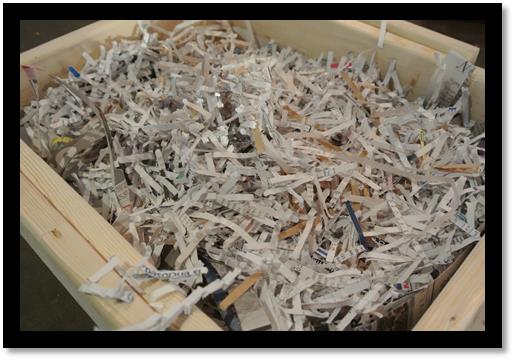
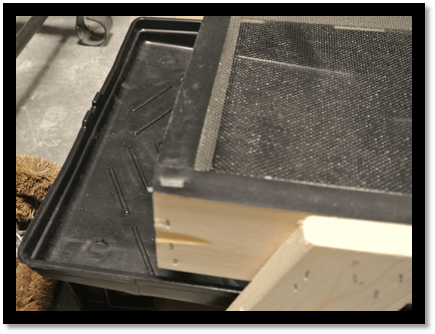
Where: many types of worm bins out there. I chose a wood one for aesthetics and breathability. Some assembly was required. Was going to sand the rough wood but gave that up quickly.

Lots of vermi-vessels. There some faves and examples I collected on my Pinterest board – How Your Garden Grows.
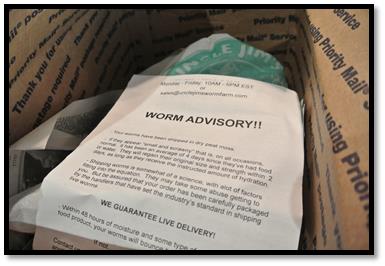
How: I ordered my worms from Amazon. I think of it as supporting local business since I live in Seattle. You can get them from other web-orders sites, backyard barter groups, craigslist, gardening organizations, some well-stocked nursery’s etc.
Setting up the bin. Key points:
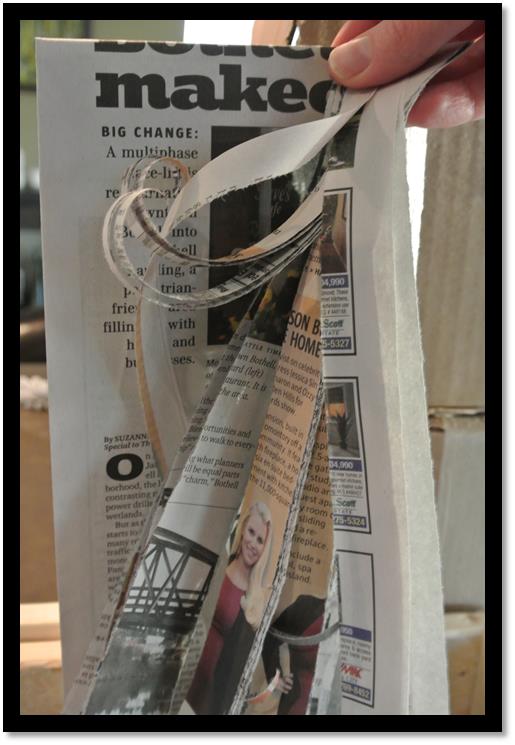
- Bedding can be from anything. I plan to use shredded paper and newspaper. There are many bedding options out there and some kits come with them.
Bury some tasty treats around in the bedding. No too much as it will take the worms a bit to get settled in, work on eating the paper and food. You don’t want it to get stinky. Stinky means you messed something up (like throwing in meat)

Soak it with a spray bottle. Goal is saturated but not dripping or super soggy.

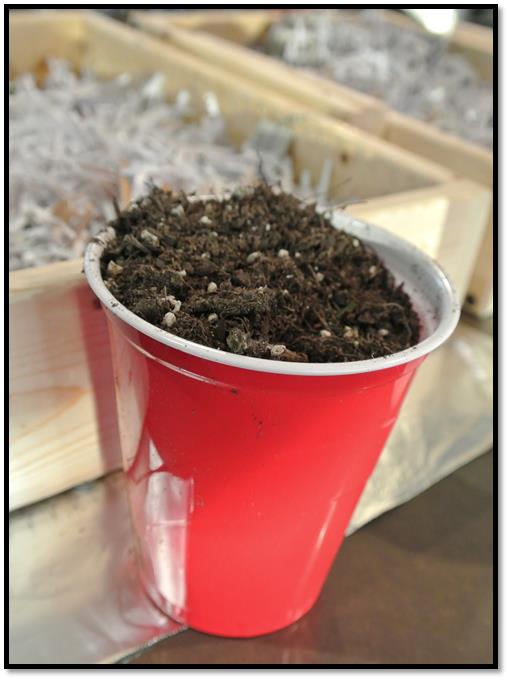
Top it off with some real live dirt! This will have some micro-organisms in it already to support the worms and adds that homey touch.
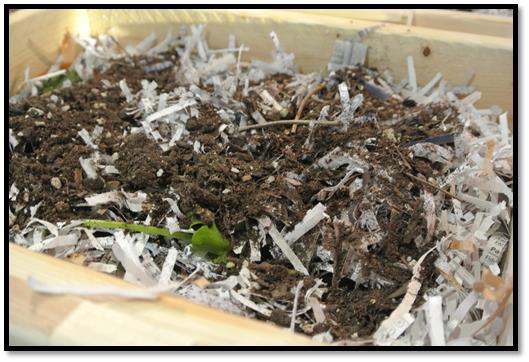
Add the worms! I started two boxes and divided the worms in about half. I figure that they will move themselves around as necessary but wanted to double workshop for them. Spritz them a bit more with water.


Your worm bin is now ready to rock and roll. Keep in a dark, relatively cool place, that is easy to get to, so that there aren’t any barriers to using it. For now mine are in the garage.

The bottom of the bin has a paint tray to catch any dripping water in the form of worm tea. This stuff is reportedly magical for the garden. There is a finer screen that covers the bottom of the bin to keep the worms and chunks out of the paint try. A wider mesh lines the bottom of each tray. There are four total trays for my bin. I just put some tinfoil over the top of it to keep the moisture in and dark, but then put the empy bins on top, so that it is all in the same place.

Now, I just have to be patient and wait maybe a month or so for the casting (read poop) to be plentiful enough to take off and work into garden. It will speed up with time as worms colonies double every 90 days. I plan to check it every few days to make sure 1) it doesn’t smell 2) moist to the touch 3)if more food is needed (probably not for a while). Eventually, I will try feeding them varieties of things but am most curious about dryer lint and hair from my brush. I mean what really can you do with that? Other than I suppose make paper or something with lint or rope or home extensions from hair (don’t worry, not going there).
What is your vermiculture story?
