
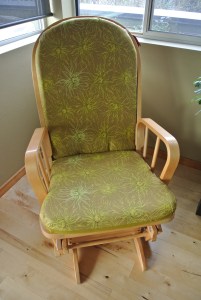
I was gifted this wonderful wooden glider from my Buy Nothing Project group. (check them out). As we move around the baby swag to the most convenient location for the ‘phase,’ the glider ended up down in our family room. With a few stains (yes a quilt could cover and did), I decided to have it add something to the room decor.
Recovering this glider was pretty straightforward, did not requiring advanced sewing skills, just about two hours time. All told it essentially cost me $0 – the fabric was a gift for our second wedding anniversary some years ago and the ribbon ties were scraps. I kept my approach simple by not adding a zipper, button, snaps or velcro, but you certainly could. I provided some links at the end from other tutorials as cushion size, style or vision may require a little different approach.

Supplies –
- Glider, rocker or chair in need of a facelift
- Fabric – enough to generously cover the front and back of both pieces, i would guesstimate at least 1 yard per fusion, so that you have extra for whoopsies!
- About 2 plus feet ribbon scraps for ties (or sew your own)
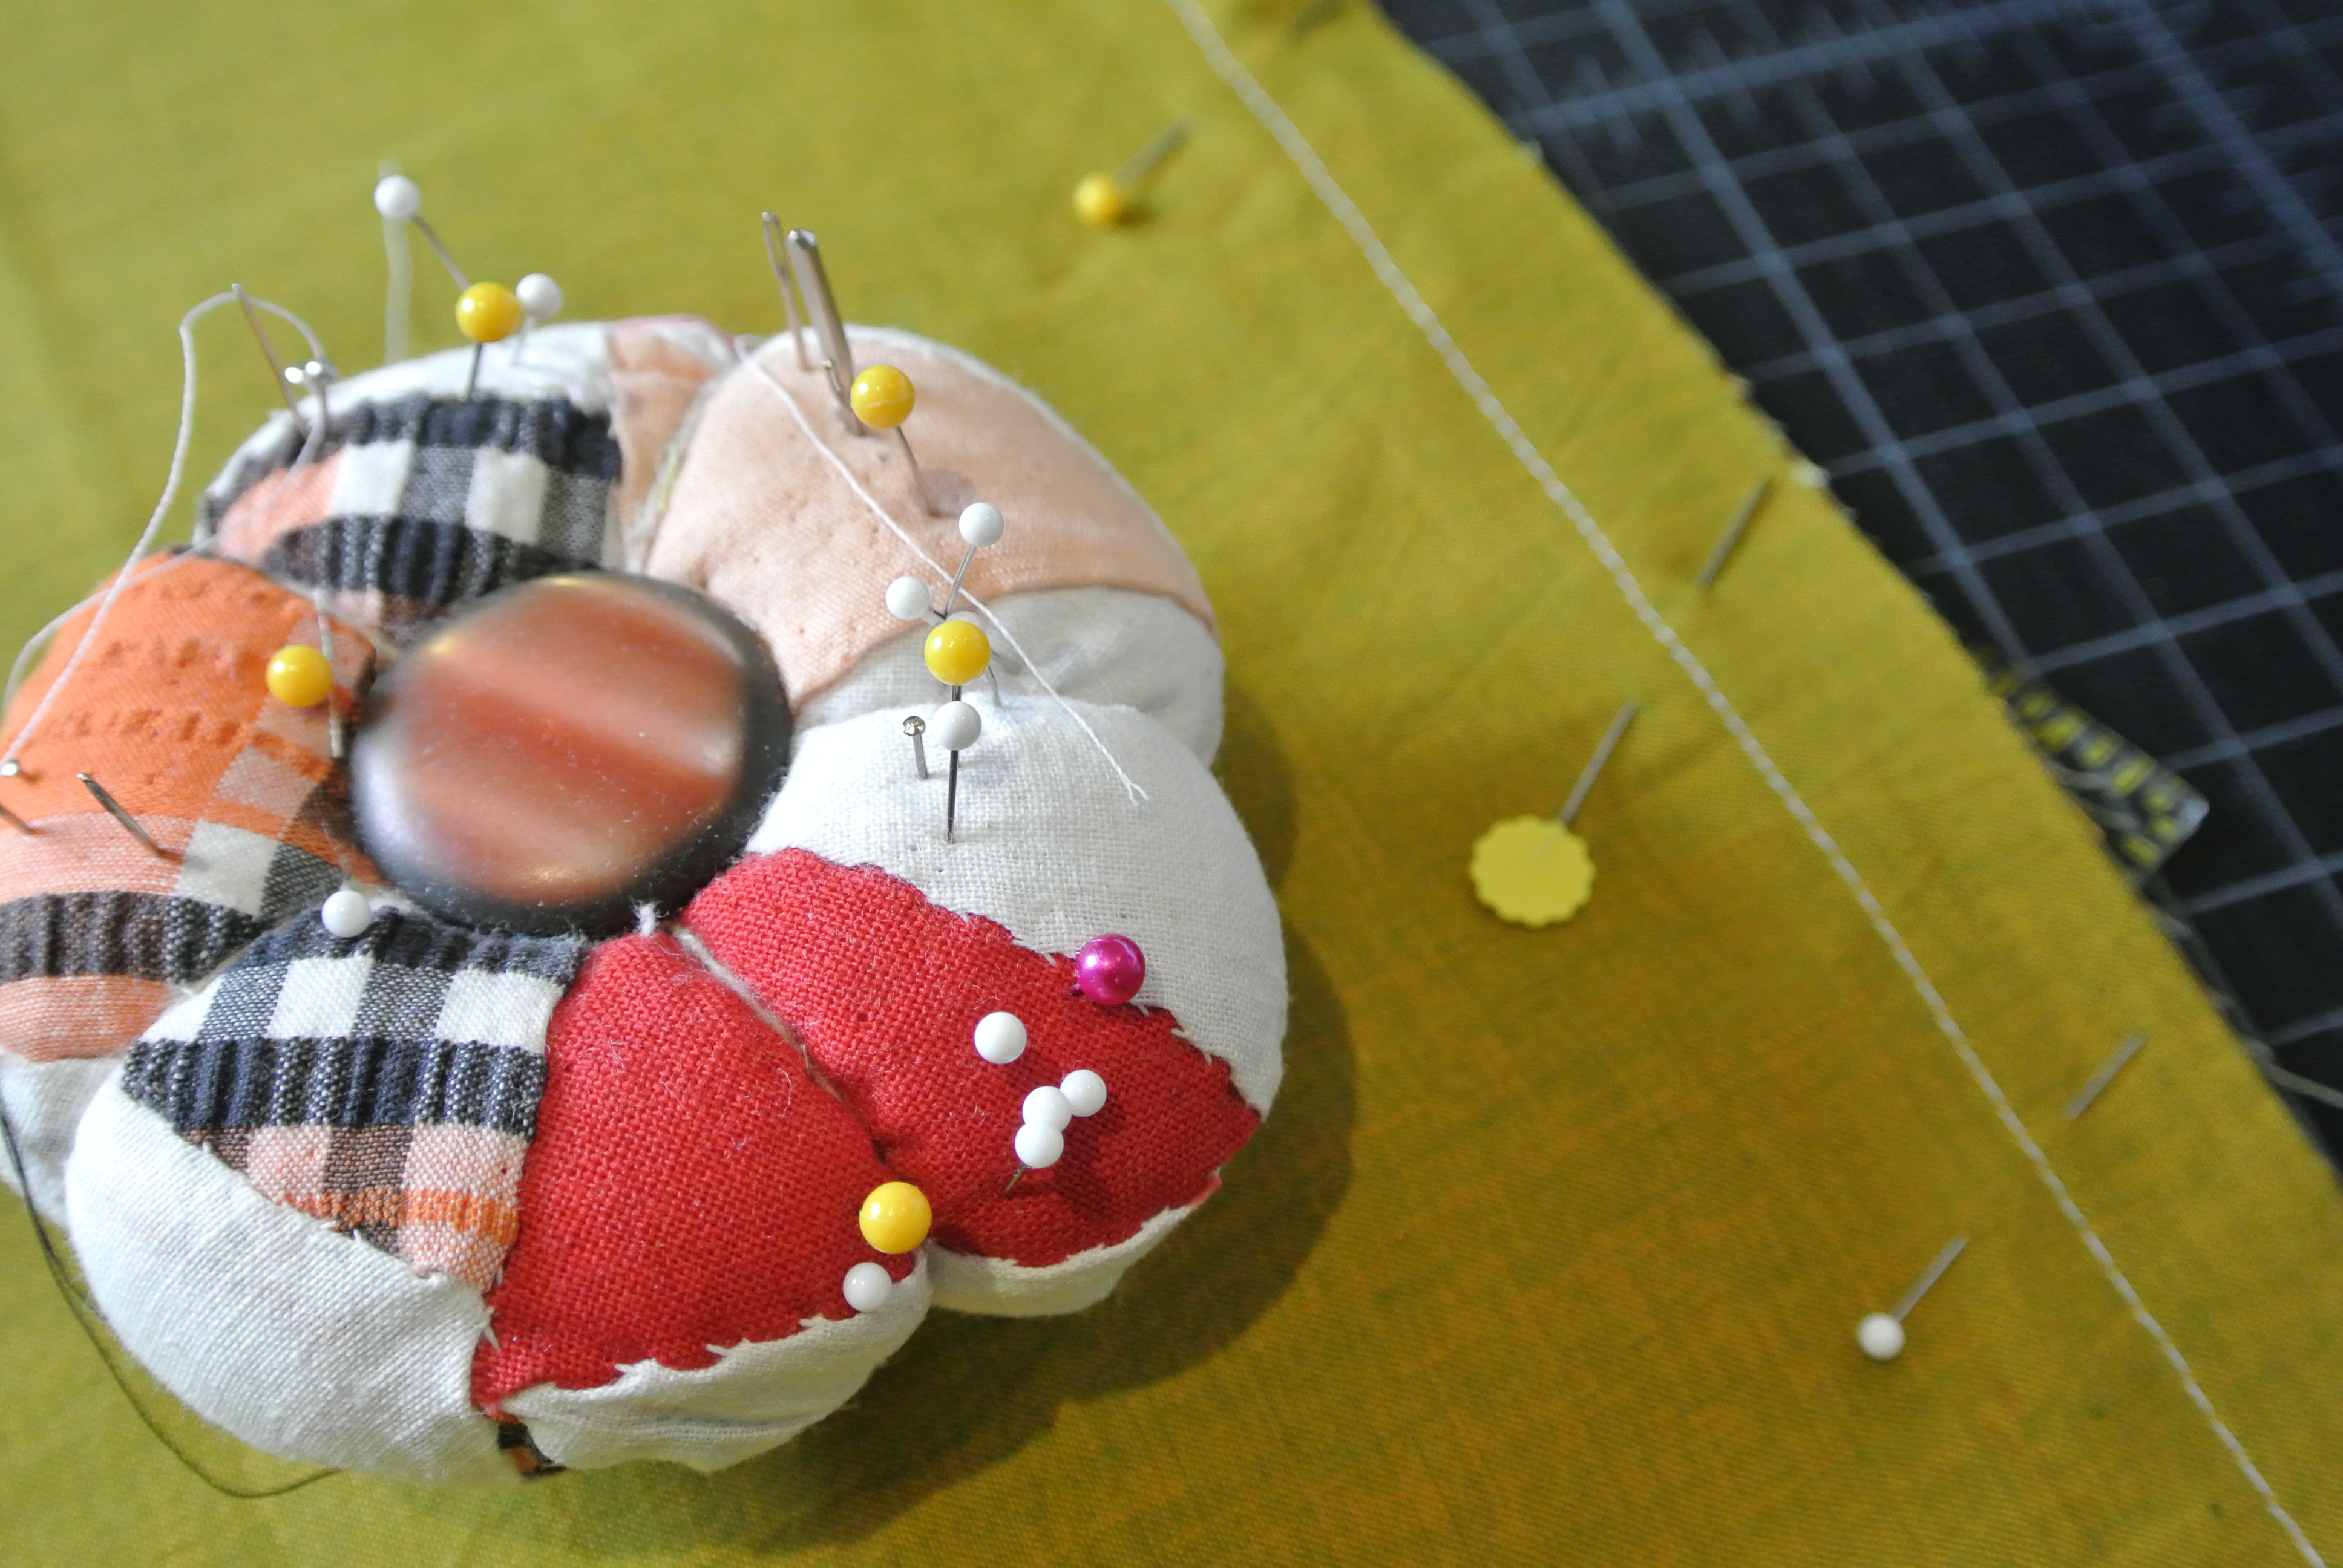
- Needle, pins, ruler and coordinating thread
- Sewing machine
- Disappearing ink fabric marker or penicle
Steps –
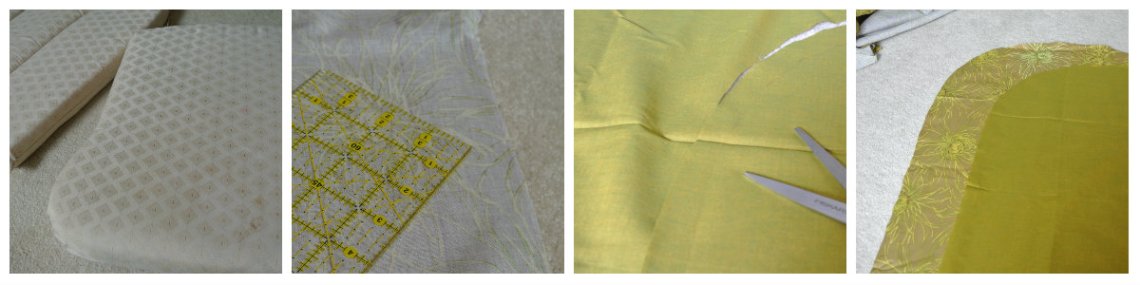
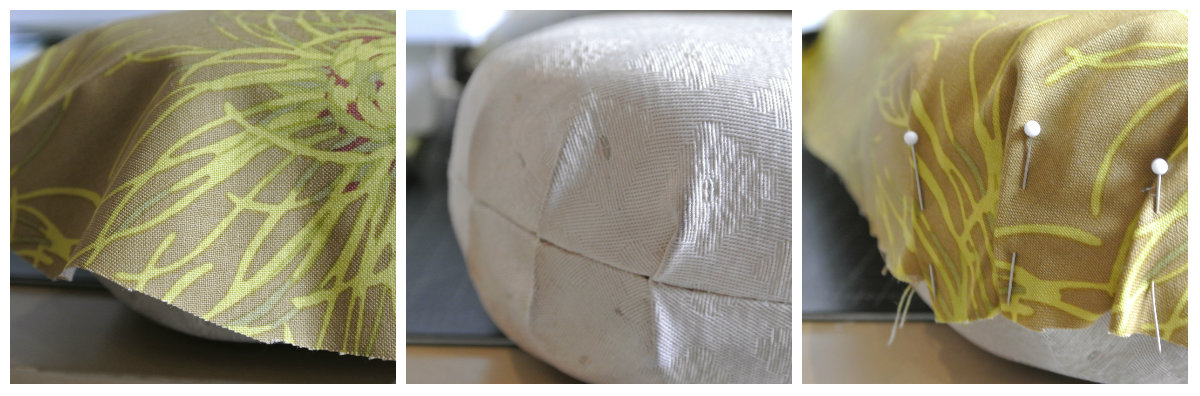
- Step 1: Trace the cushion pad onto the backside of the fabric. Also examine where the manufacturer put gathers or tucks to ease around corners (see bottom cushion)
- Step 2: Measure the thickness of the cushion. For this chair it was three inches.
- Step 3: Trace another line 2 inches (or about half the thickness of the cushion + 1/2 inch seam allowance) around the outline of the cushion, this allows for enough fabric to cover the sides.
- Step 4: Cut out fabric. You will need to matching pieces (top and bottom). I used the selvedge to my advantage by lining it up at the bottom/back so that when I sew the cushion shut the fabric would not unravel.
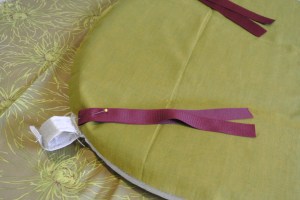
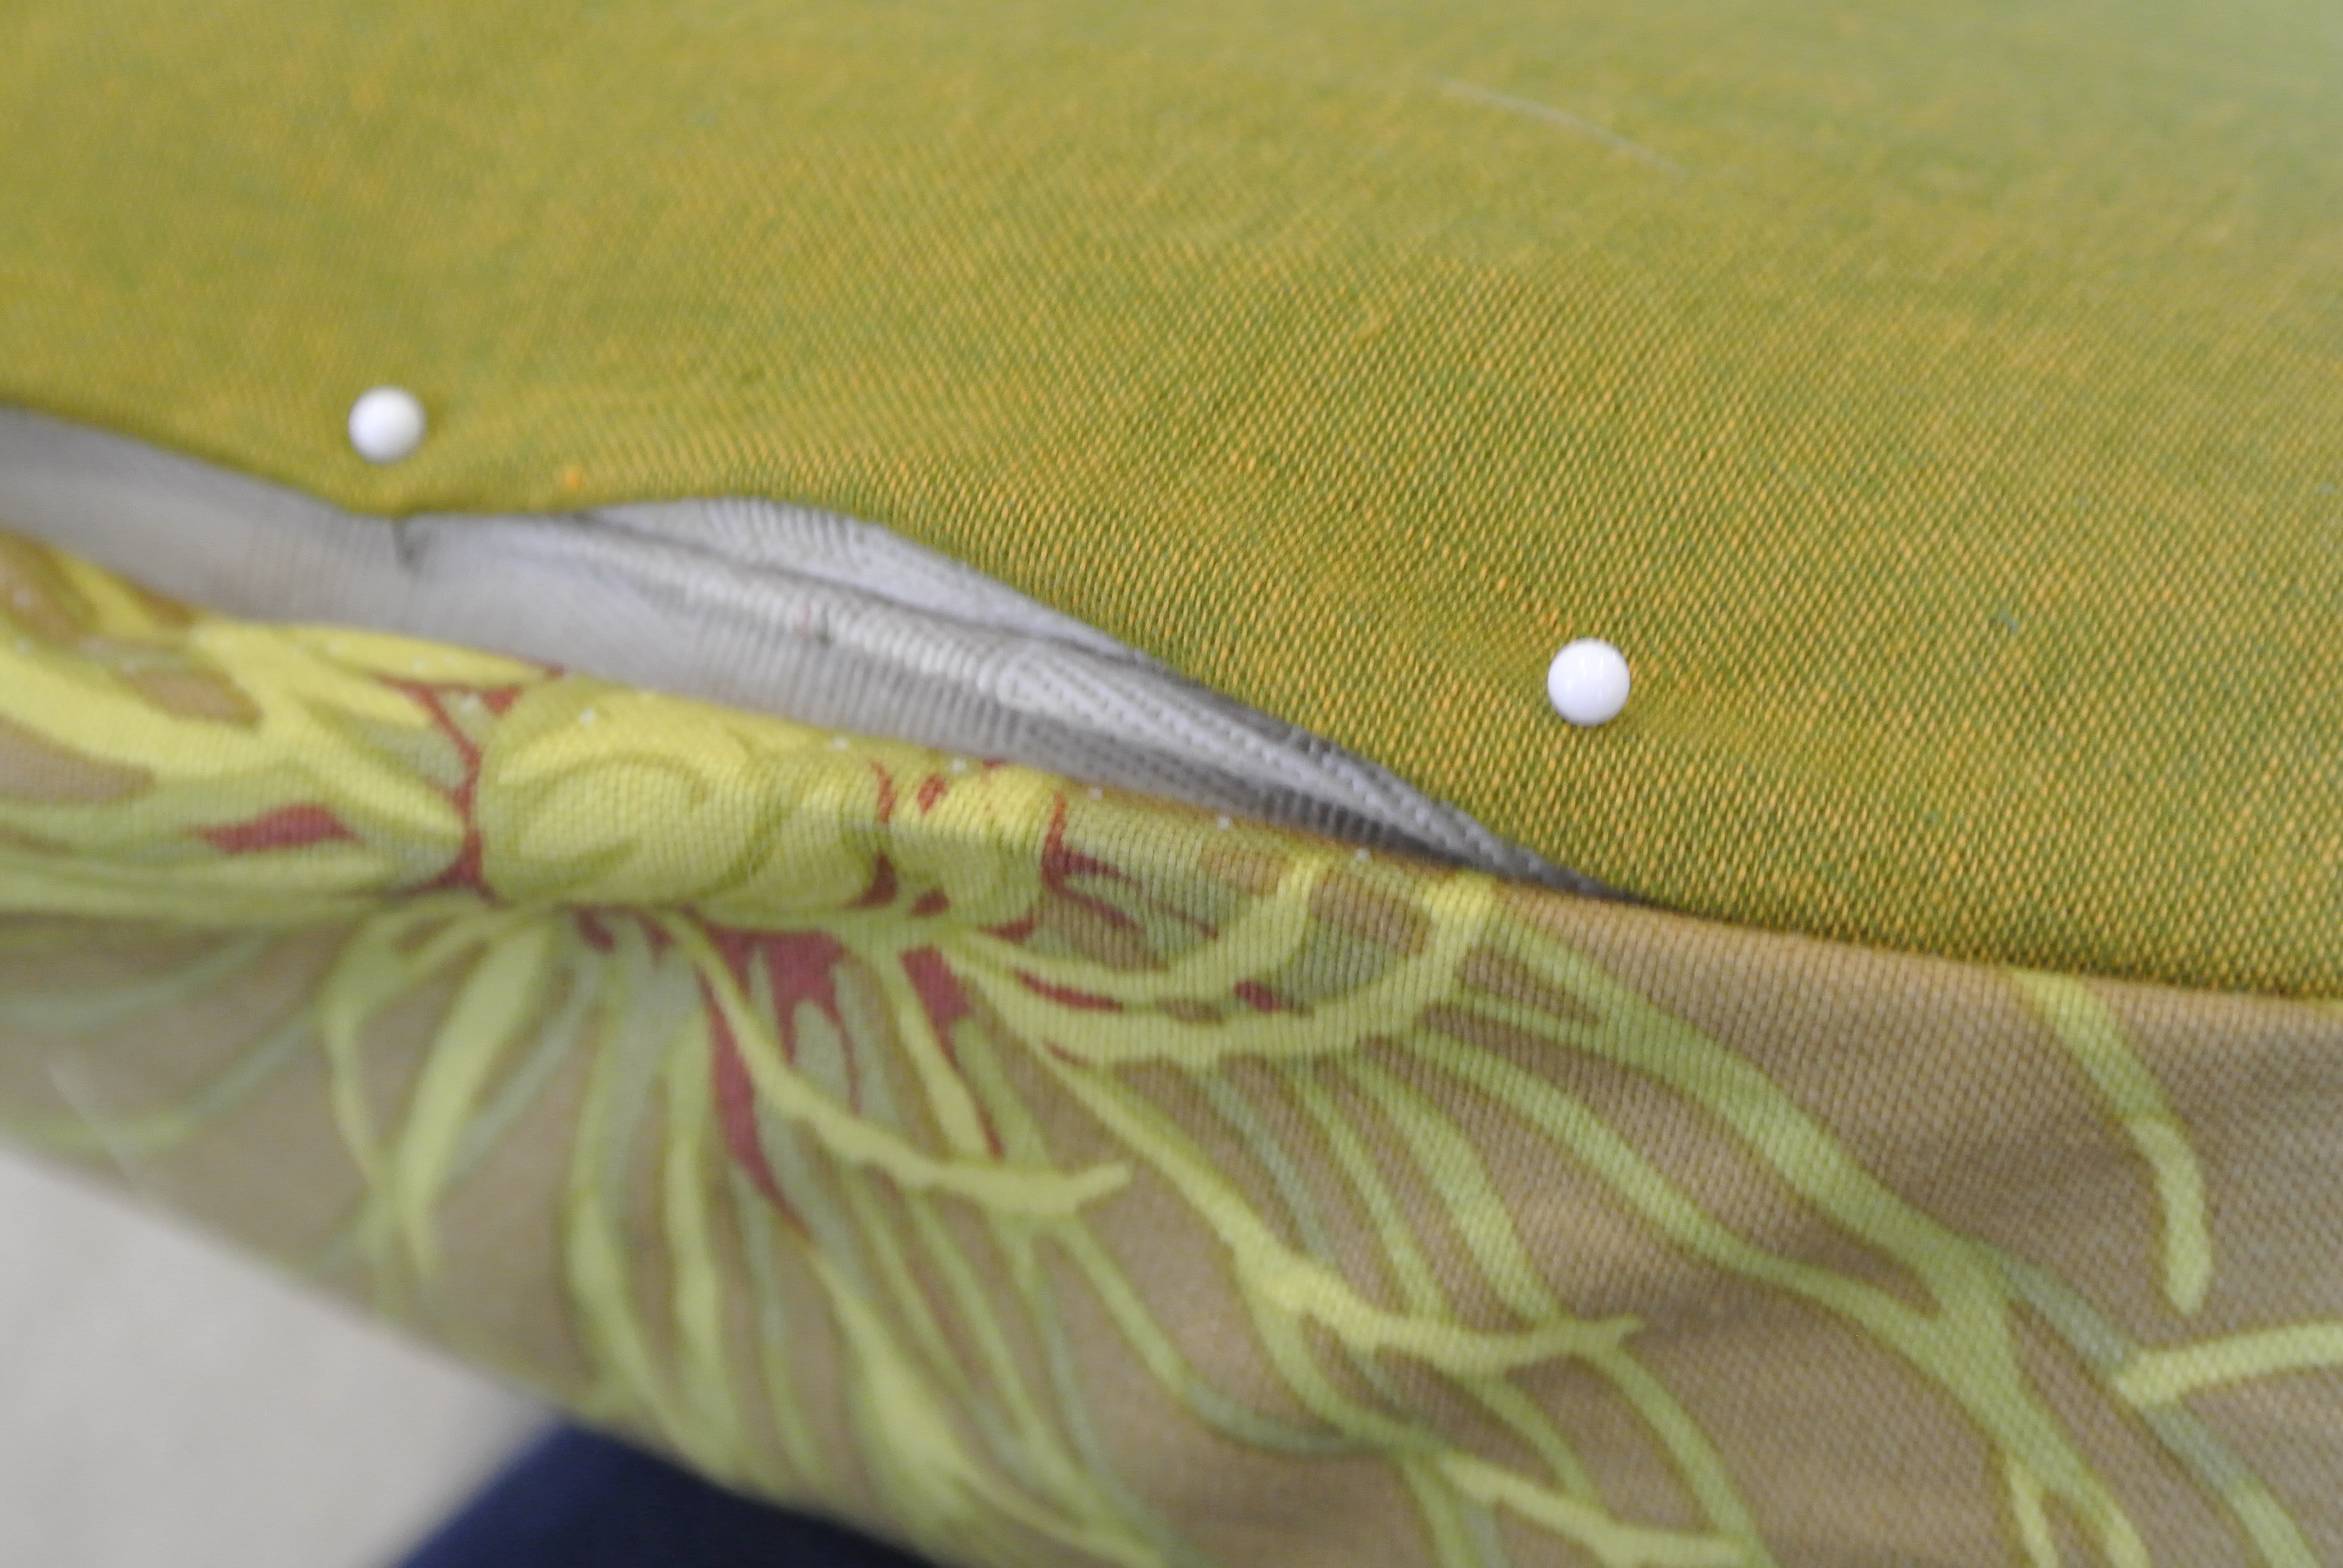
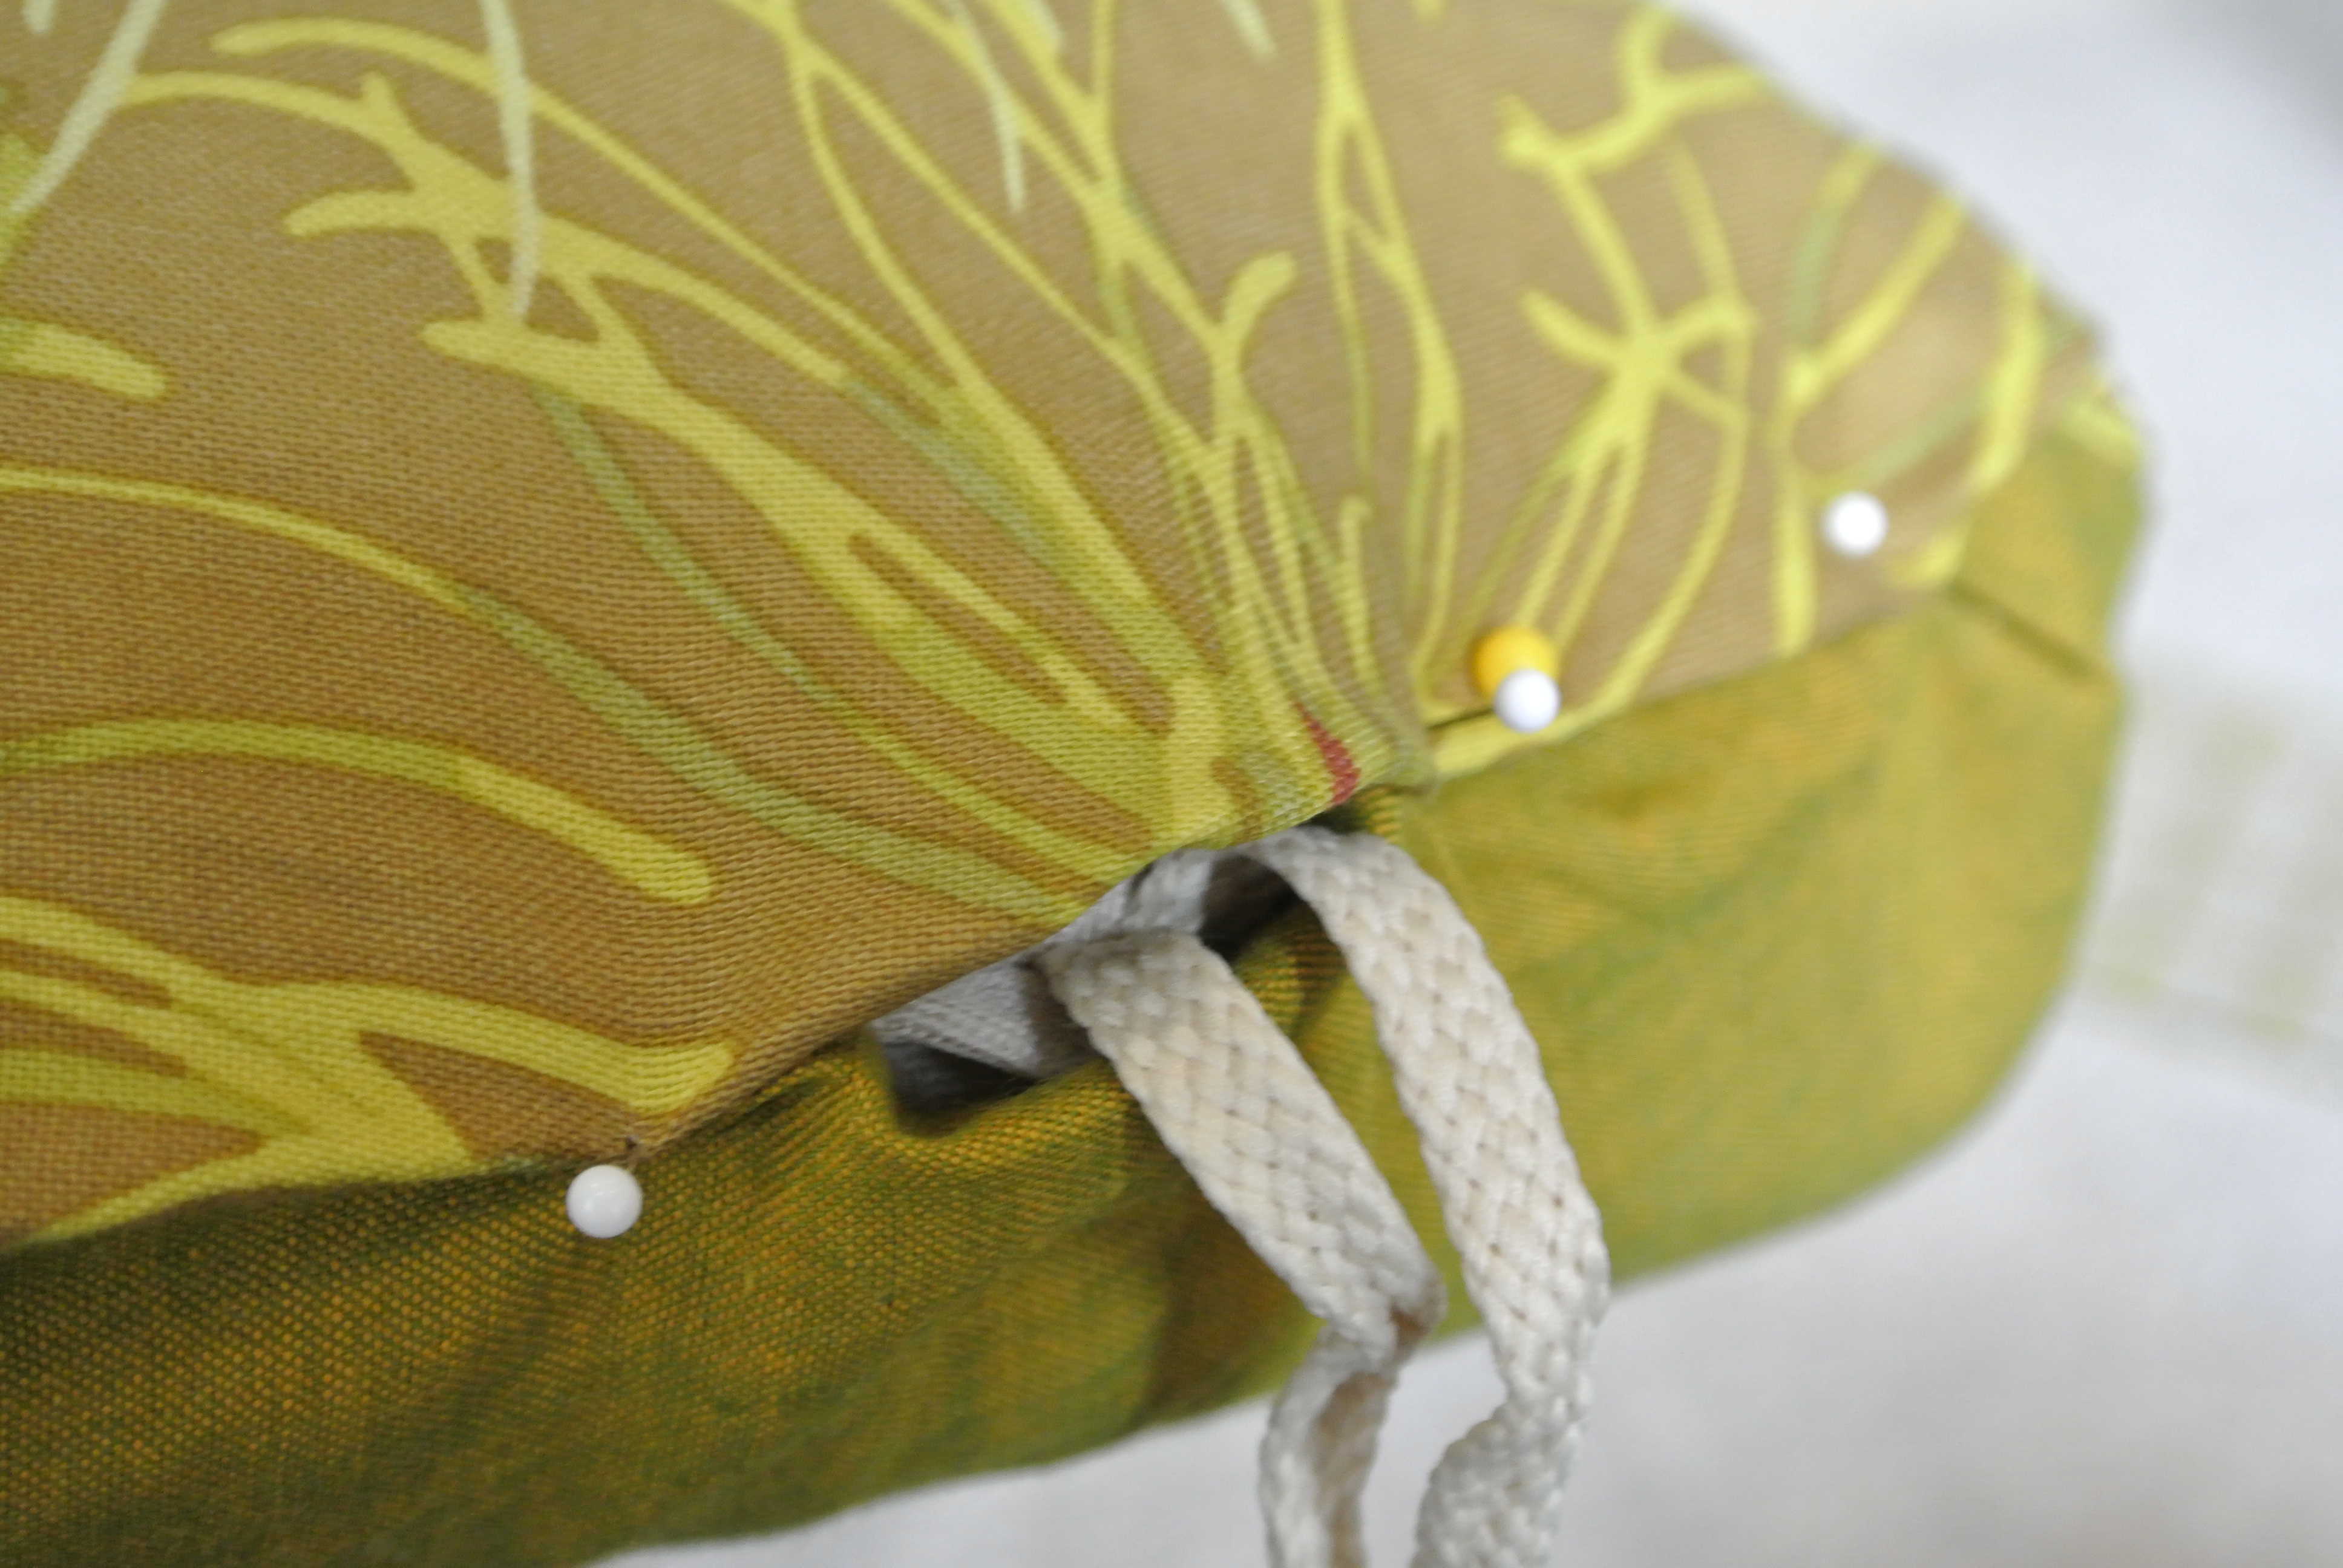
- Step 5: For top cushion – Use a basting stitch, sew the fabrics, right sides together leaving the back open. For the top cushion with ties, pin them to the right sides (aka on the inside for sewing) so that they are caught in the stitching. I lined them up with the velcro loops on the original.
- Step 6: For top cushion – Turn cover right sides out and slip over the cushion. Exam your results. If there are baggy or misshapen areas, mark with a pin. Then remove the cover, turn inside out and redraw/mark the new sewing line to fix the misshapen areas. Repeat steps 4 and 5 until it fits tightly and to your satisfaction.
- Step 7: For bottom cushion – the steps are almost the same except that you need to match the tucks or gathers to make the rounded corners. Lay fabric over cushion right side up and pin small tucks or gathers. Sew these down with a basting stitch, remove the pins.
- Step 8: Repeat steps as in top cushion. For the bottom seat cushion, I used the existing laces to tie, so no ribbon.
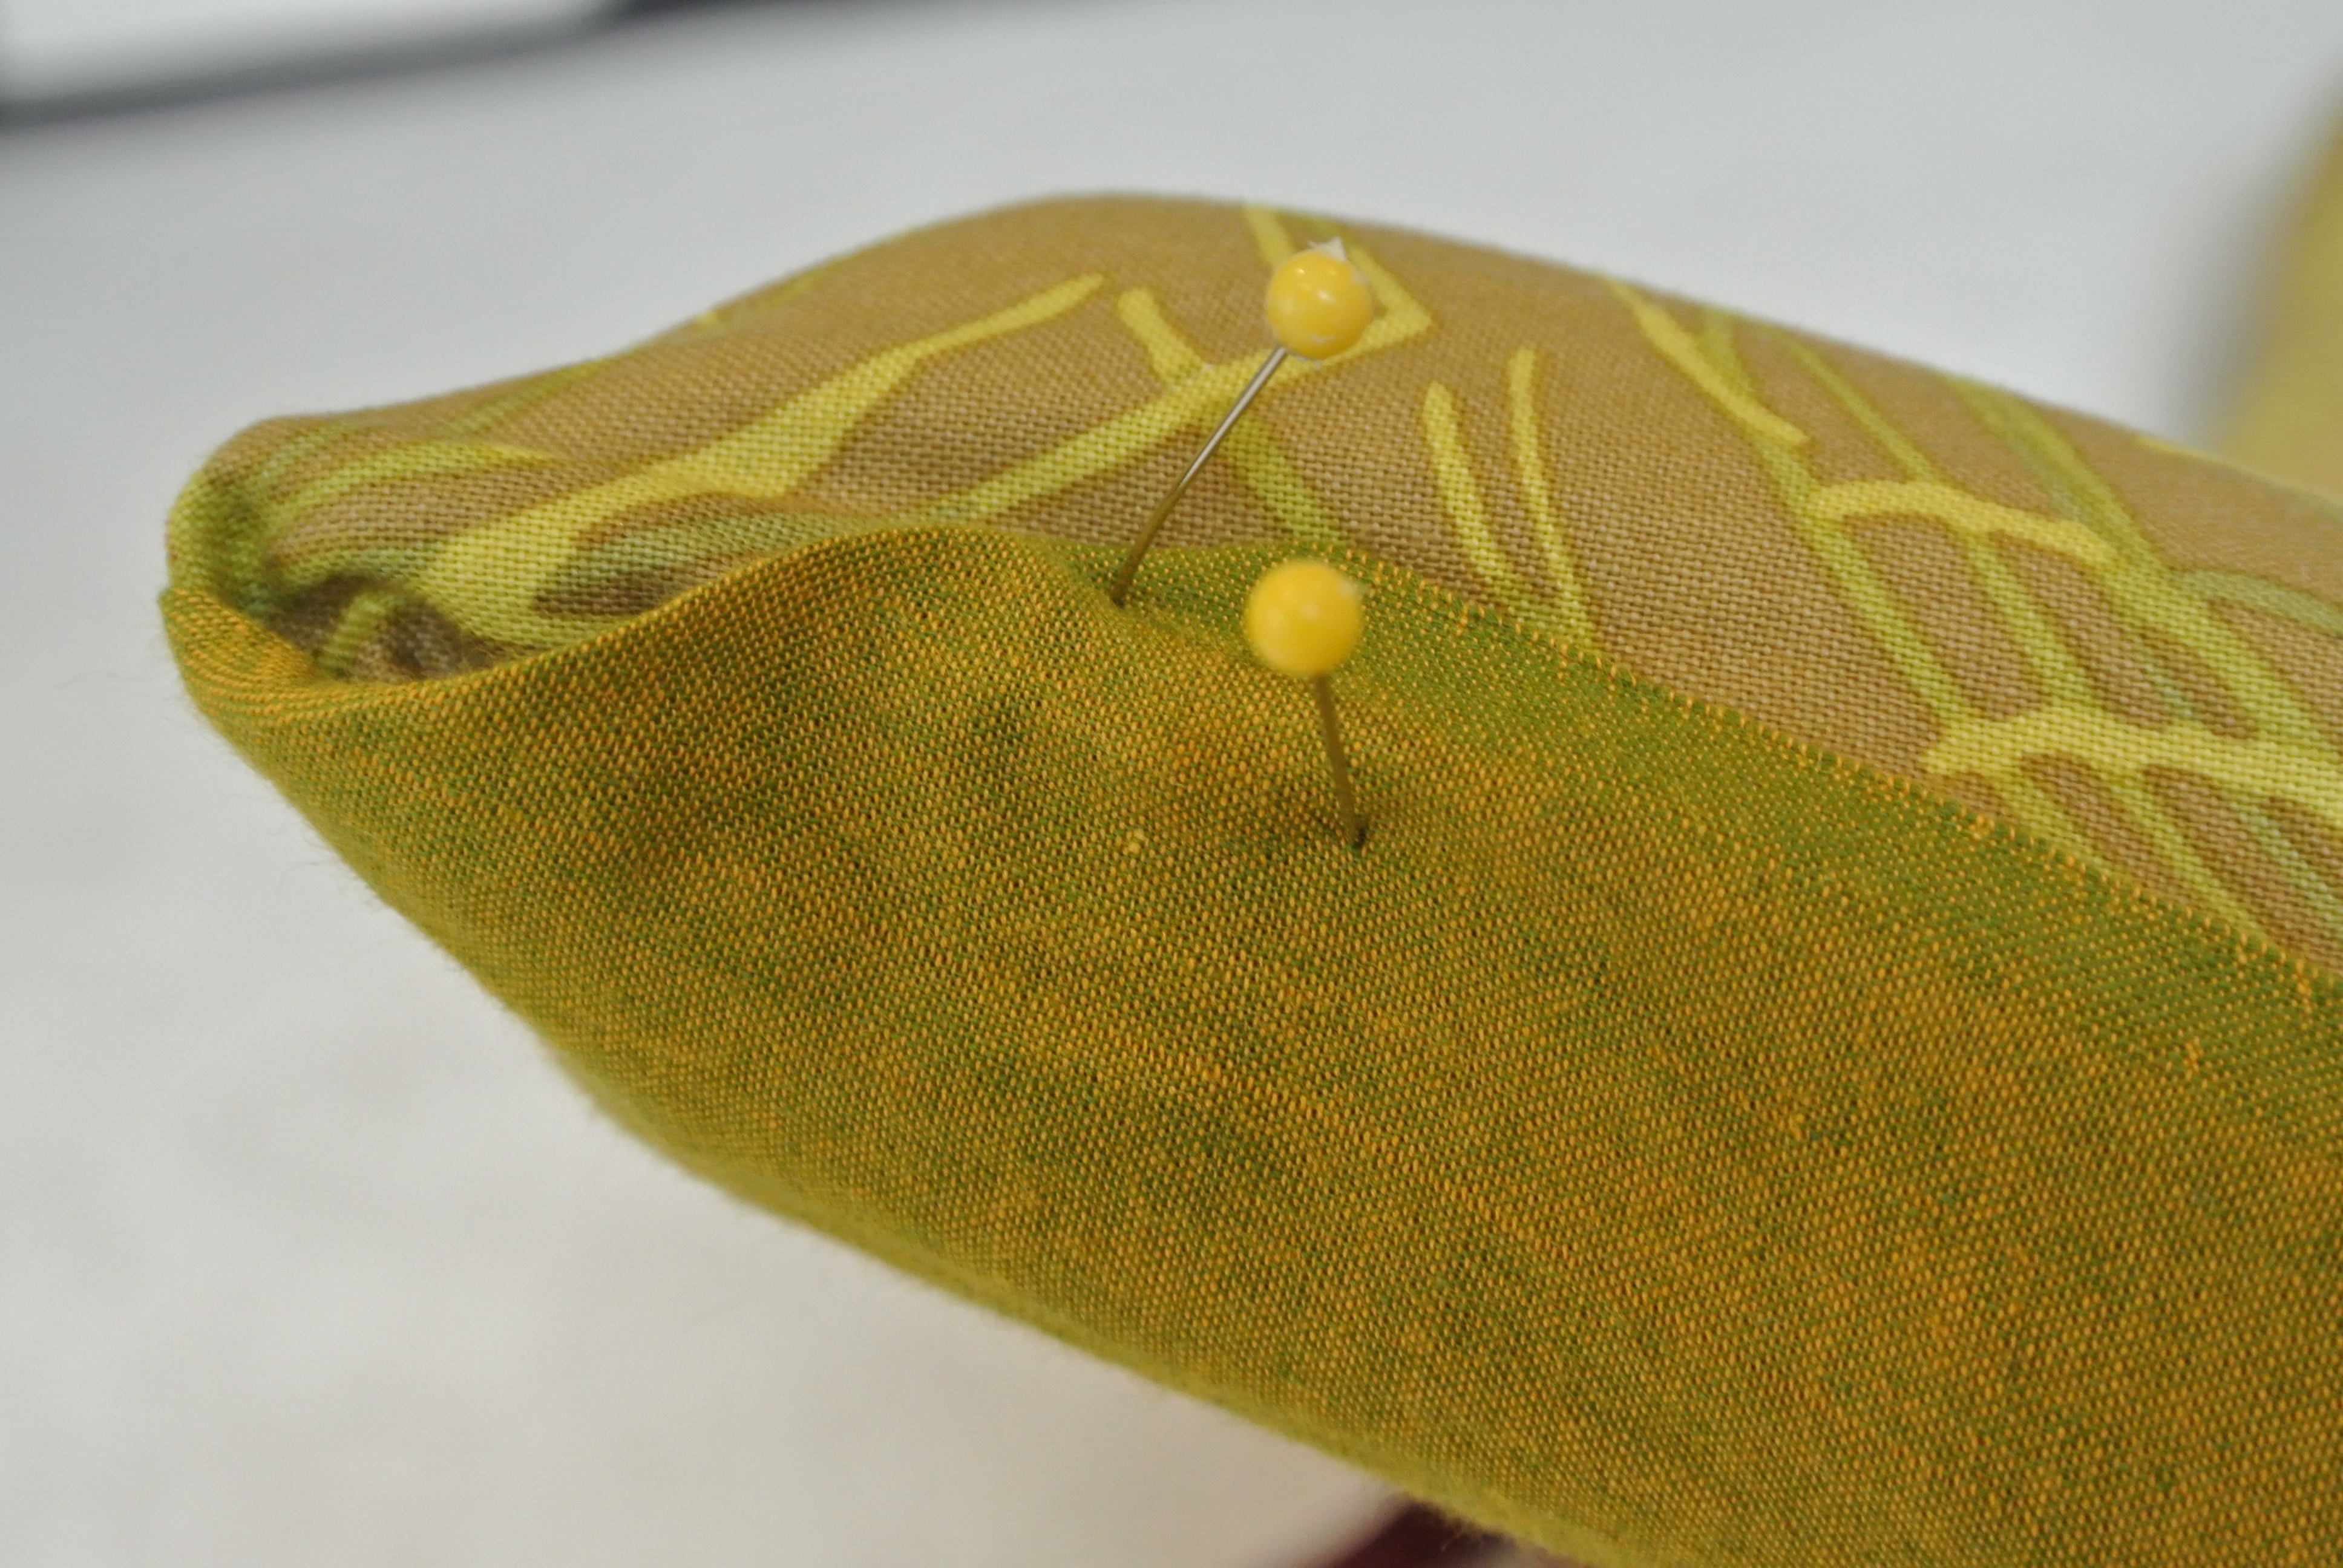
- Step 9: To finish the bottom, open end of each cushion, I folded the fabric similar to a present and sewed shut with a whipstitch. See nothing fancy. In some areas I folded over the edge before sewing shut to take in some of the extra. You could also just safety pin this closed. While not ideal to remove stitching I can still toss in the wash at a future time.
- Step 10: Finish the ends of the grosgrain ribbon by melting ever so slightly and quickly using a lighter.
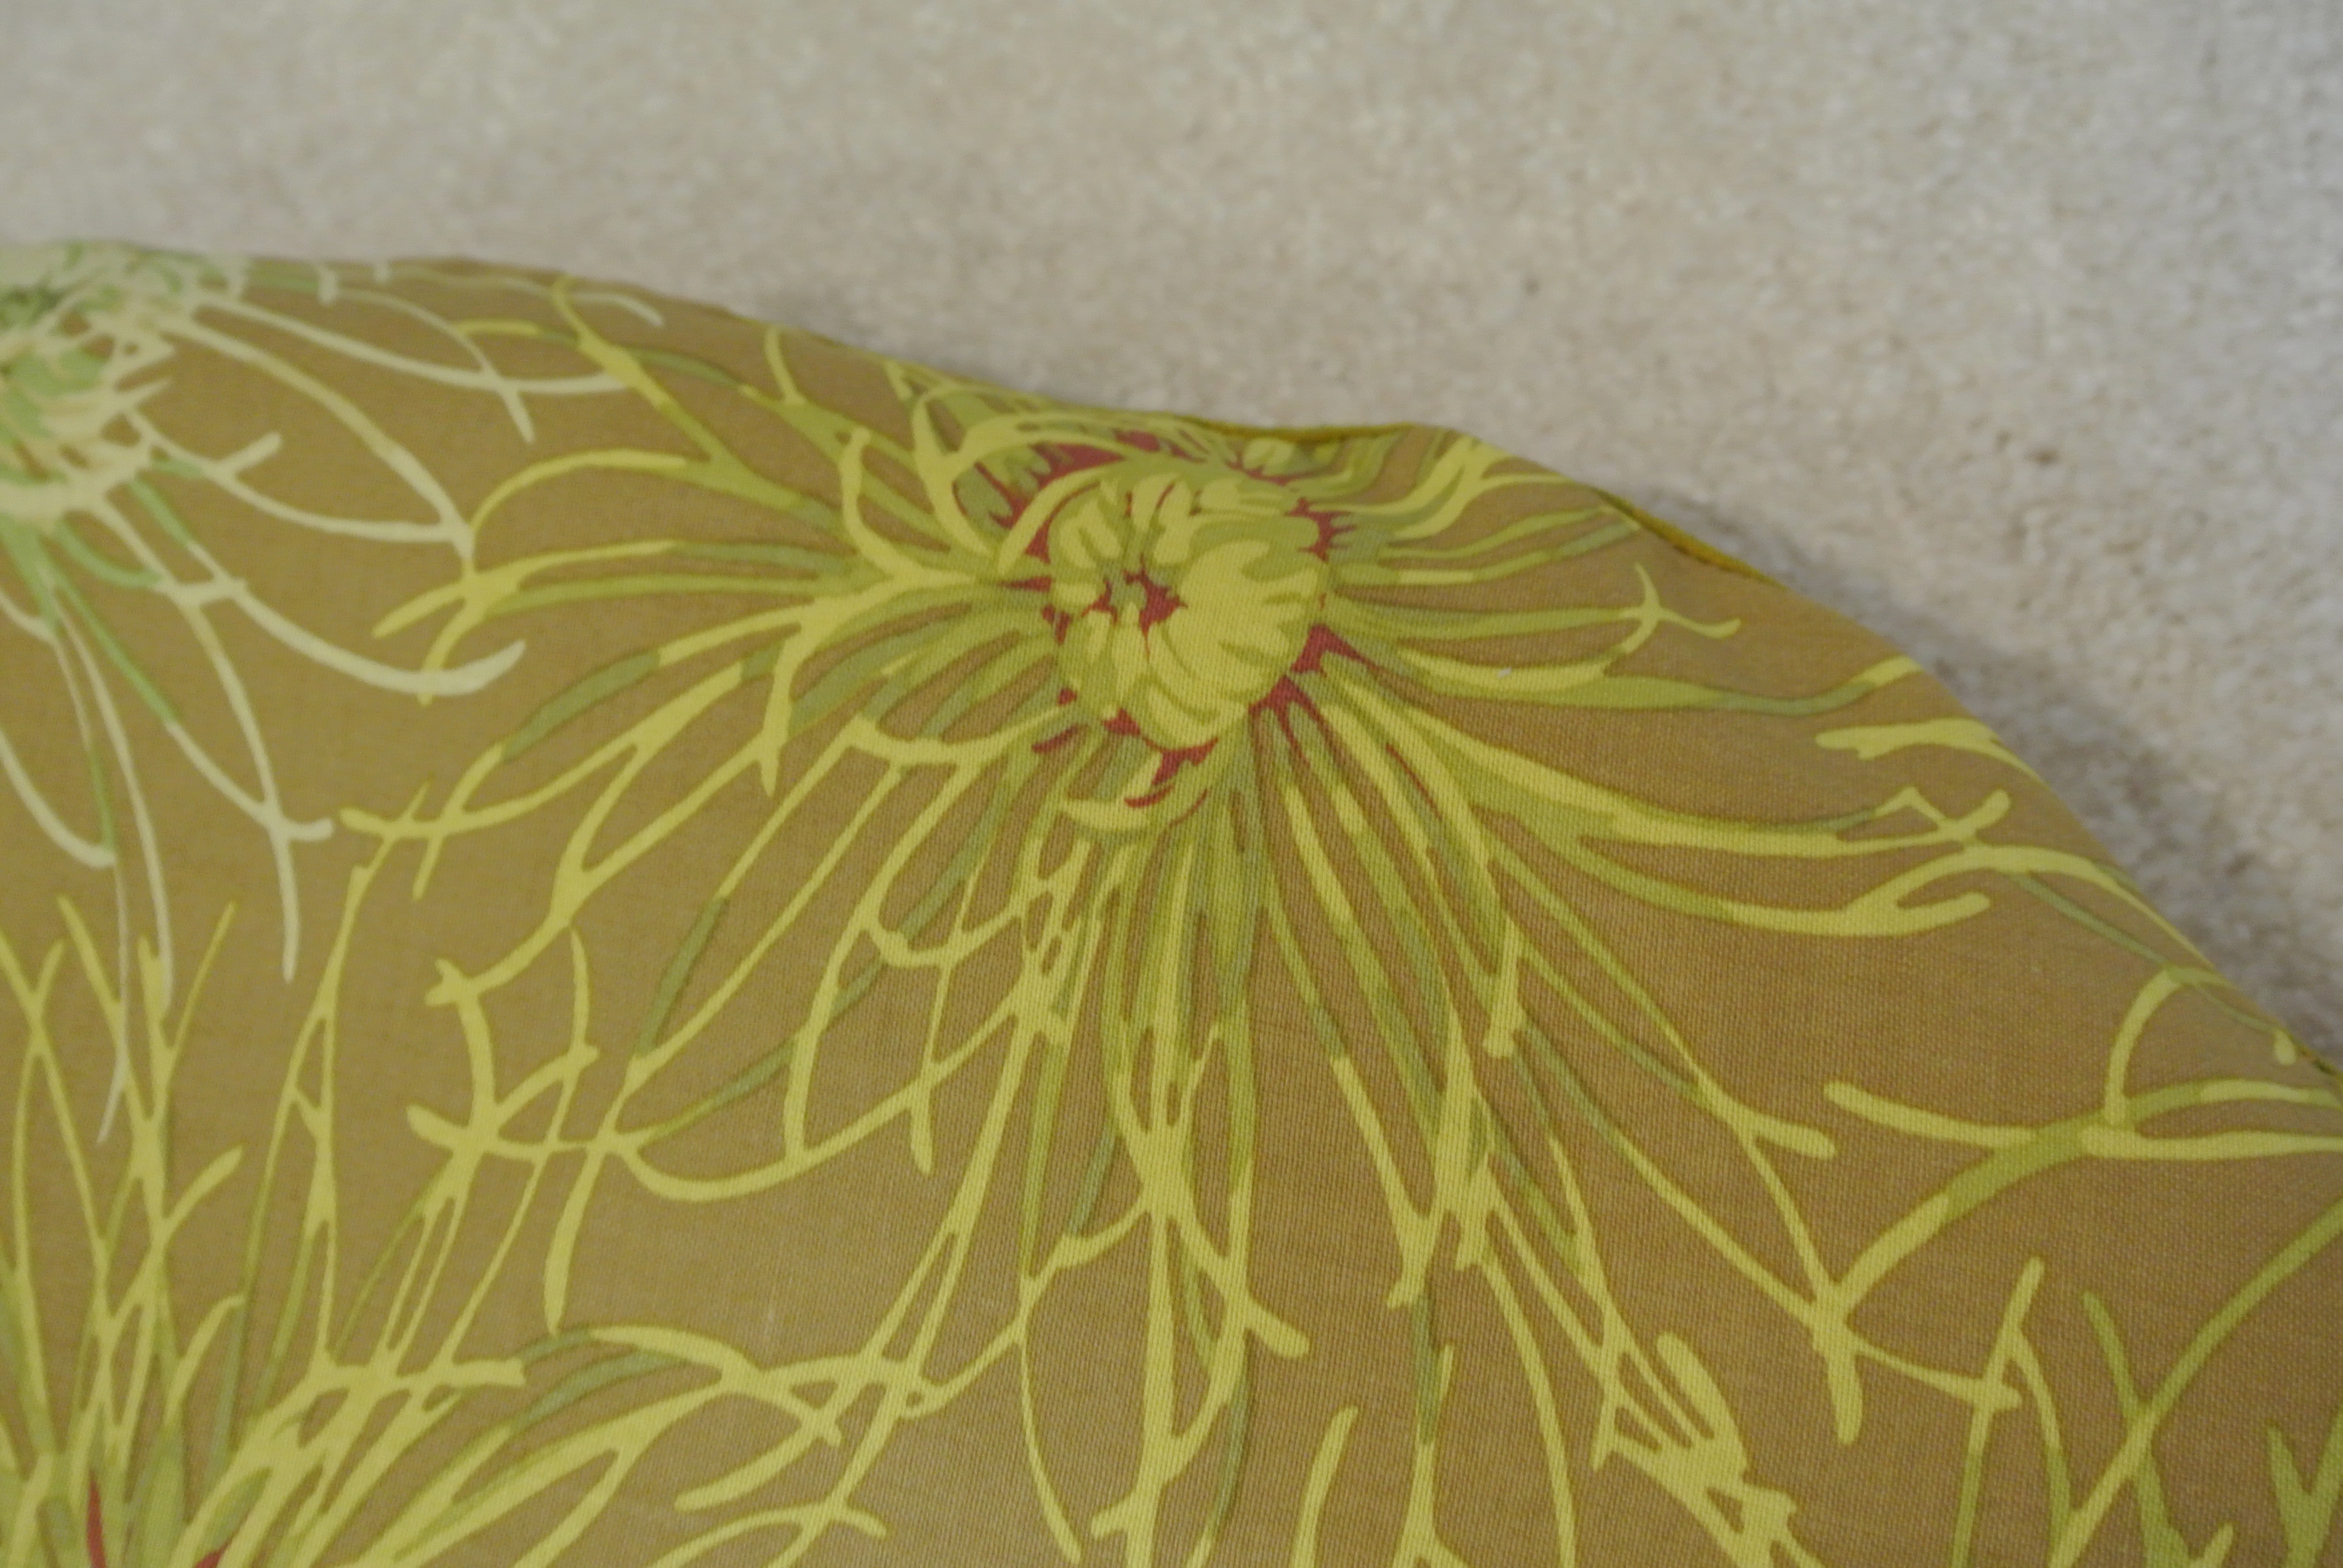
All told, this took me two hours, start to finish. You could add in top stitching or buttons to the cushions but the original fabric was really tough to get a needle all the way through, so I did not add the topstitching.
Bee McQT approved!
Other great examples and approaches tore-upholstering or covering gliders or rocking chairs:
- More extensive but fabulous tutorial on upholstering a rocker by Lil Blue Boo
- Fantastic photos and includes a ottoman by Runs with Spatulas
- An almost unrecognizable transformation using foam – the sky is the limit with this one! by Blue House Joys
- Great picture on how to do the ottoman or when the seat needs to be removed/unscrewed by Alex Haralson
- Different cushion shape by Shira Shea
- Using repurposed curtains by Domestic Ingenuity
- Amazing cushions and change to wood from by DIY Mommy
- Just like she says – Pimped her chair! by Creative Little Daisy
- Pretty advanced but thorough reupholstering tutorial by Make it Love it (saving this for other project in the works!)
- No Sew! Just like she promises at Attempting Agape
- Make a new cushion by Crafty Mummy
- Apartment Therapy’s compilation
Have a related blog tutorial you want me to add to the list? Leave a comment!

I would probably put the zippers on first just so that the fabric is easier to work with to add a zipper. I would put them along the edge where in between the ties are as that is the pretty straight no curve. I am not a big fan of zippers 🙂 so I try to avoid them. My plan was to just clip the last part that was whip stitched shut and remove if spot cleaning was not an option. Share pictures!
nice! If you wanted to add zippers so you could wash where would you put them and what step of sewing?