

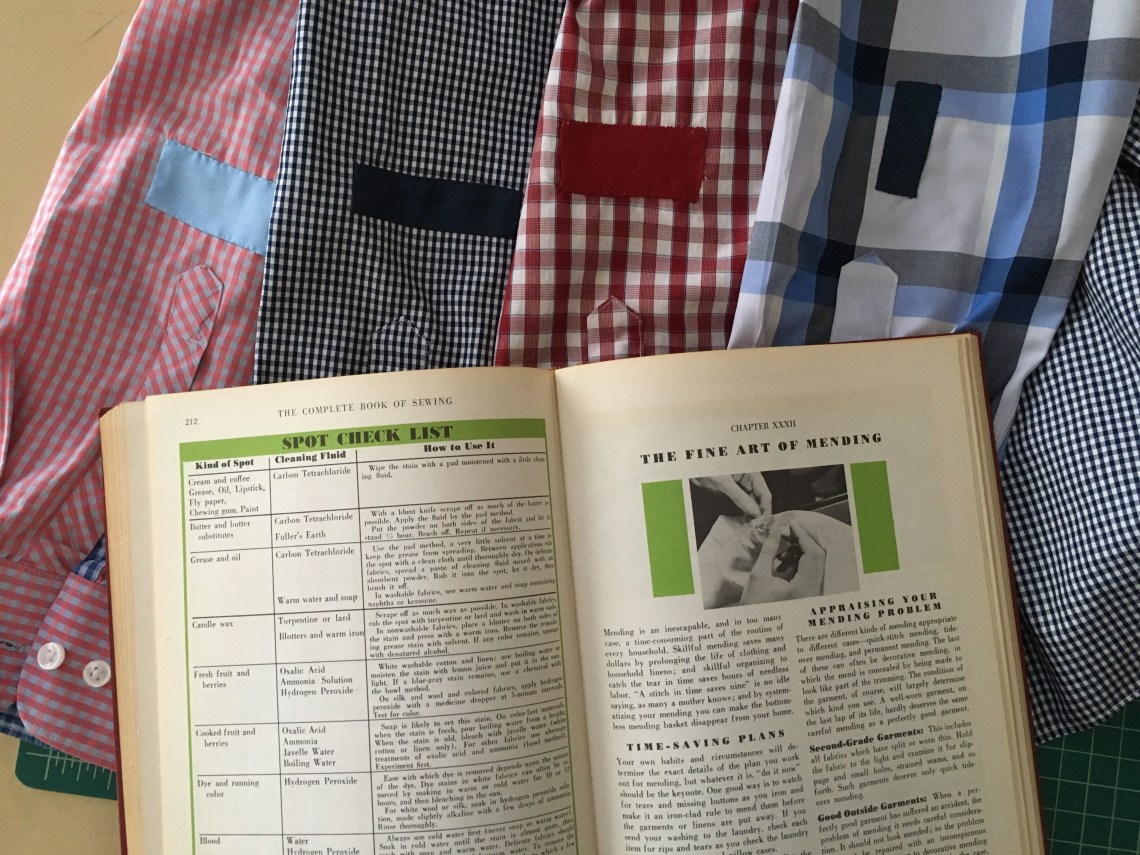
It has been a few years since I posted about mending and hemming but I only have so many tricks up my sleeves and it isn’t my faaaave – orite thing to do, so naturally falls down the to-do list. That said, I periodically need to mend my husband’s shirts, right below his elbow. Most of the time the tear is horizontal, although a random vertical tear just showed up (see large blue plaid). It isn’t on his ‘mousing arm’ and it occurs regardless of button-up brand. See exhibit 1 – elbow close up.

Also of note: the red checkered shirt has been mended twice before (so today makes three). I know that mending can weaken fabric but this time I wanted tried a different approach. Previously I would patch on the inside and use a satin stitch to hold overlapped raw edges together. Inspired by a 1940s vintage sewing book gifted from my local Buy Nothing group, I tried a different method. reinforcing on the back with iron interfacing (not something the ladies had in 1940s) and then patching with a piece of quilting cotton and hand stitching on the front. I also used fray check (again, modern convenience) on the raw edges. I cut both the interfacing and cotton about 1/2 inch bigger all the way around. Clean up any lose threads on shirt. Iron on interfacing, add fray check. Then press under the edges of the cotton patch (about 1/4 inch) so there are no frayed edges. Pin in place and sew with tiny and tidy blanket or whip stitches.


I also did something similar with a cozy soft flat sheet that tore along the top hem. I used a machine zig zag stitch to hold the overlapped raw edges together and again a fabric patch but machine sewed it on. I also left the finished selvedge as one edge, since it was a scrap cut and #rebel.

Fingers crossed! The contrast patch isn’t too noticeable and for future mending (I can only imagine with a toddler boy), the patches could be out of an even more fun contrasting fabric. The effort has not be wasted even if we only get a few more wears out of the shirts.
Other mending, hemming posts:
