

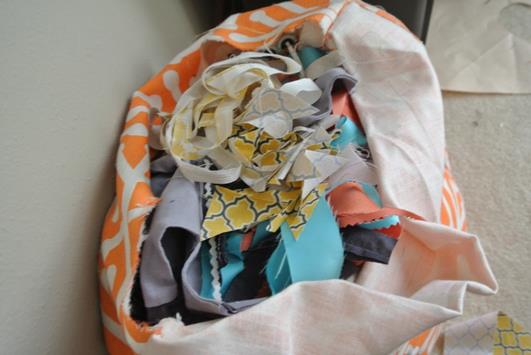
Here is a crafty way to use up those longer skinny scrap pieces that might just go in the garbage, or in my case, the in progress floor pillow (photo below) that I am filling with all my scraps too small or undesirable for the coveted color sorted bin. It is official that I love the scraps and their resulting creative challenges more than the initial project.

Materials: Scrap fabric, fabric glue, pin, buttons, needle, thread, ribbon or jump rings/clasp
Instructions:
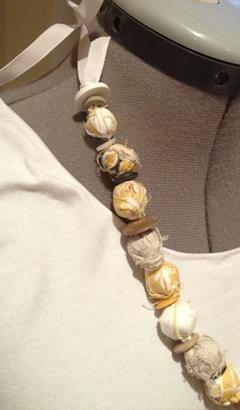
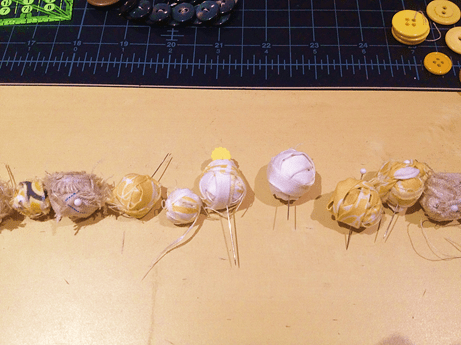
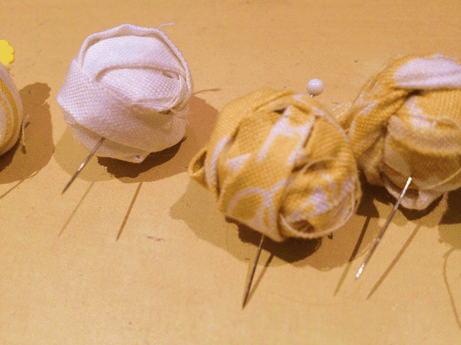
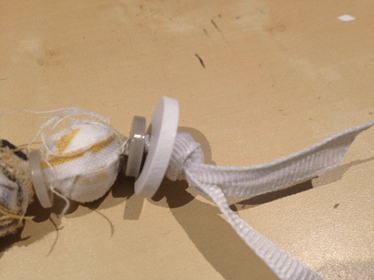
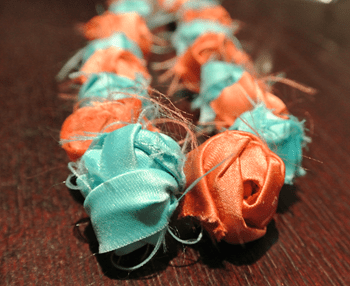
Pretty simple but pull out some long scraps, maybe no more than 1 inch wide, fold in half if wider to make it close. Most of mine started out wider at one end and tapered to be skinnier. As for length, maybe 10-12 inches? I used two pieces on some. I used a shorter pieces ( and a few times different color all together) to begin the ball, then wrapped with another to make the final size and color. This is good if you are short of a particular fabric – just start the ball with a fabric you don’t want to see. Basically just wind it up like a ball of yarn, gluing down with random wraps (don’t over do, just a few inner dots of glue) until you have it all wound up. Put a final dot of glue near the outside tale end, push a pin through to hold in place and then wait until dry to string. Make them all one size, variable or ascending/descending. Once dry, remove the pins and lay them out in the order you want to string them, using a sharp needle and sturdy thread. I added buttons in between the beads for color and variety, in the grey and yellow version (featuring scraps from the custom quilt I completed this summer). Alternatively, I also used scraps of fabric from a custom batch of wedding bow ties. This shows the use of jump rings and varying diameters.


One thought on “Scrap Bead Necklace DIY”