
“Chancho, when you are a man, sometimes you wear stretchy pants in your room. It’s for fun.” – Nacho.

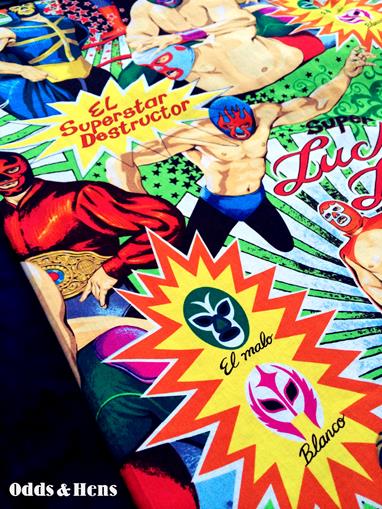
Need a last minute Father’s Day gift? How about this simple Nacho Libre minky-backed blanket? This tutorial is perfect for all the fun novelty fabric out there, lets you really personalize the gift. I promise this is quick and easy. All told, it took me about two and half hours to complete. There is not much cutting involved, no piecing and no batting. you could also do two pieces of flannel, which comes in so many fun prints and make great baby gifts. Play around with the size of the fabric, but 1 3/4 yard is probably about the max, or your proportions will be funny. In theory, you could probably buy less of the backing because it is usually wider than 42 inches but piecing your back will take longer and require more math.
Nacho Libre Novelty Blanket – 40 x 60 inches
Supplies:
- 1 ¾ yard novelty fabric
- 1 ¾ yard minky or fleece fabric for backing
- Thread
- Sewing machine
- Pins
- Blue painters tape
- Scissors
- Pencil
- Vase or plate for curve pattern
- ~ Two and half hours
Instructions
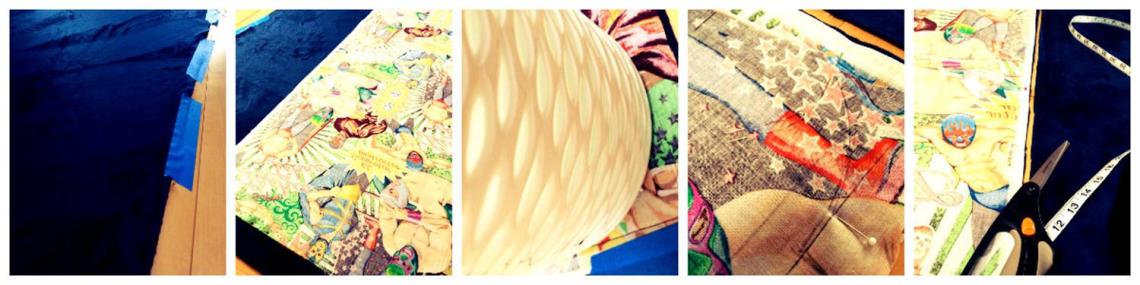
- Lay out your back fabric RIGHT SIDE UP on a very large table or hard surface (floor). Tape it down on all four sides, pulling it nice and taught, smoothing out all wrinkles.
- If you prewashed your novelty/top fabric be sure to iron it out well. Square up the fabric to the size that you want. Then place RIGHT SIDE DOWN on top of the backing fabric. Smooth it out and either tape it to the floor also or pin it down. I left my selvedges on, because I am a rebel like that and didn’t do a good job squaring it up – hence why I had to add in a future step.
- Pin the heck out of it. All around the edge and some out into the middle. This will make sewing it together so much easier.
- If you didn’t square up your top fabric you will need to draw a straight line on non-selvedge edge to sew along. Yes, I know that you can’t always count on the selvedge being straight but for this blanket it works just fine. Feel free to cut them off and square the whole thing up.
- If you desire rounded corners, use a vase or plate or patter to trace the round edge in each corner. I used a large vase, measuring about 8 inches in diameter. You can free hand or use a compass too. Don’t cut the rounded corner until after you sew. If there is a lot of excess fabric trim after pinning, so it is easier to handle.
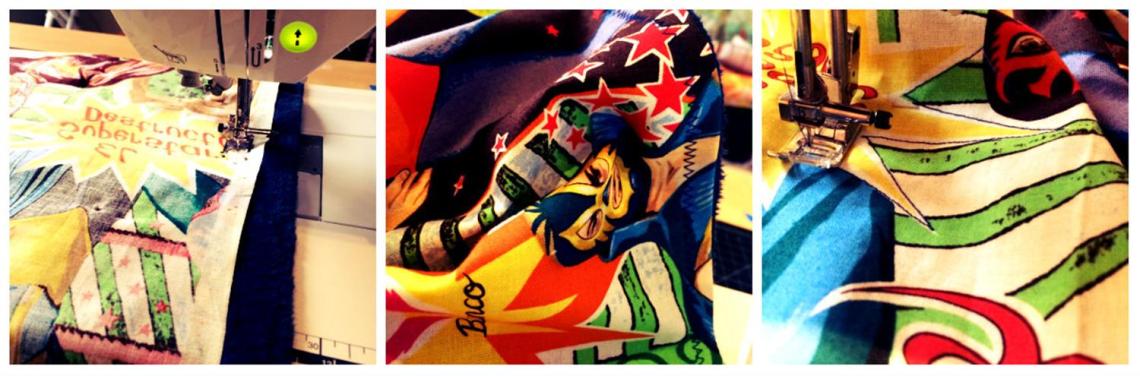
- Using a straight stitch, sew all around your blanket (two pieces of fabric, right sides together), leaving a 5 inch opening or so on one edge, so you can pull it right-side out. It doesn’t matter the width of your seam, just be consistent. I like to line up with the edge of my presser foot, because it is easy.
- Trim/clip the rounded corners and excess fabric
- Turn the blanket right side out. Smoothing out the corner and edges. Press a little bit if you like.
- Once turned right side out, chose a zig zag or other decorative stitch and with a coordinating color thread, stitch all the way around the perimeter. I again, liked up with the edge of my presser foot, which caught the inside seam. You can hand sew shut the opening if you desire, or if your top stitch is wide enough that should be good enough.
- At this point you could be all done with your blanket but since this is bigger you really ought to anchor the top and bottom fabric. For this quilt I sewed a shadow around 5 of the star bursts, which were evenly spaced throughout the print. You could do free motion, all over, lines etc.
- All done!
“I am the gatekeeper to my own destiny and I will have my glory day in the hot sun.” – Nacho
