

I love a simple isosceles tree silhouette. It is not fussy to cut, feels fresh from fall through winter season and can be used in many different ways from garland, mantle decoration, bunting, table runner or gift wrapping. You also have the opportunity to use the word isosceles, which you probably never thought would happen back in the school days. Felt garlands are also a great craft idea for groups looking to create something together; just a few steps and none really requiring any special skill or tools. And since it is 2020, you could do this all on Zoom, sigh. I will put some tips and ideas for variations at the end and if you create your own drop a picture or link in the comments.
Felt Garland Overview
- Decide on a shape
- Make a pattern to trace.
- Trace and cut out the shape
- Prep the shapes either to sew or glue
- Save the scraps!
For Tree Garland –
- Supplies
- Felt, 4-6 sheets (~ 9 x 12 inches, per sheet)
- Two felt triangles per tree
- One small felt rectangle (tree trunk)
- Craft glue, scissors and/or rotary cutter, ruler
- Buttons or sequins
- Twine, yarn or ribbon, cut into desired garland lengths (e.g. 7-8 feet)
- Trace and cut out felt triangle trees that are about 3-4 inches in height and 2-3 inches wide. For a group project last year, I did make a tree pattern (laminated paper) for a group project last year, so that they were consistent in shape when cut by multiple people. approximately 12 large trees per 6 feet or 18 small trees per 6 feet.
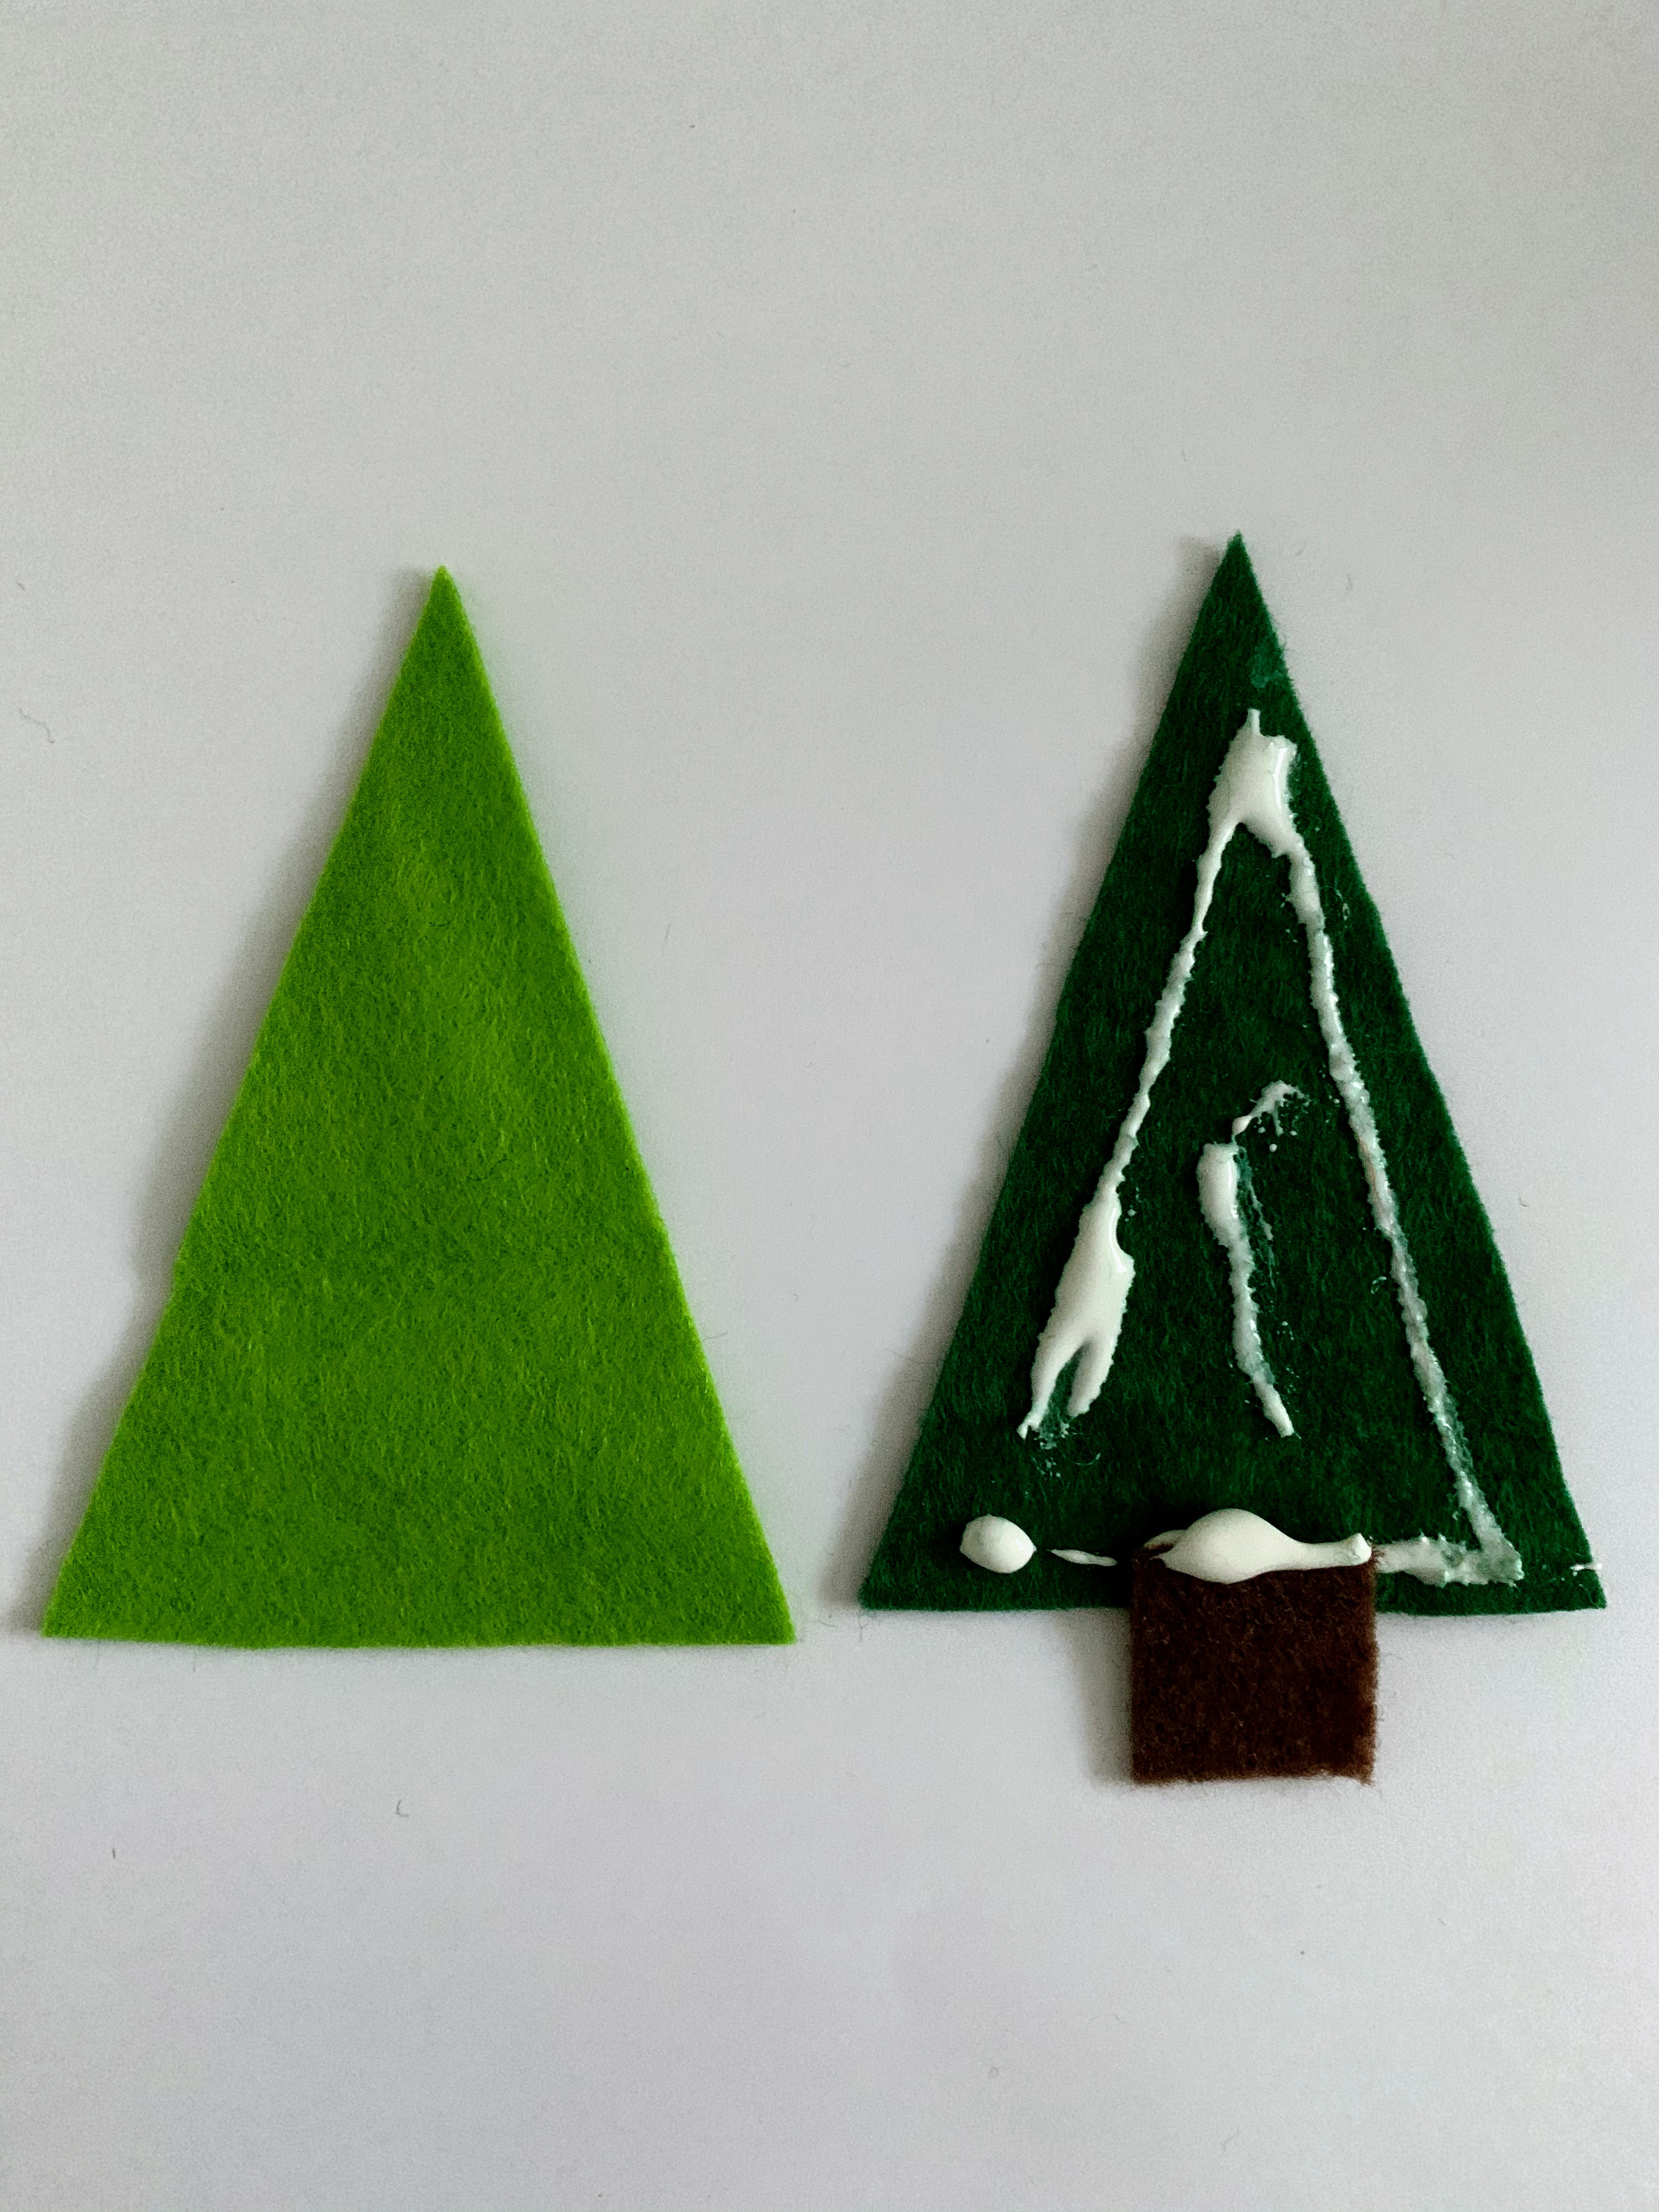
- Cut out trunks. It is easy to cut a strip and then cut in to shorter lengths forming rectangles. Play around with different widths. No need to make a pattern or get to exact here.
- Pair up two triangles, trim if necessary to have the edges match or remove any errant pen. Pair up different colors too if you like.
- Glue a rectangle at the middle of the bottom edge between the two tree pieces. Eyeball it, don’t measure.
- Glue the two triangles together. Suggest craft or Elmers’s glue and in a thin layer so that trees don’t dry lumpy. Leave the top points of the trees free/not glued together (maybe about 1/2 to 3/4 inch). This is where the string will be glued to form the strand of garland.
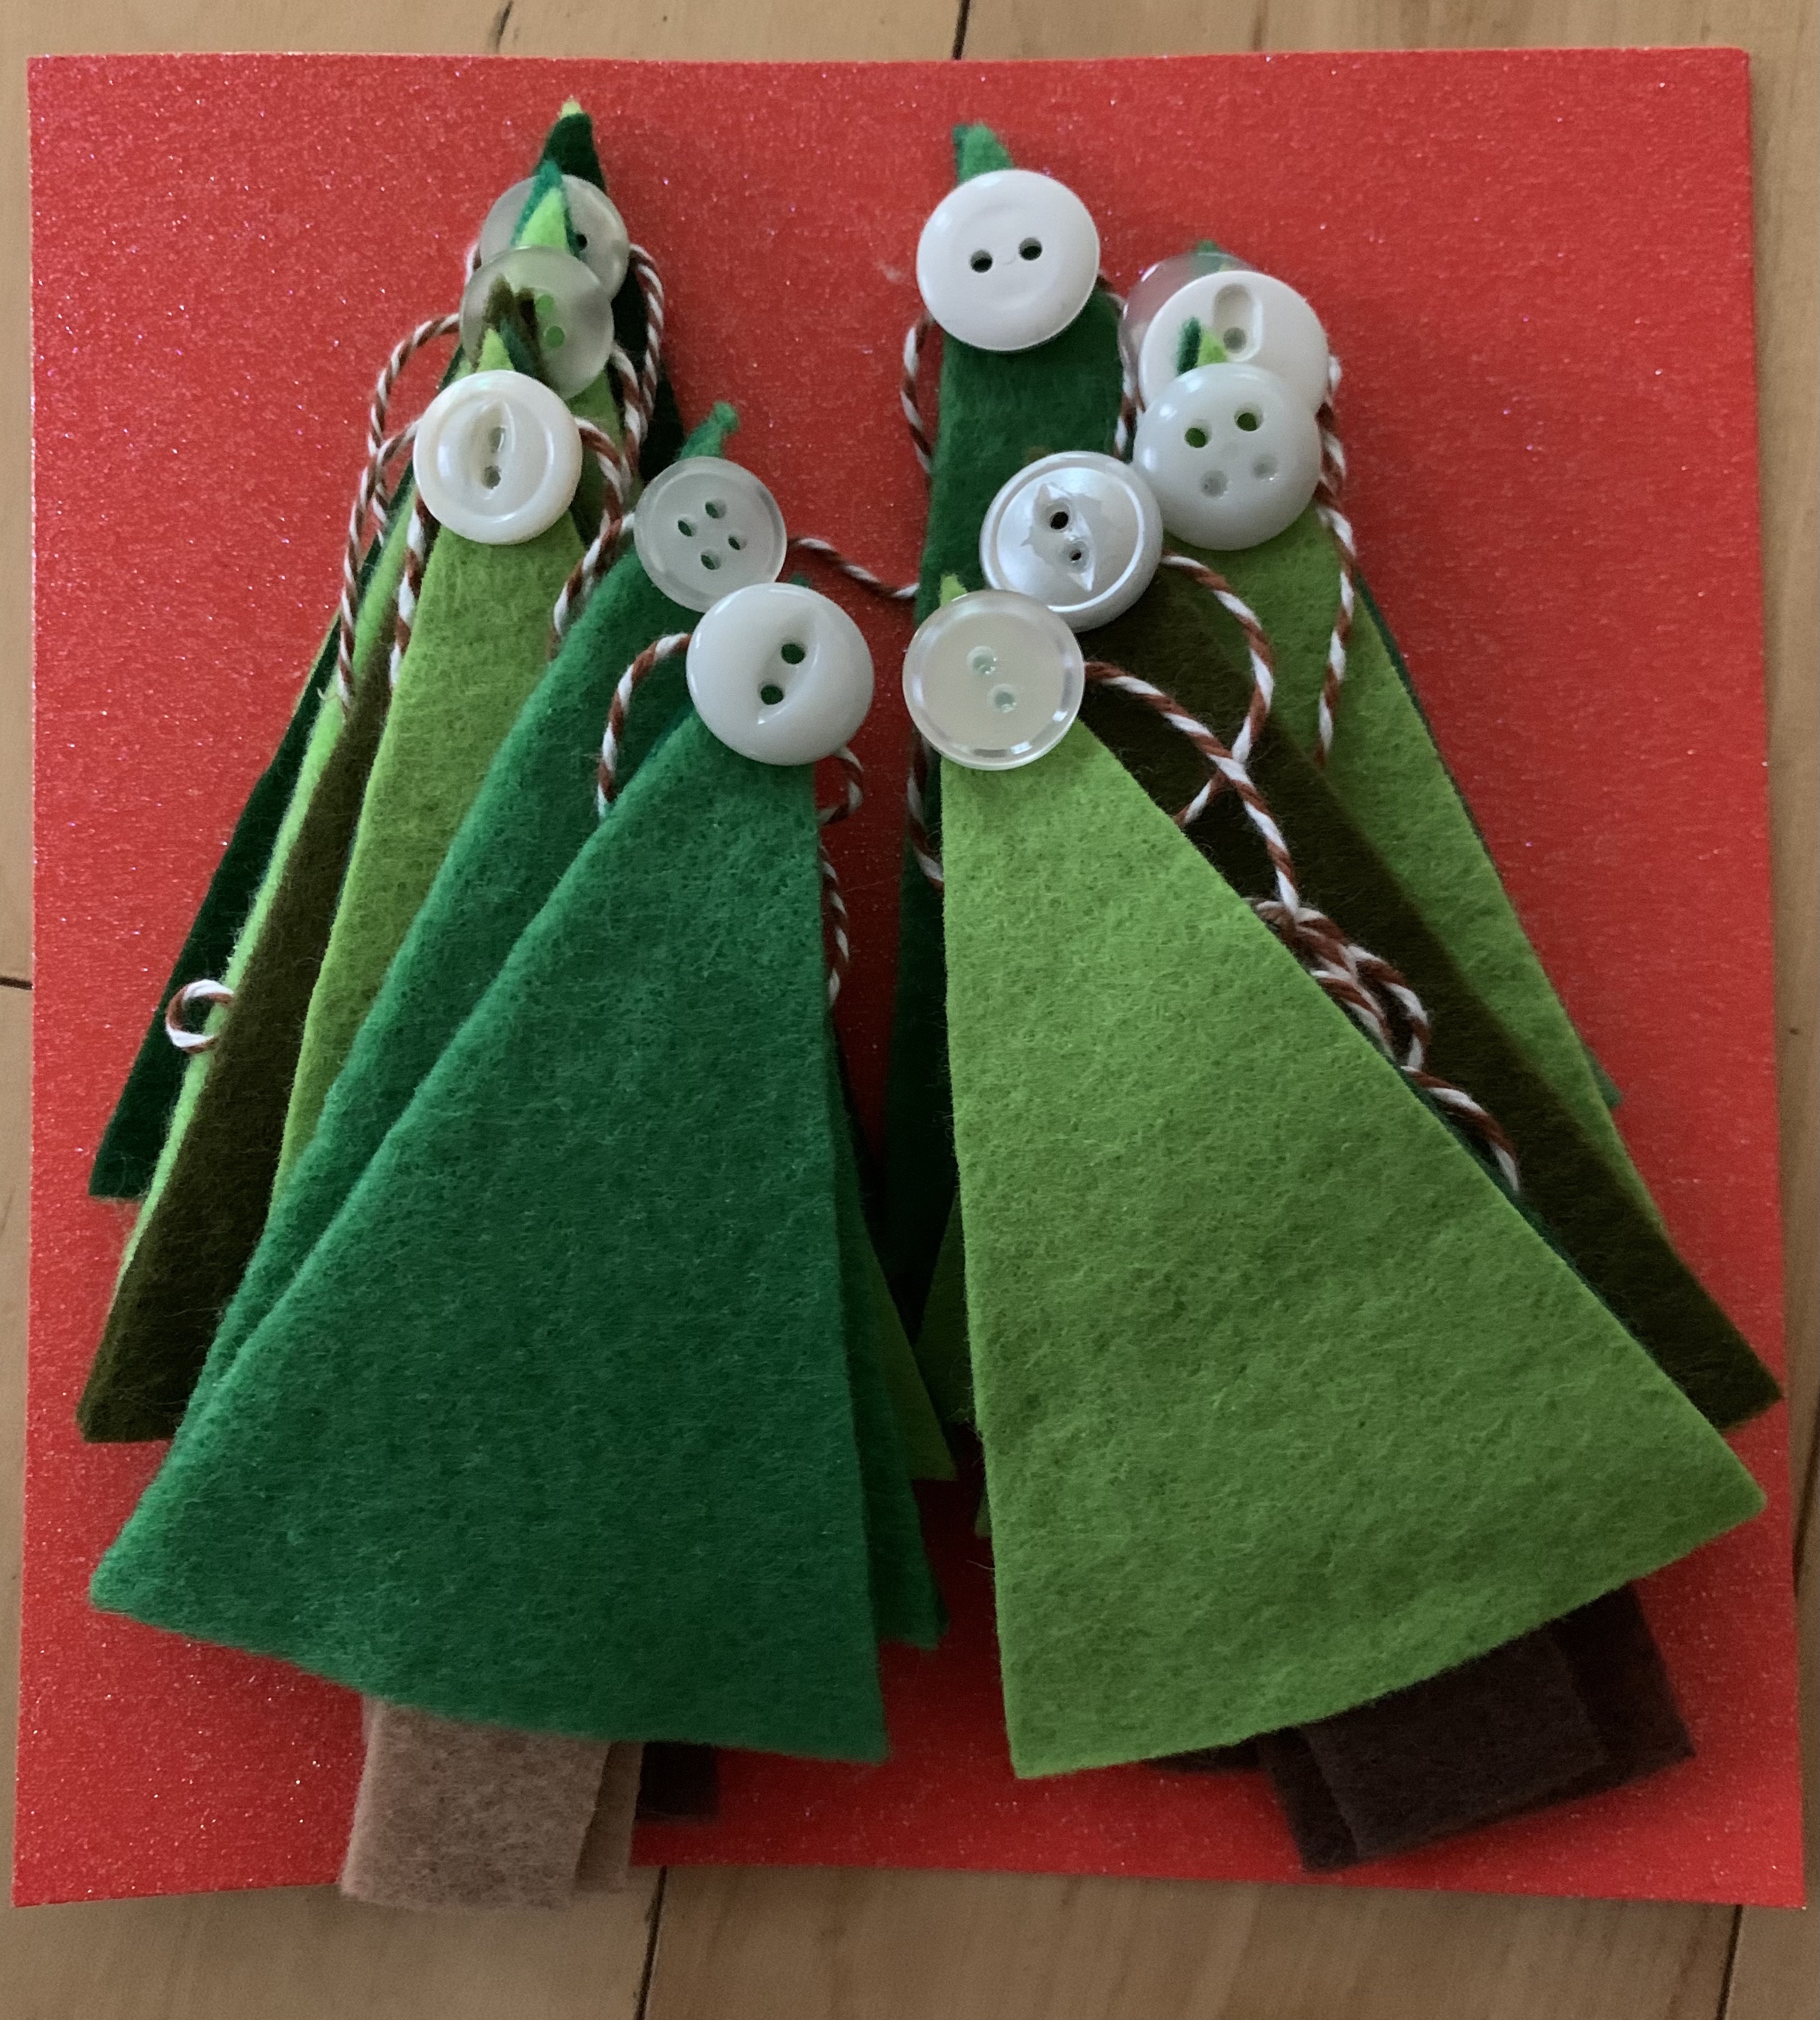
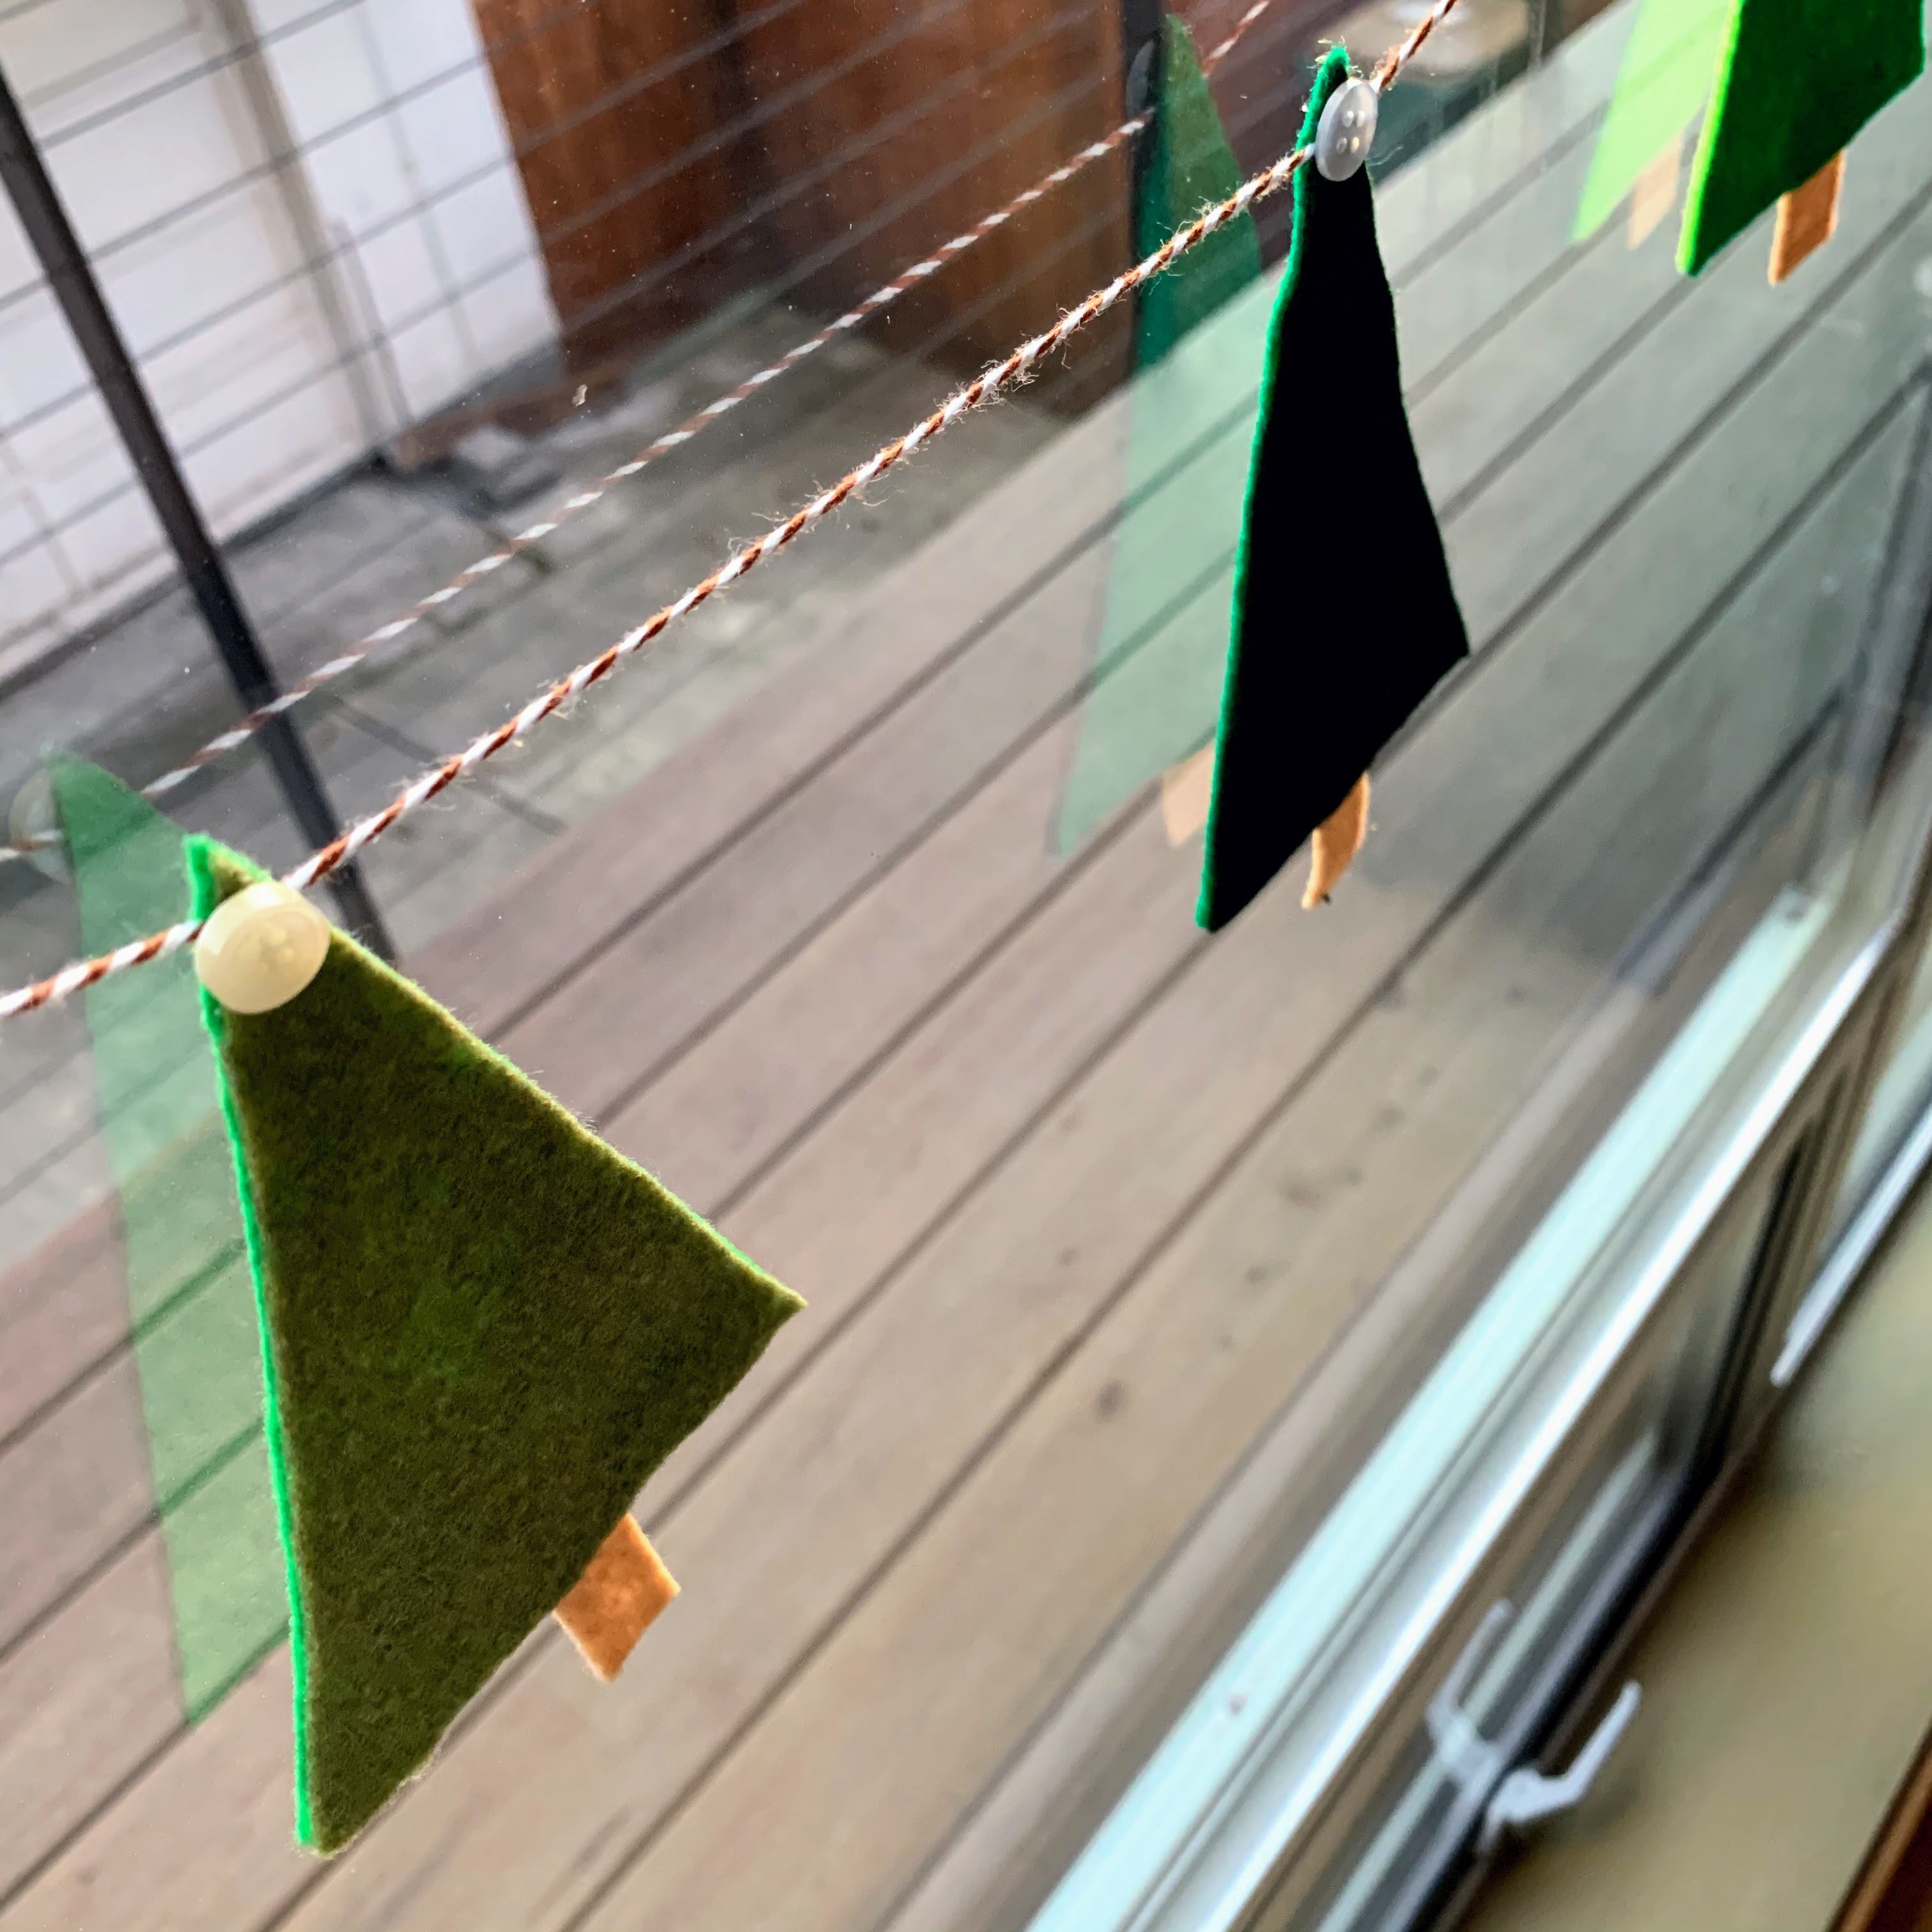
- Plan out your spacing along the twine. I like to leave 8+ inches on either side for tying or hanging. If putting 12 trees over 6 feet, space them every 6 inches.
- Hot glue is the easiest gluing the trees to the strand as it dries the quickest. Place a small dot of glue inside between the two trees and lay the string/twine in the glue then press the tops of the trees together.
- Once trees are connected to string and dry, you can glue or sew a button or sequin to the top of the tree. You could also bedazzle the heck out them with glitter or puffy paint but I wanted a more plain aesthetic.
- Enjoy!


Tips:
- Buy or plan to use more felt than you will, so that you can have variety and scraps for other projects.
- Play with colors or white felt for completely different looks. Most of my trees are different colors on front and back.
- Mix in fabric with felt on the back.
- When cutting out traced shapes, cut on the inside of the drawn line so that no ink shows when done.
- If cutting two layers at a time with scissors, I suggest pinning them to hold them together.
- Make the shapes over-sized or mini for different looks.
- Scraps Rock! They are useful for other projects (e.g. ornament, baubles etc) or can be recycled in my Ridwell bin (love mine!)
Other Holiday Project Ideas
