

The following is a really simple, dynamic and adaptable quilt tutorial. Based on the idea often coined the Jelly Roll 1600, named because it is takes one Jelly Roll or 40 strips (2.5 x 40 inches each) measuring, you guessed it, 1600 inches (finishing at 48 x 64). For this version, I used 3 inch wide strips from my scrap bin and stash. A great stash buster and way to use up fabric that alone is not your favorite, but really shines when combine with others. My version below is also a lot bigger but I really don’t think size matters too too much, if you are resourceful. Last summer I did a quick version and incorporated into a quilt with larger solid pieces. It was actually made up of some charm packs cut in half and longer strips. View it here (and if you like it – it’s for sale too) in my Etsy shop. Or this one, with 45 degree seams – Spooky, Monster High style. I think you could also make some strips and then cut them into squares and alternate them into a patch work of sorts. Or alternative every other strip with a solid white or solid black piece of the same repeating dimensions. I may just try these in the future and update the post.
To start:
-
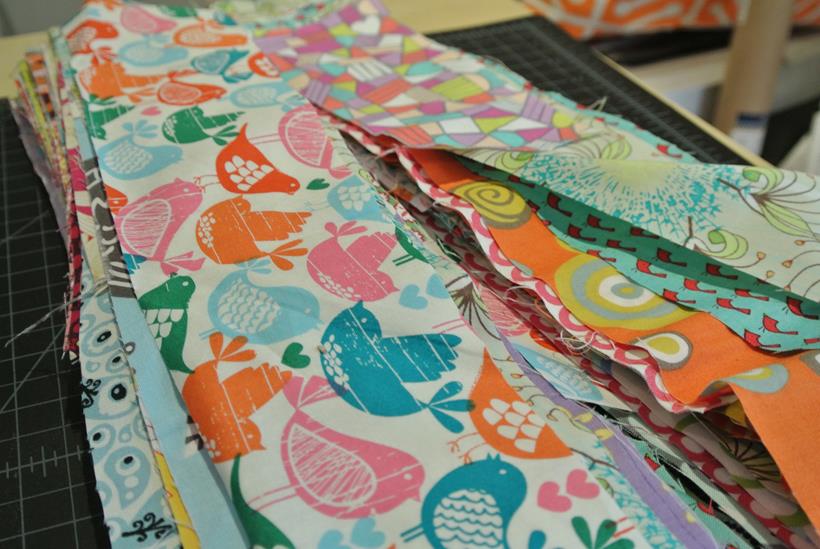
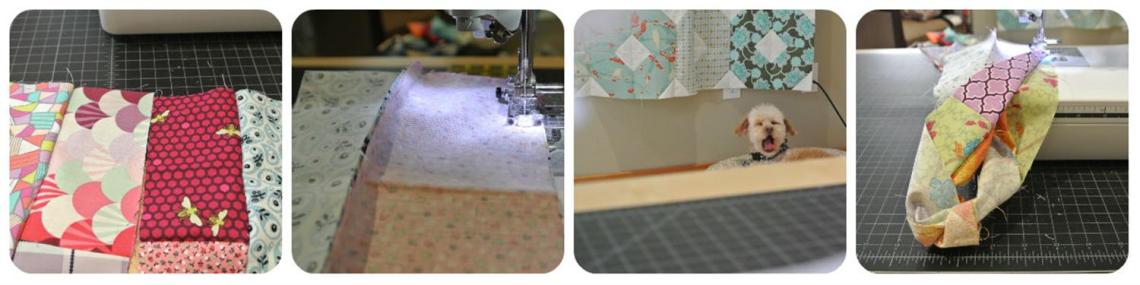
Cut up lots of fabric, at a minimum as much as in one jelly roll pack, into strips
- 2 ½ inch works well and is available pre-cut. In my tutorial I used 3 inch strips in various lengths ranging from WOF (width of fabric) to about 6 inches (the smallest)
- I ended up with about 185 pieces (yes I counted)
-
I am not in the pre-washer camp. Just FYI.

- Get a drink and small snack, because the next steps take a while, but are simple. Something I think a very beginner sewer could do no problem
- You will need to have a couple bobbins all filled up for this. Given that this is full of so many colors and it’s just how I am, I like to use quilts like this as an opportunity to use of half-filled bobbins of random colors.
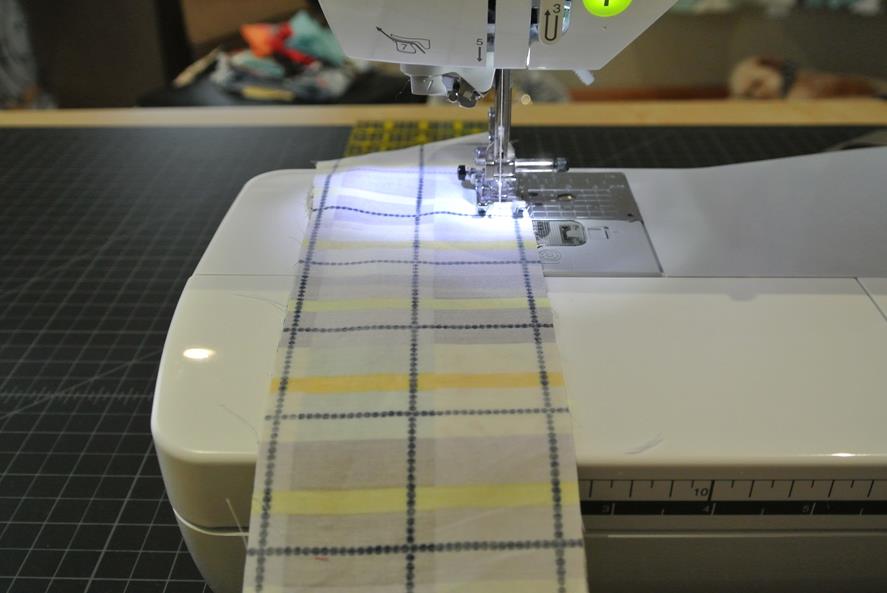
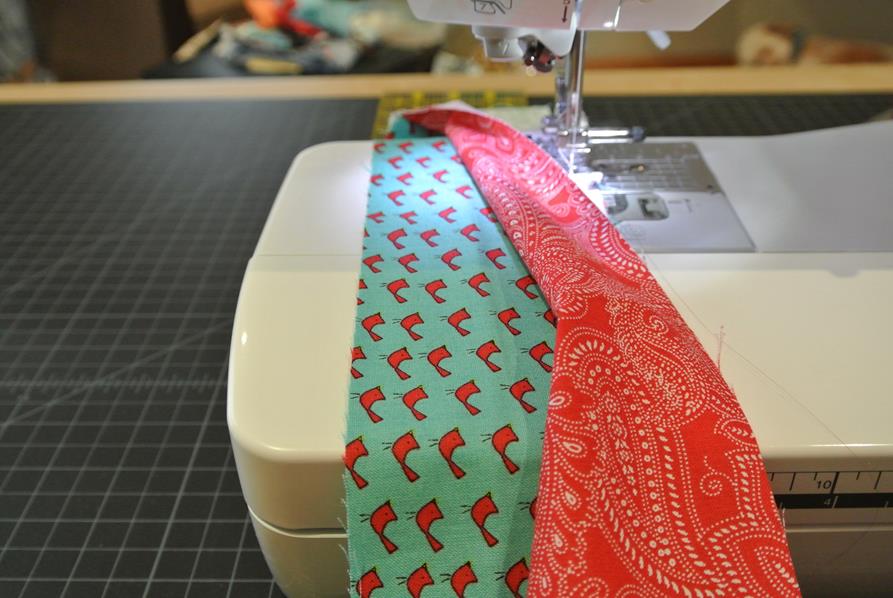
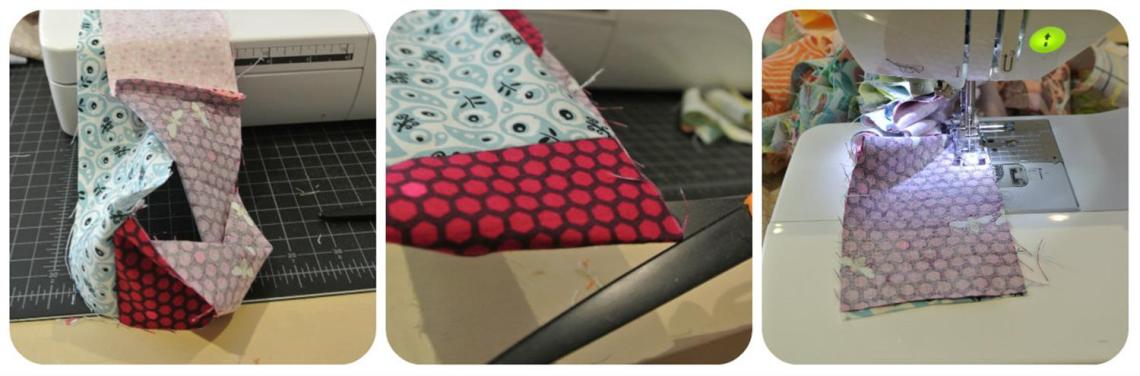
- The first step is to take the short ends, right sides together and stitch. You could do a ¼ inch seam, I just did to the edge of my presser foot, since it is easier and doesn’t matter really how big the seam is as long as it is the same. You could also join them, not straight/perpendicular but on a 45 degree angle, like you might do when creating a binding. Repeat until all pieces are connected end to end into one loooog piece. This is a great way to learn to chain piece. Just keep sewing end to end without clipping thread. Match up right sides each time. See the second photo below and notice how the red and white piece is under the foot with the wrong side up and then flipped up so that wrong side is on the bottom. This is what I mean by end to end
 .
.
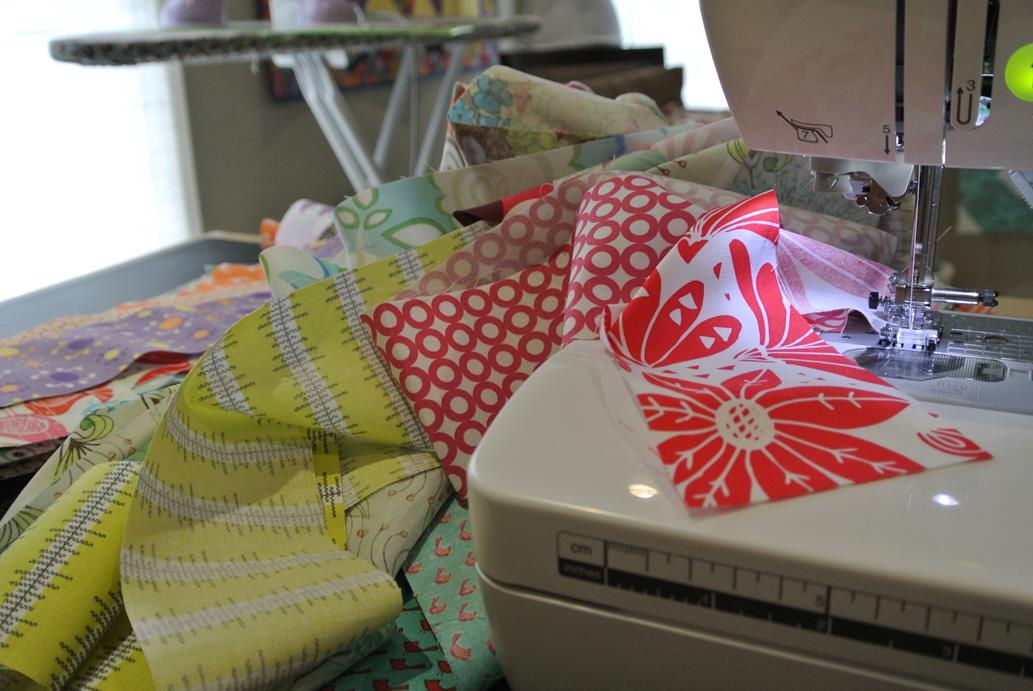
- Sew! Sew! Sew! Here some time-elapsed footage for you.

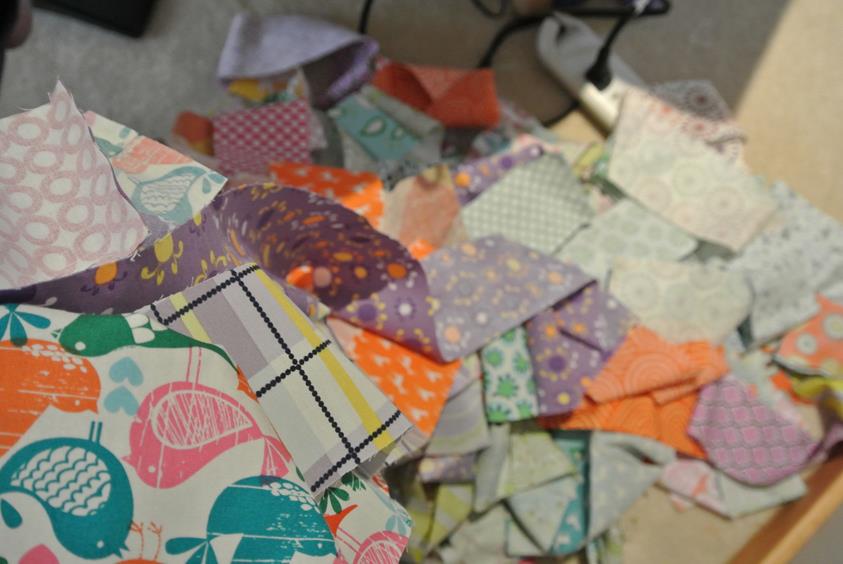
- Now that you have created a ginormously long strip, you need to go back and clip the threads connecting them, assuming you did chain piecing. Don’t bother with ironing. That would be crazy.

- Now find the two ends and match them up right sides together. I made 183 seams. Pfew!
- Don’t worry about twisting, there is a way to fix it later and would be impossible to untwist this big long snake.

-
Get ready to sew the strip folded in half all the way to the end.
- NOTE: Be sure to enjoy the color combinations as they unfold before you
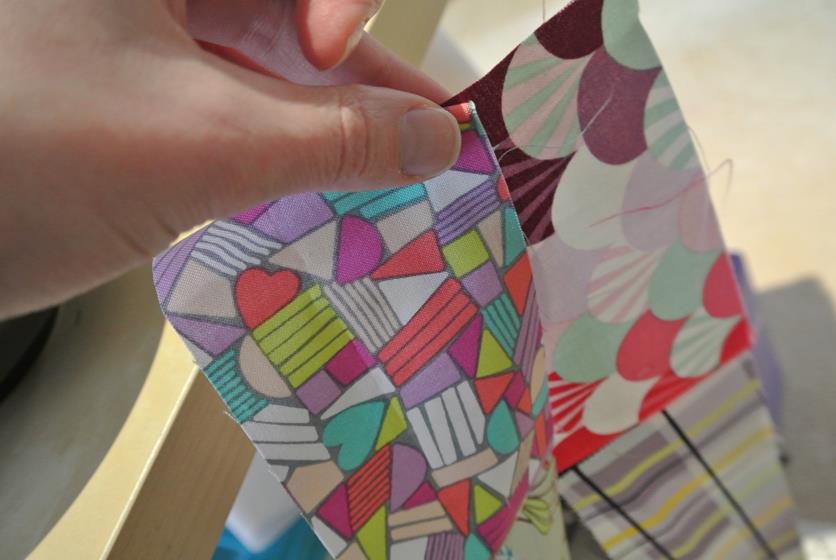
- Sew! Sew! Sew! [Can you see the sleepy dog in the photos? Sort of like Where’s Waldo…] Eat some Peeps! If you have some pieces where two seams meet up, I like to alternate so they lay flat. I sew over pins sometimes too…

- If you are so inclined, this is the only opportunity you will have to “censor” the strips and what goes next to whom. I had a few times where the same fabrics were going to line up to next to each other, so I cut out that section and shortened it or patched in another color to spread them out. You will not be able to avoid this in the quilt beyond this step and it doesn’t take away from it one bit, just me wanting to minimize sections that are the same.
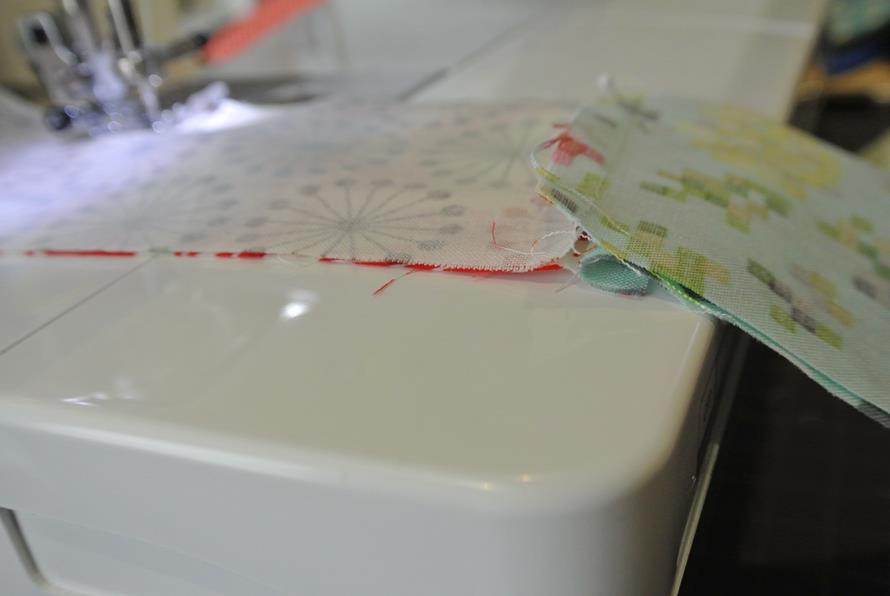
- Once you get to the very end you will likely (more than 50%) have a twist. Just pull it tight and cut the strips at the top of the loop. Now you have to free ends. Finish sewing together and then straighten out the ends, because it is probably crooked from your scissors.
- Now you have a slightly (50%) shorter ginormously long strip. Just like the previous step, find the two free ends, match up right sides together and sew together all the way to the end. Plan on having a twist to fix then too.
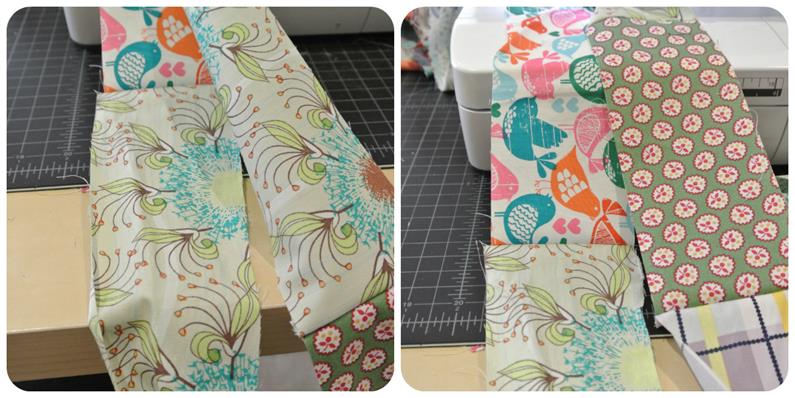
- You now have a 50% long strip (no longer ginormous) that is four pieces wide. Repeat again by matching the two ends right sides together and sewing all the way to end, anticipating a twist, but it gets less likely the wider your fabric at this point. None for me this time! But if you had one, cut the loop like the other times.

- Your strip is now 8 wide and looking great! Repeat again, almost done and goes so much faster, by matching ends and right sides. This time at the end I would use my rotary cutter and ruler to cut the fold at the end instead of scissors, just to keep it straight and nicer (not chewed looking). I also straightened up the other end with my rotary cutter. Of course, at the same time, right or wrong, that is what I did. Plenty of chances to square stuff up later

- Looking great! Probably just one more time around folding in half and sewing end to end. This is where you can start to make some calls. I contemplated stopping here with a 16 strip wide piece and then cutting into smaller sections for baby blankets but I decided to go with the full size product and went one more round.

- All done with the quilt top. Now it is 32 strips wide (Remember yours might be different) and beautifully random. Stand back and enjoy! Go ahead and finish however you want. I plan to just back with flannel no batting and do stitch in the ditch. You should iron it now at this point. I hope you didn’t waste time doing it earlier.


2 thoughts on “Daytime Strip Tease: An Alluring Name for a Simple Quilt”