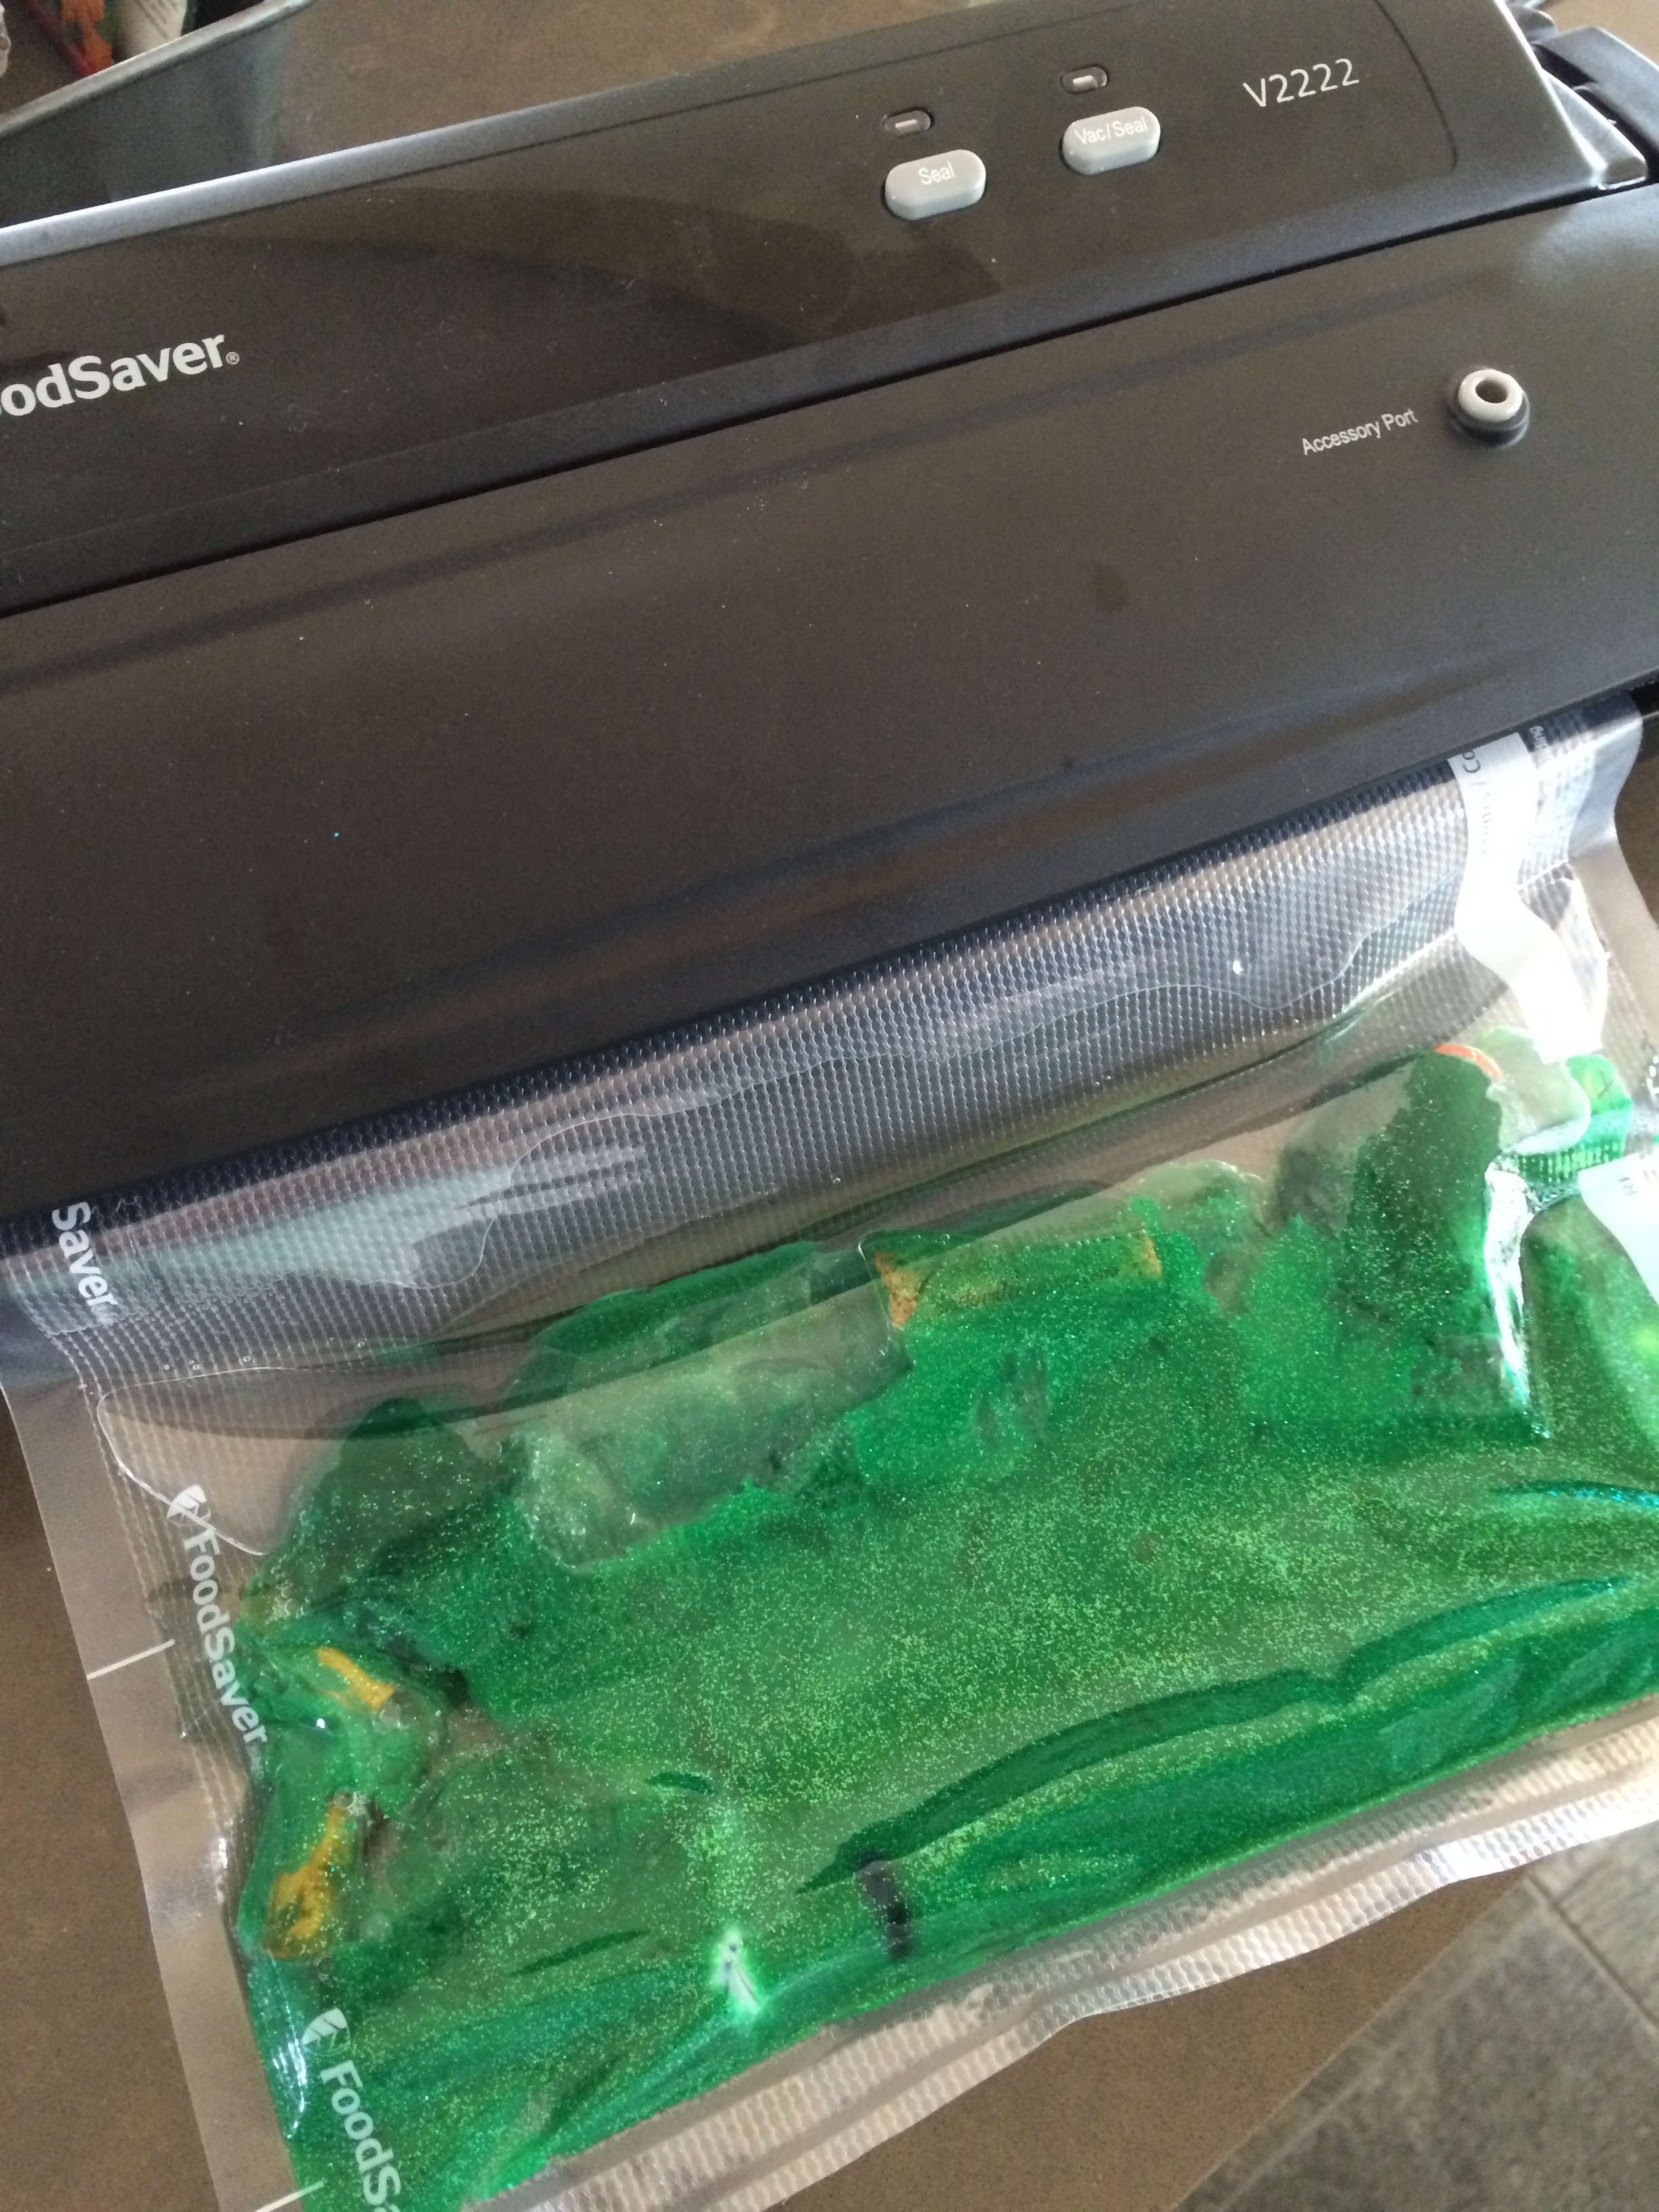
Plenty of tutorials out on the inter webs for sensory mats, so nothing too revolutionary here BUT what makes this one different is I used my food saver to seal in the gloopy glittery beautiful mess. Nothing wrong with just sealing and taping a zip locking bag or ironing to seal but using the food saver allows you to make custom sizes and ensures a good seal. I still sealed two separate strips because oh lordy lordy imagine if this leaked.
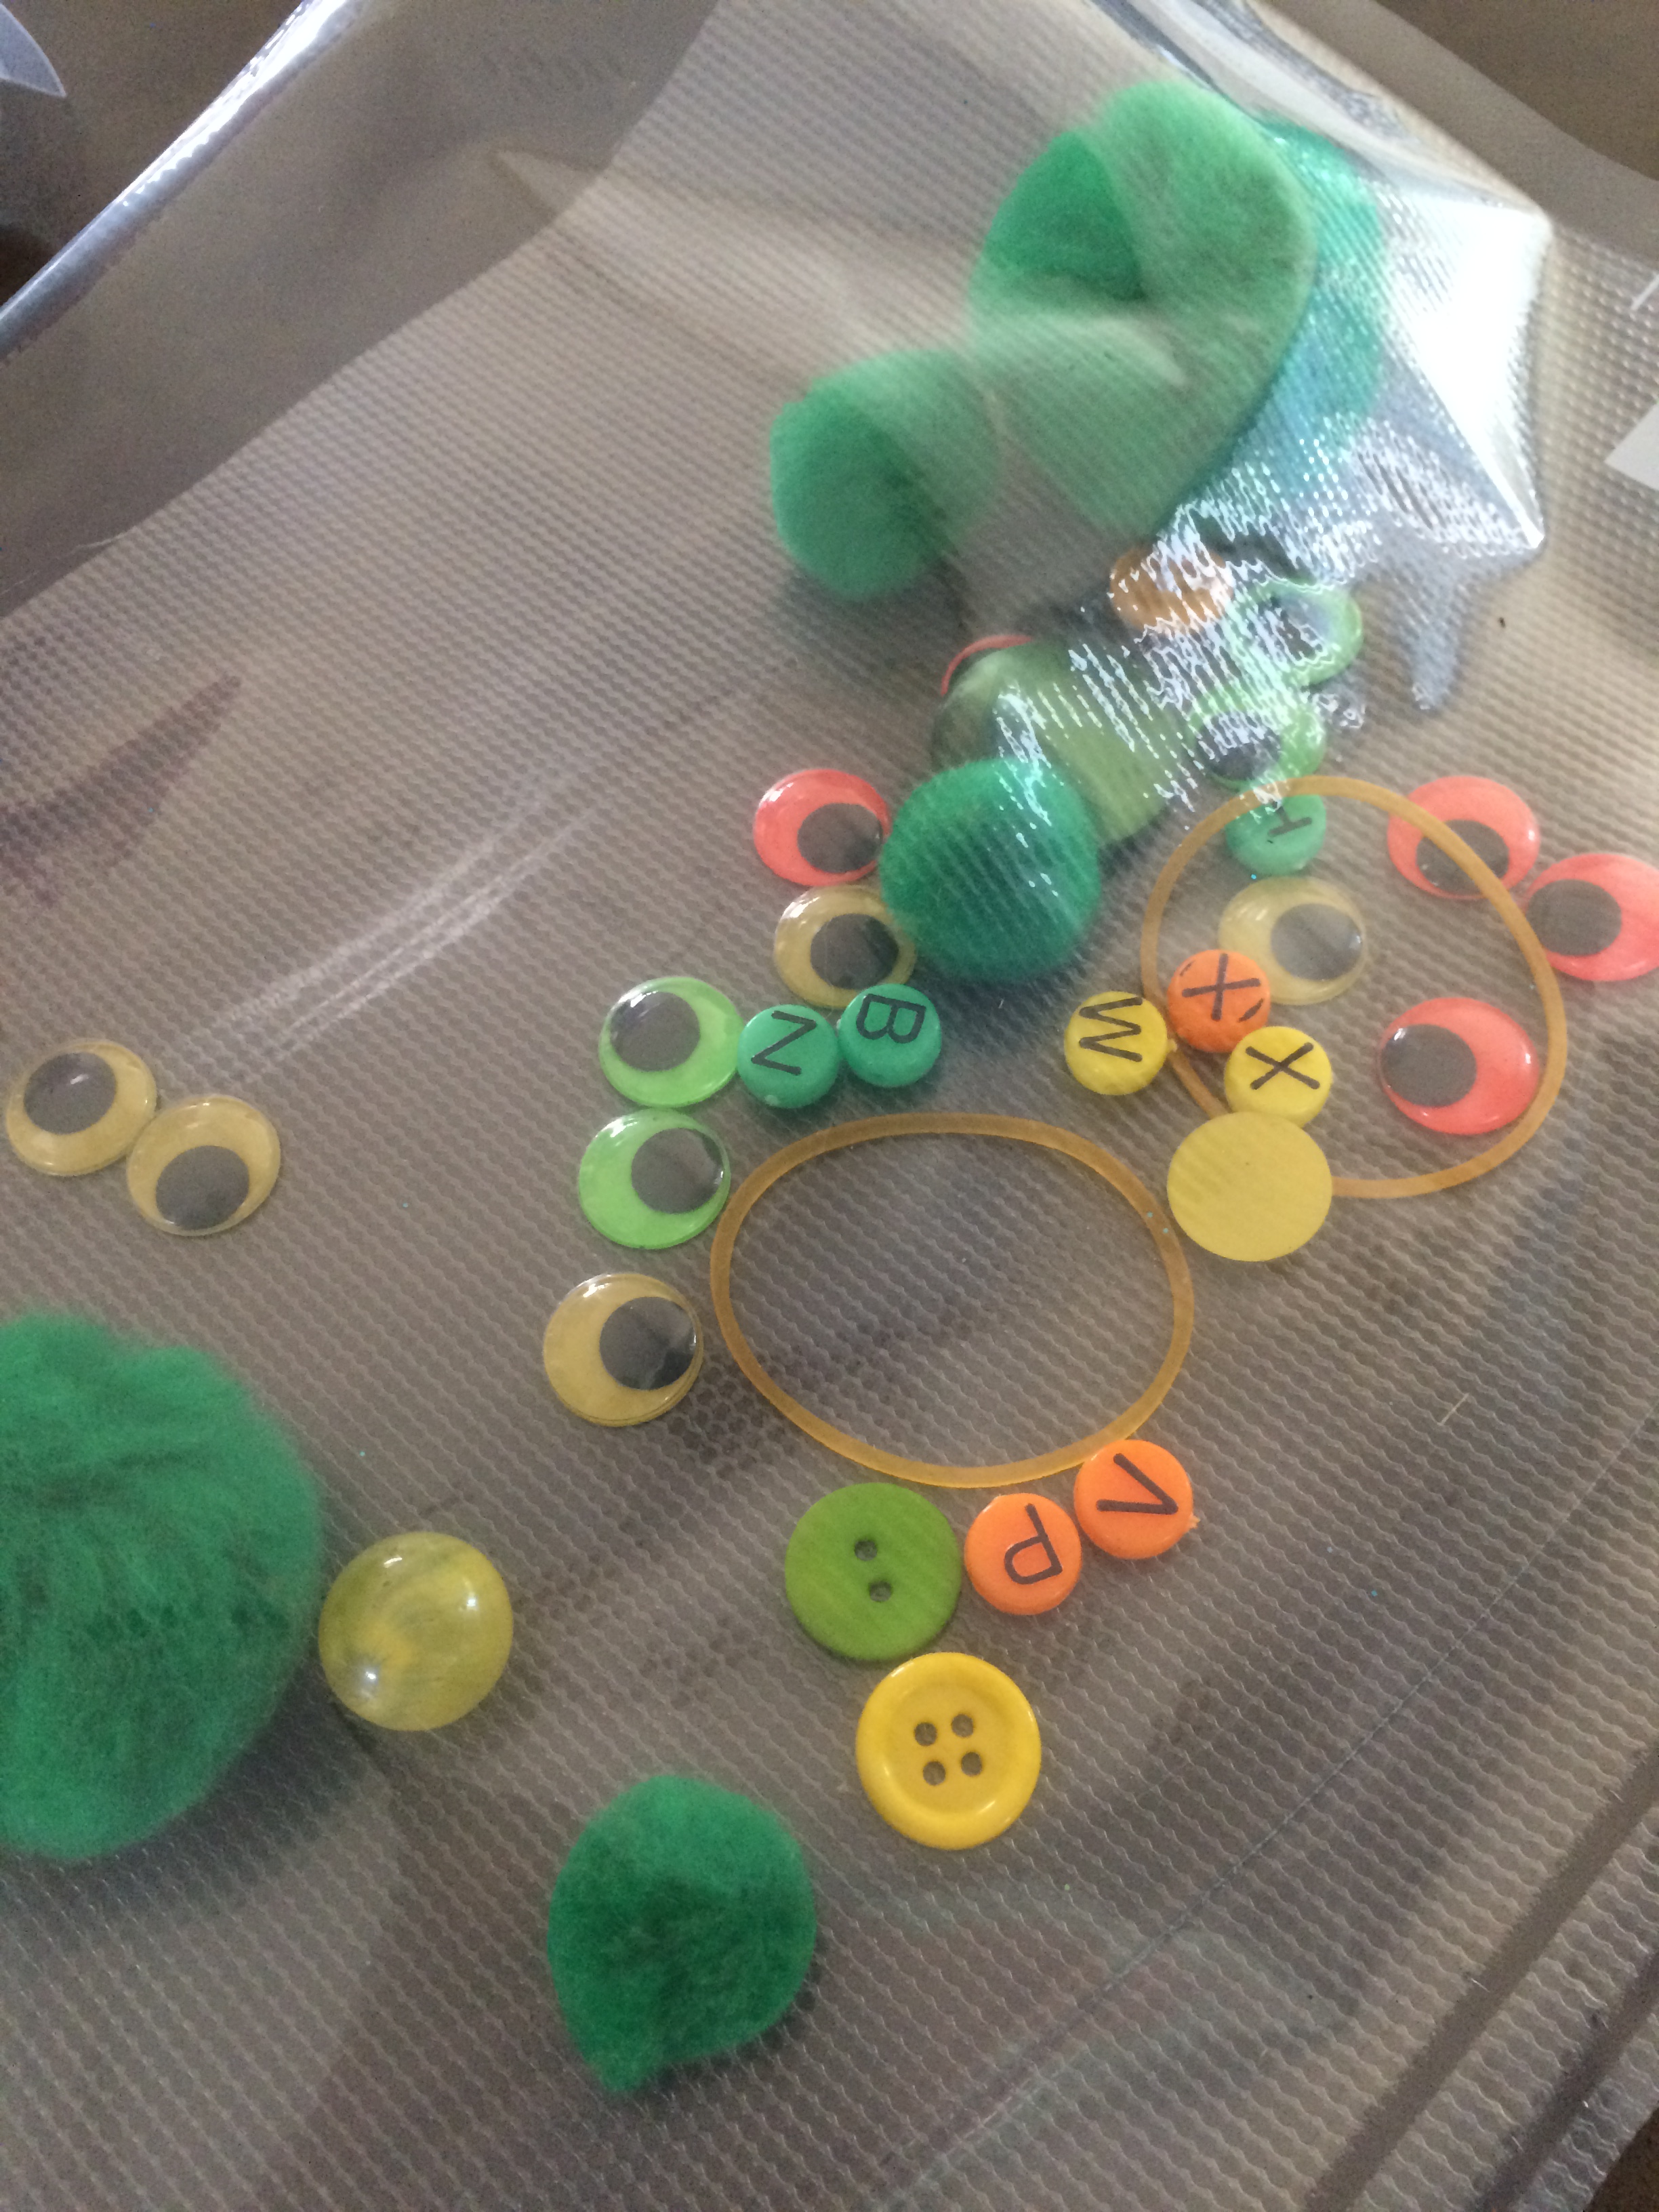
Ideas for fillers
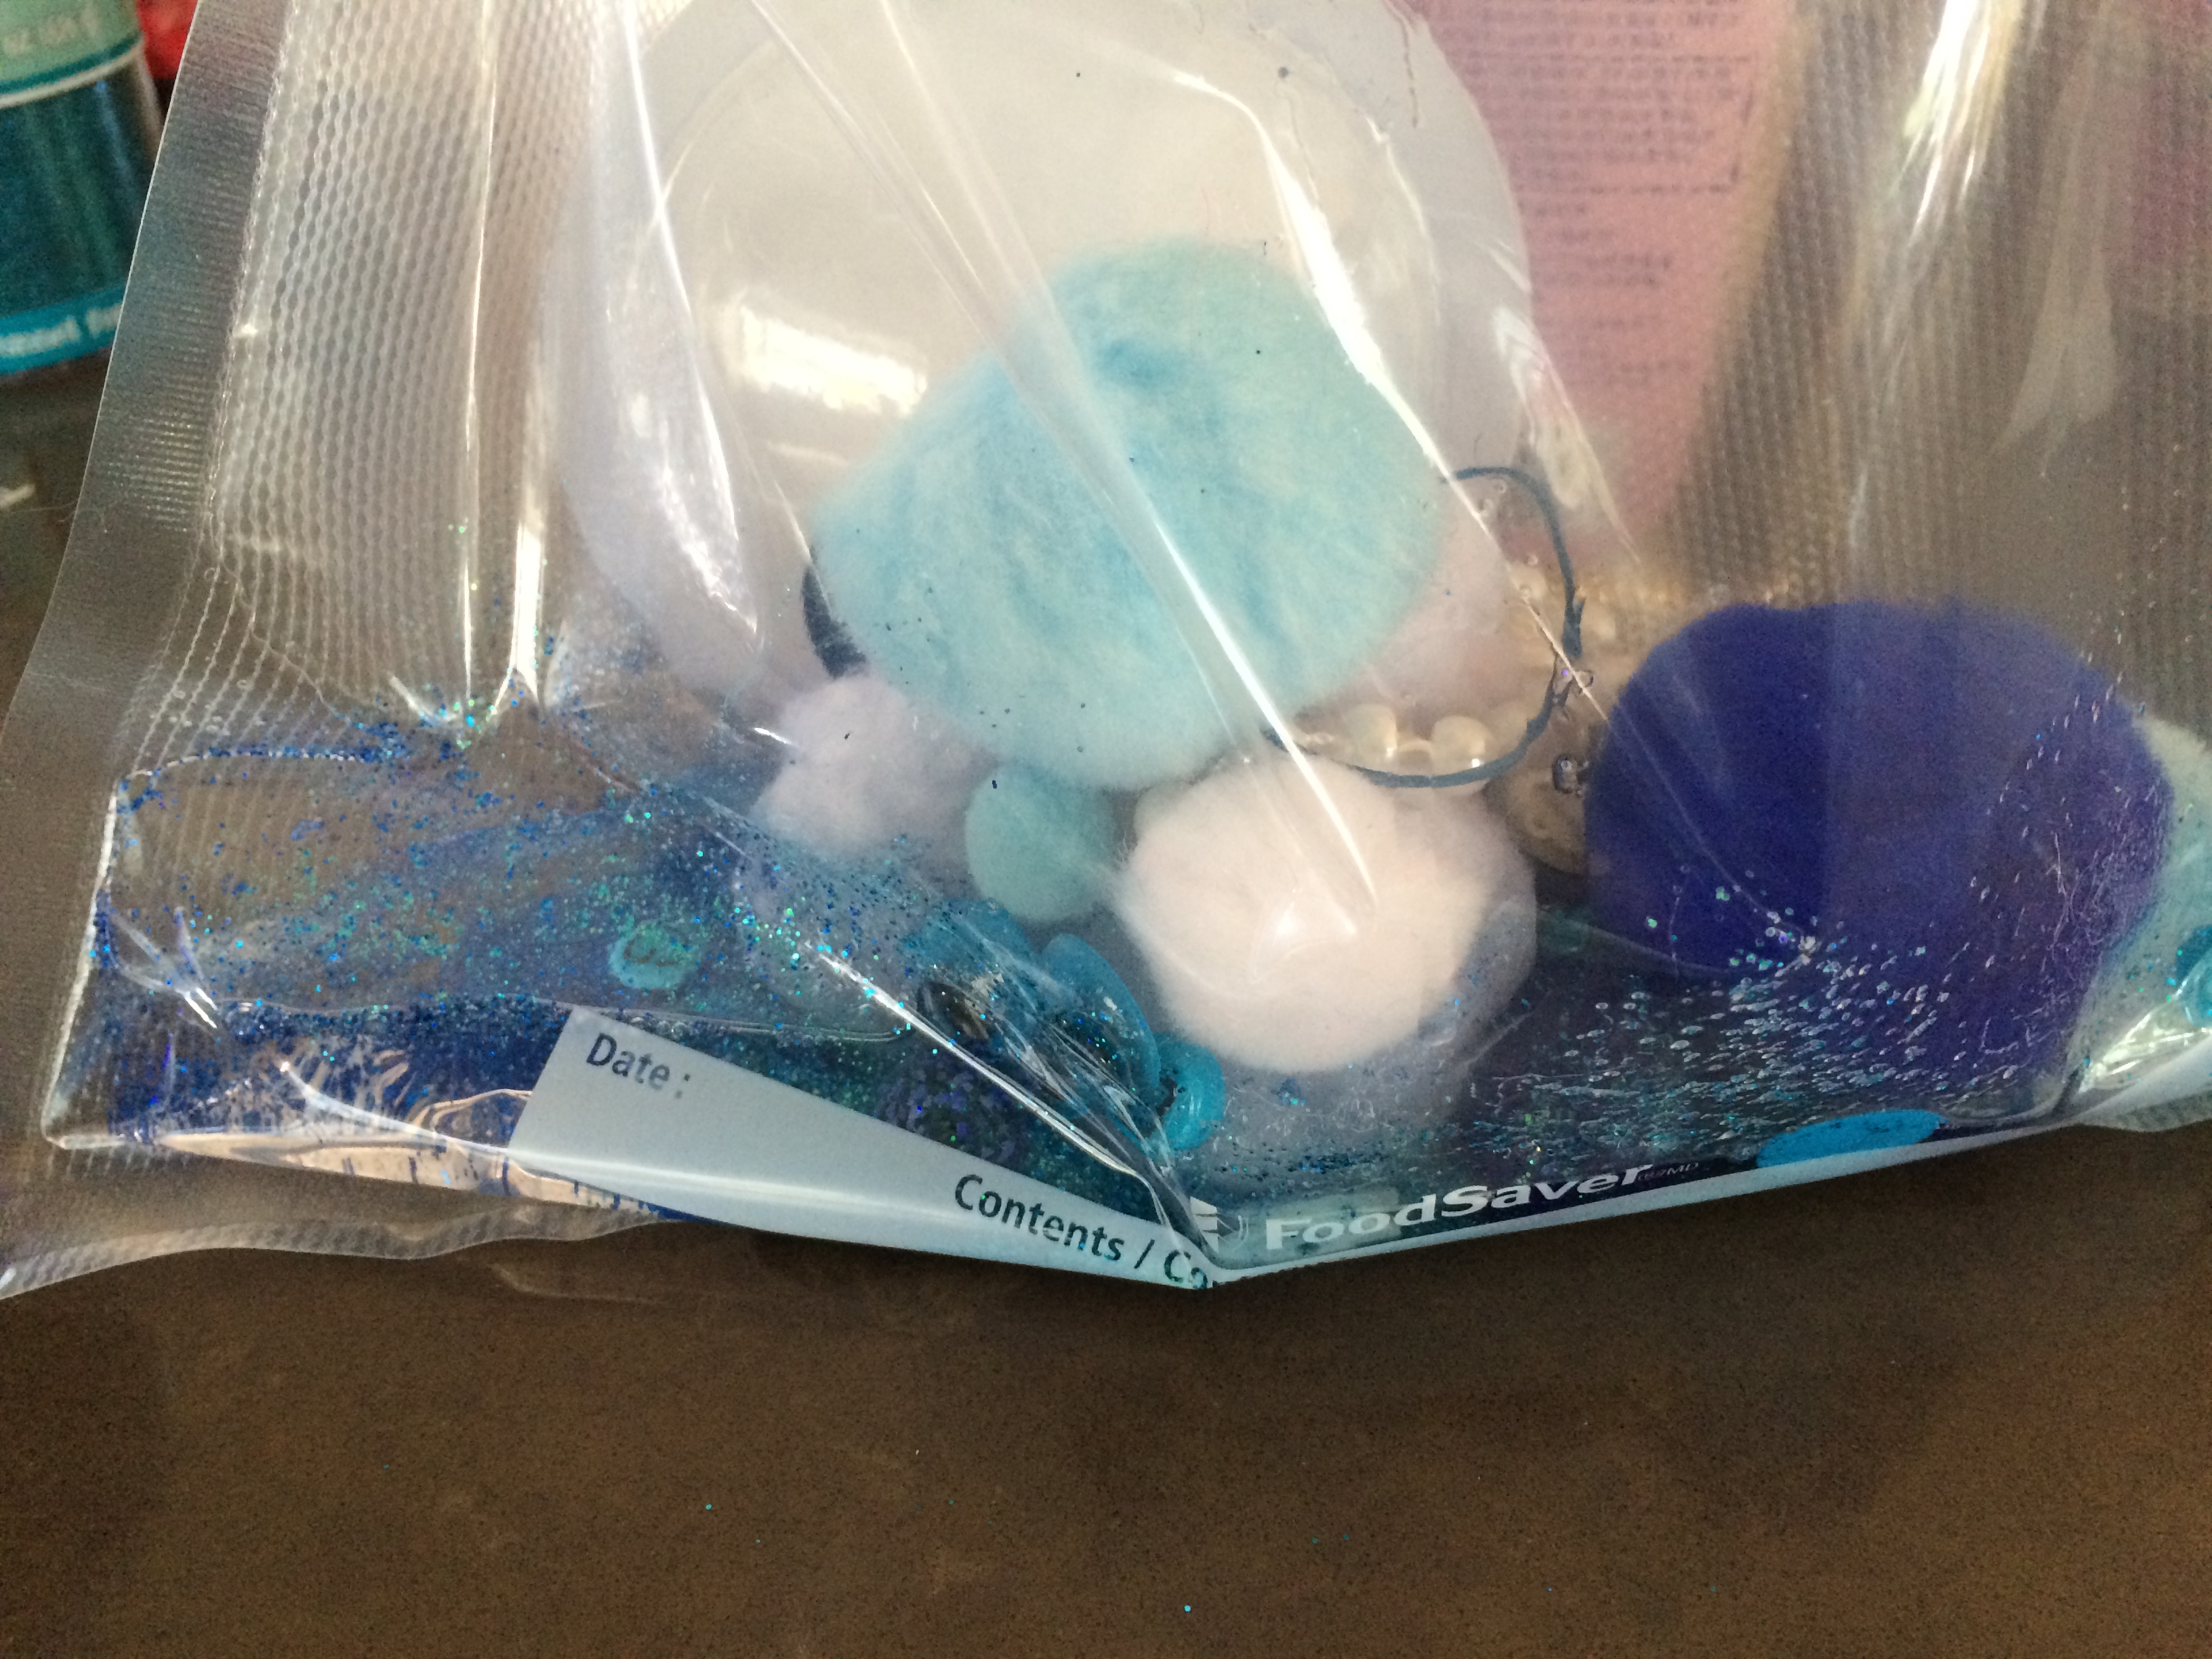
- beads
- glitter
- packing peanuts
- foam ear plugs
- pompoms
- google eyes (or one giant eye!)
- rubberbands
- partial string of fake pearls
- marbles
- wine cork (but i ended up pulling out because too big)
- string, yarn
- buttons
- sky’s the limit, repurpose away!
Liquid – no magic ratio (buy a big cheap bottle), mixing water or paint with oil makes for fun blobby separation
- scored green glitter poster paint for a song on clearance) plus baby oil
- baby oil and water with glitter (another clearance steal)
Mix together, with liquid taking up about 1/3 of the space, fold out most of the air and seal shut (two rows of seal)! I didn’t use the vacuum function just flattened/folded out most of air. Enjoy! We have to put ours up when out of the house because our dog has a tendency to be ‘offended’ by things in packages and might just rip it open. That would surpass any mess made by a leaking ziplock bag.
If your kiddos are old enough let them help find and make the contents of the play sensory mats. I have a little stash of plastic animals for the next go around.
Share your photos!