
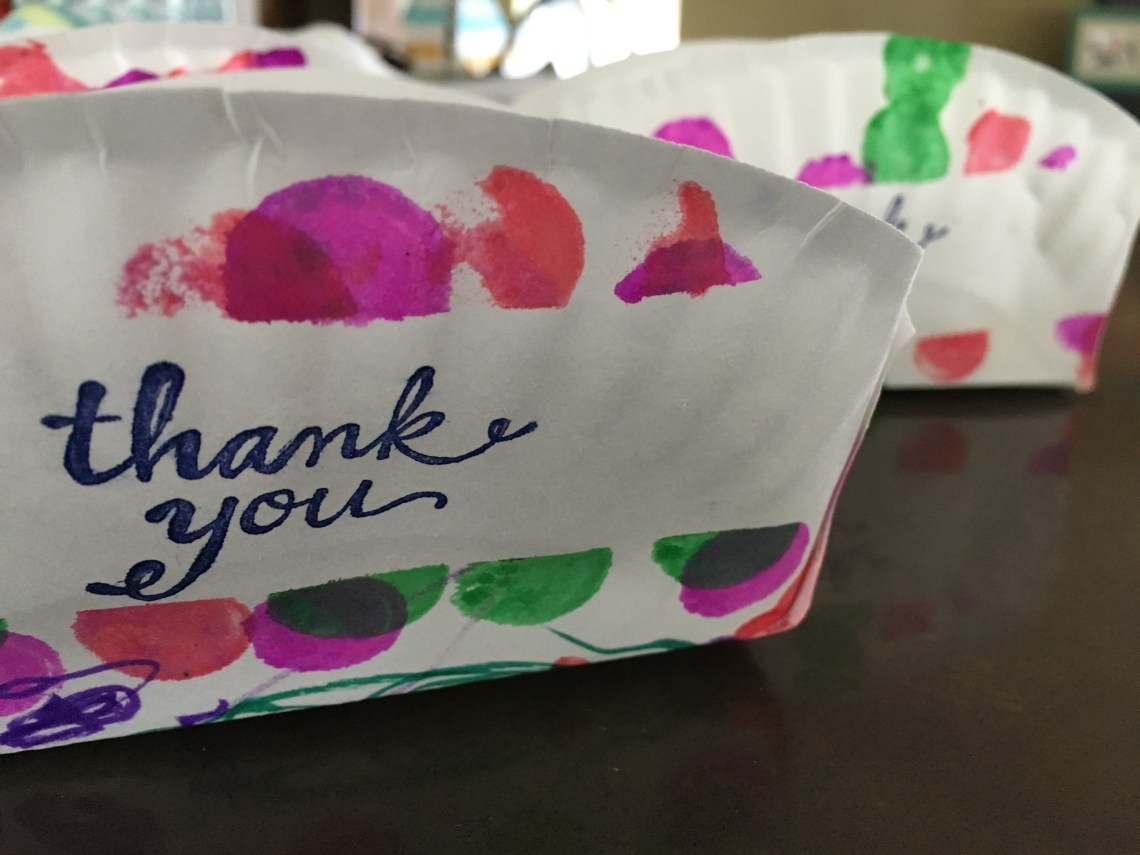
Home-baked goodies are a meaningful way to engage your littles in creating a gift and saying thank you to teachers, neighbors or others. While the sample baskets below are made by a toddler for daycare staff, there is no reason older children will not have just as much fun and creativity in designing the simple paper plate baskets. Include them in the baking too!
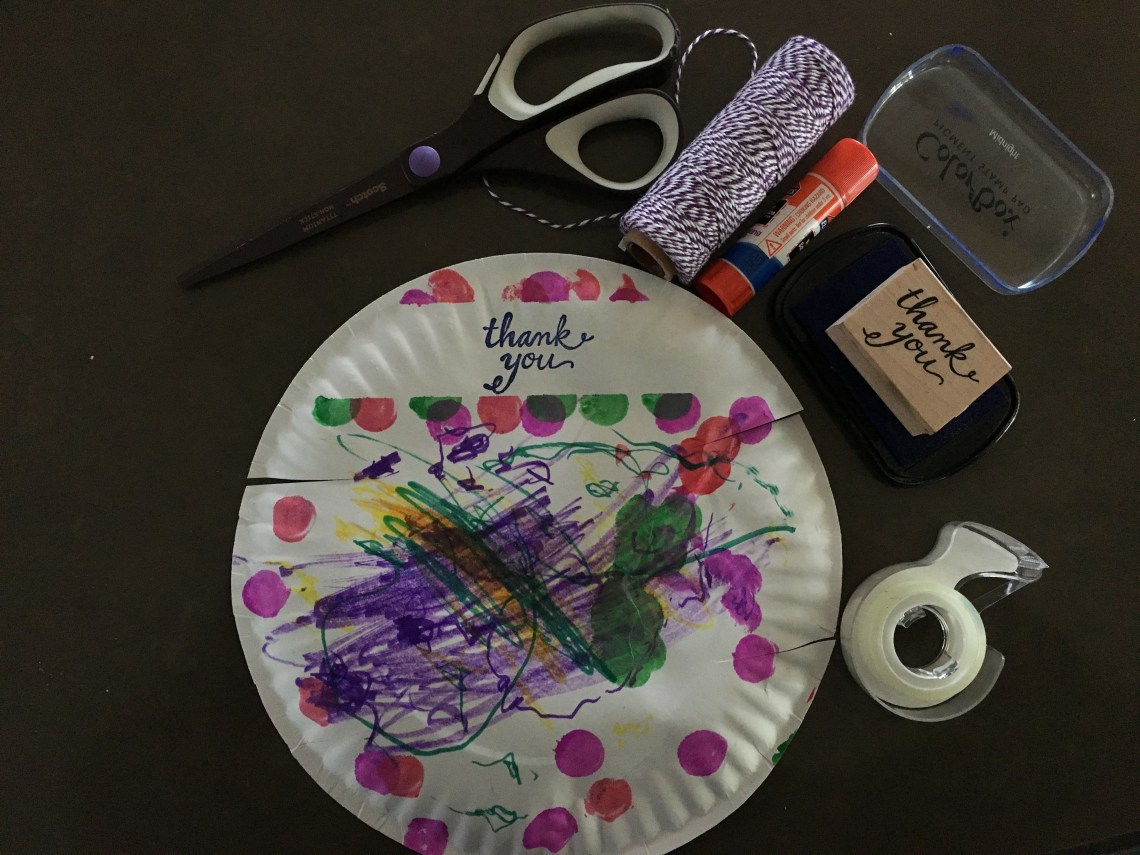
Supplies
- Cheap sort of flimsy paper plates (the best kind for crafts)
- Markers, stamps, stickers etc
- Blue tape
- Scissors
- Double stick tape, glue and/or hot glue
- Ribbons, twine
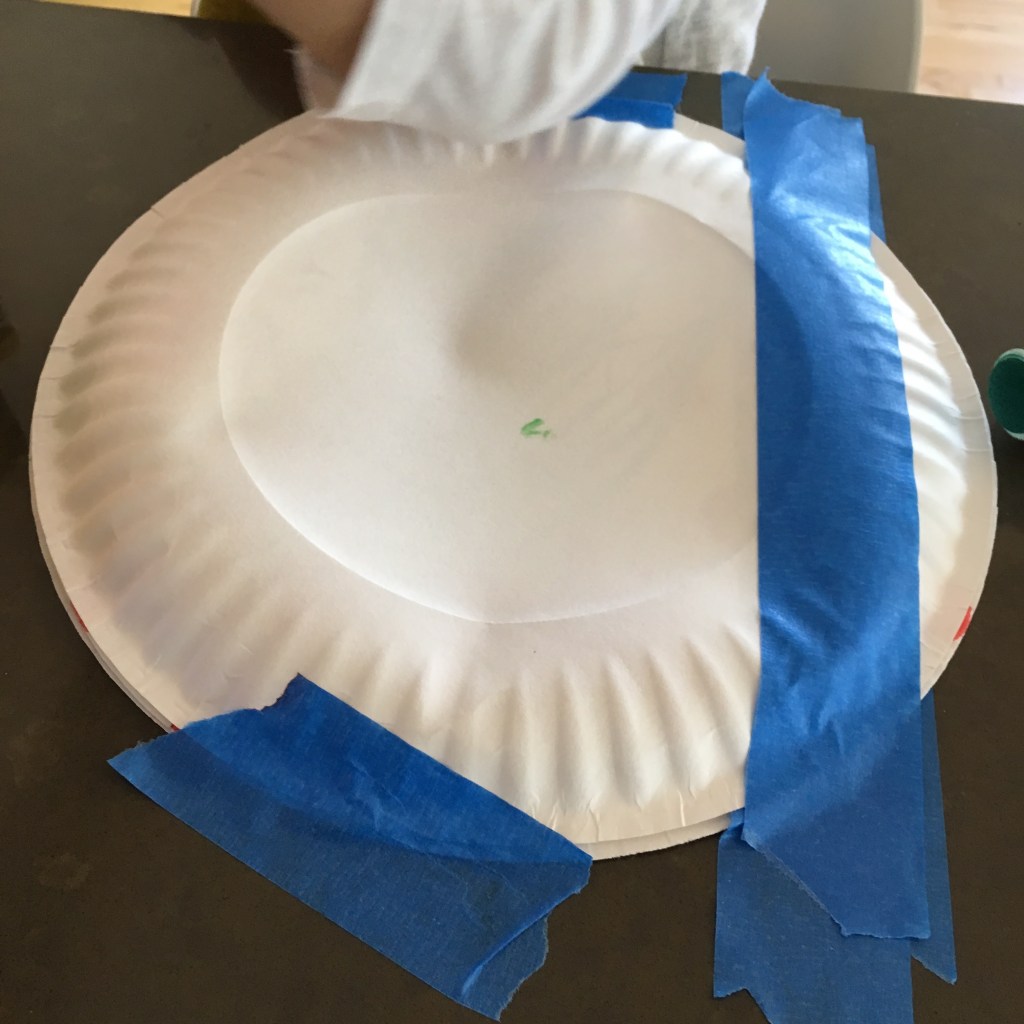
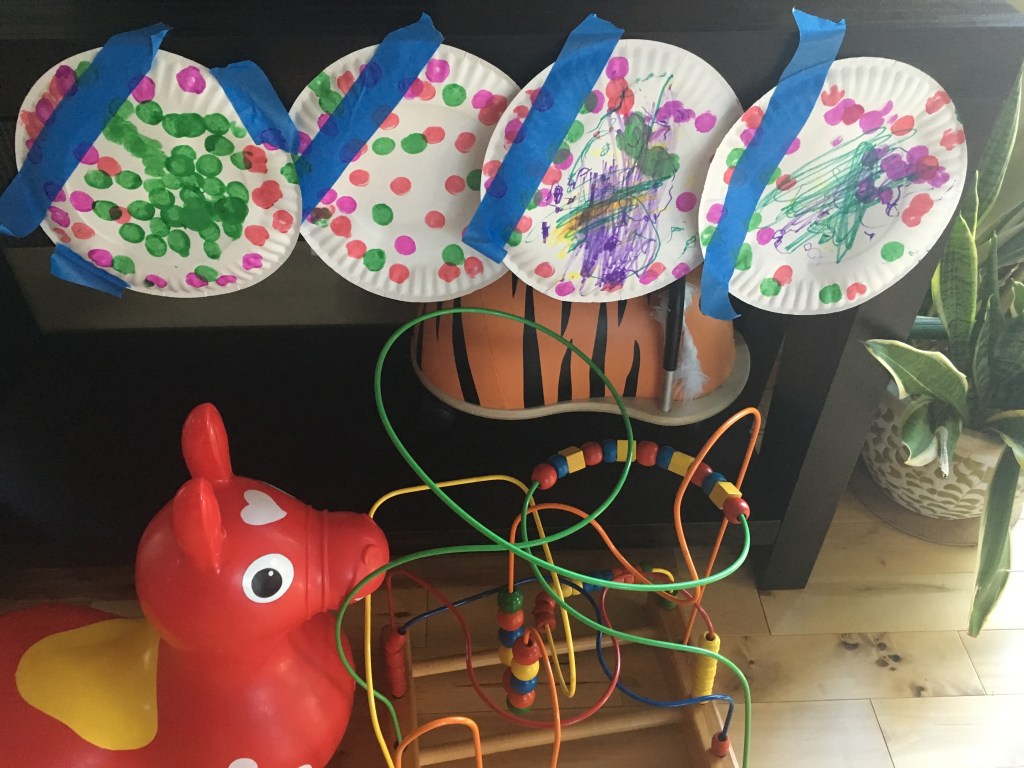
Using a stripe or two of blue tape mark off a portion of the plate. This will ensure a little white space to put personalized messages. Then let the kids (or yourself) color and decorate the plates, mostly on the underside, but both sides can certainly be adorned. I also use it to affix the plate to counter as the coloring gets pretty physical around here. In the photo below I have multiple stacked so as one is colored up I could remove it quickly and keep the little guy coloring. 🙂
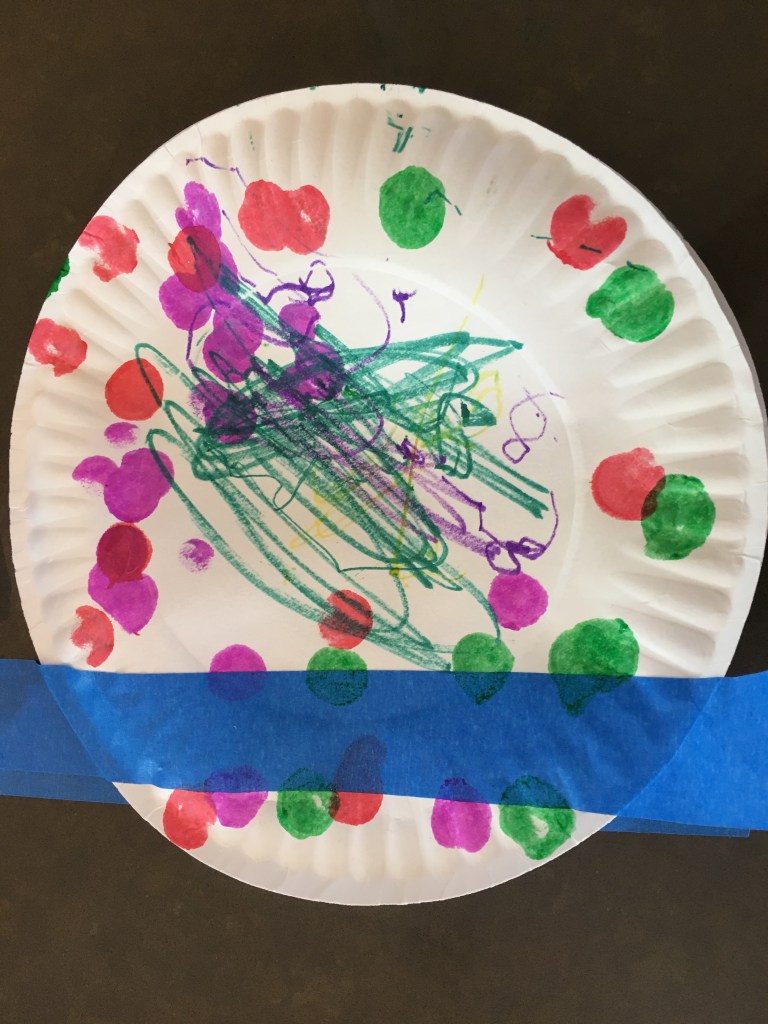
Once decorated, let dry if necessary. Then remove the blue tape carefully, stamp or write in the resulting white space.
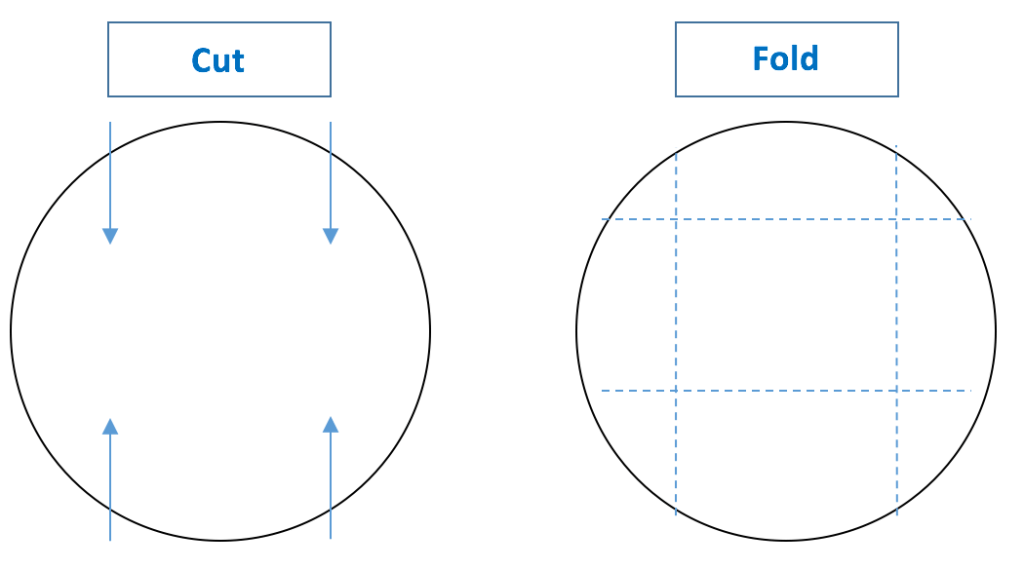
Now cut four short cuts from the edge towards the center and then make for folds to create the bottom and sides and allow plate to be folded up into the basket shape. You can alter the shape of the basket by changing the cuts. The diagram will make a rectangle shaped basket perfect for mini loaves. If the cut are shorter and all equal distance from edge and around circumference of plate your basked will be more square and a great fit for multiple muffins. I usually make a template with a blank plate to fit the baked goodies that I want to gift. Its a little different each time.
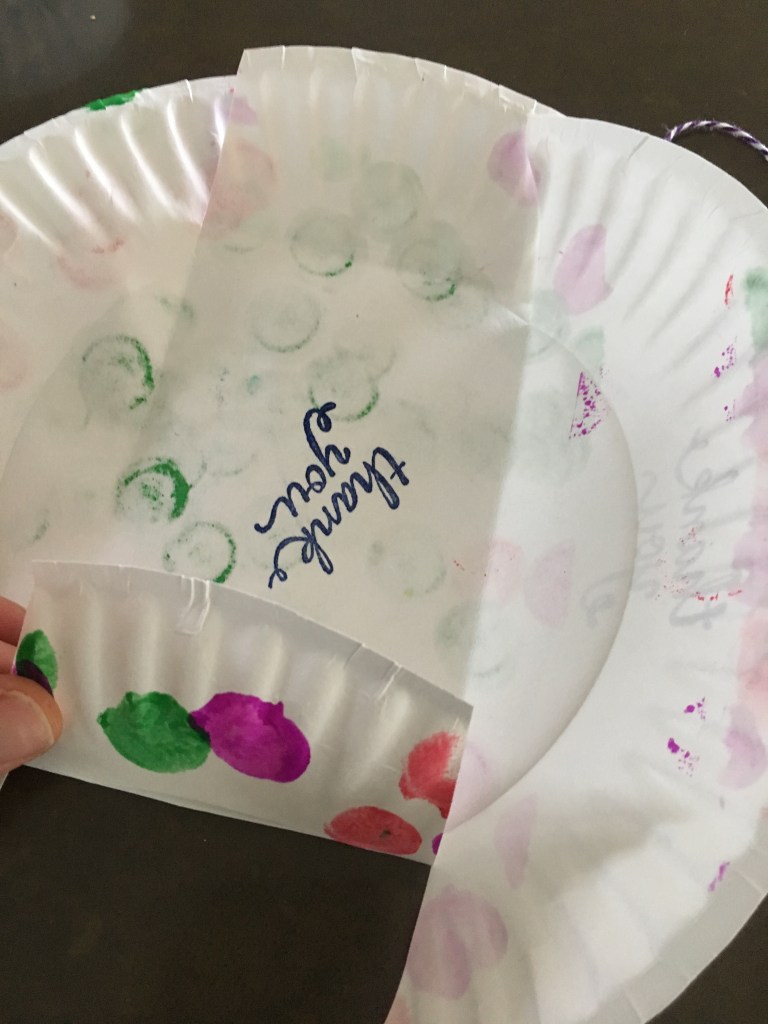
Tape and/or glue up folded edges to make the basket. It is now ready to be filled with goodies. Feel free to line with parchment or waxed paper.


Bread featured in photo is double chocolate banana bread (adding cocoa powder and chocolate chips to my favorite base banana bread recipe.
