

The Christmas Holiday theme around our house this year is red, gray and white. Cozy, shabby, handmade. This post showcases five different types of ornaments; the majority fashioned out of the Red & Gray Christmas (tutorial) Quilt’s extra fabric and a quick idea for making cards using (you guessed it) fabric scraps.. It is not a secret that I love scraps! Oh, and round things….

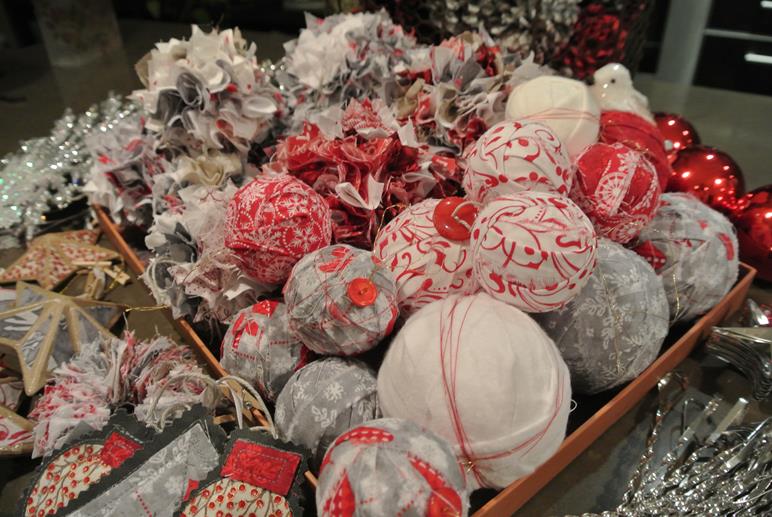
Wrapped Christmas Balls – Idea One
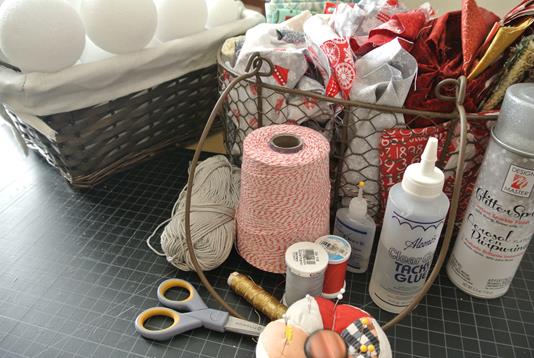
Materials
- Scrap fabric strips
- Foam balls/shapes
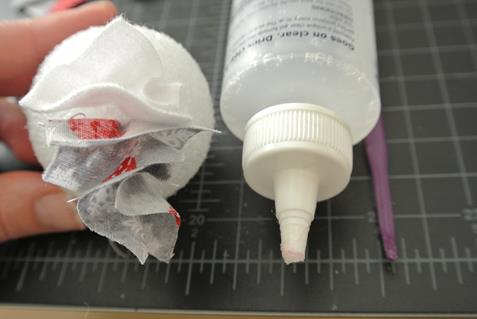
- Craft glue (dries clear)
- Needles and thread for wrapping, sewing hangers
-
Twine, yarn for decorative wrapping and hangers
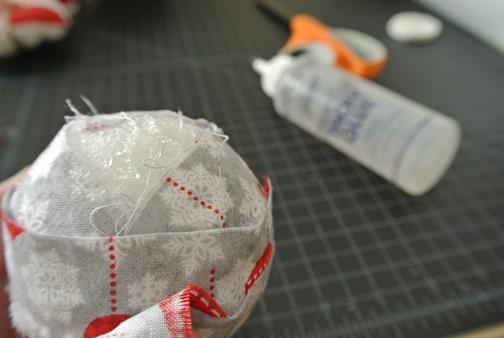
- Tear or cut your fabric into strips. Width isn’t too important, if too wide you can fold it but about an inch and a quarter or so is about right. I found with smaller diameter balls I need to fold it in half as I went along so that it didn’t pucker.

- Glue down end of strip to foam and start wrapping around, like winding a ball of yarn. You can see in the photo how I folded it to change direction. Watch that you don’t always wind over the same spot, or you will have a funny egg shape. Wrap until all the foam is covered and you are happy. Periodically as you wrap add some glue. Glue can help hold down some puckers too. If you need to add a new strip just add it with some glue and a wrap around to hide the end.
- You will see that my strips get narrower towards the end. I like it that way. J Add a dab of glue and tuck the loose end under a wrap. I push a pin into hold it in place while it dries


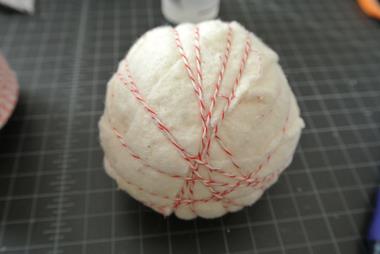
- Other options. Use up strips of batting and twine.
- When dry, add a hanger. I did the simple method of just adding a loop of doubled up gold thread using a needle and also cuter a version with a button glued on top.

- Here is another scrappy ball tutorial, only in a necklace.
Scrappy Ornaments Pomanders – Idea Two

Materials
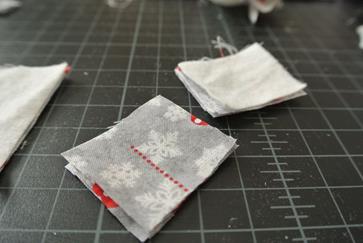
- Scrap fabric squares about 1 ½ to 2 inches (50 – 100 depending on size)
- Foam balls/shapes
- Craft glue (dries clear) and something to put a blog of glue in
- Needles and thread for wrapping, sewing hangers
-
Purple Thang, mechanical pencil (no lead) or toothpick, for glue
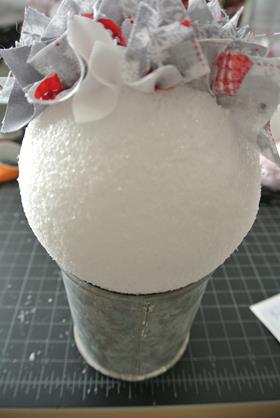
- Cut fabric into squares (or close). Keep smaller pieces for the next two scrap ideas. I know keep a bin to hold just the perfect size scrap to make these pomanders. I think they would be pretty darn cute for any season, a nice treat for a new baby’s nursery (out of their quilt scraps) or another way to remember all the pretty things you sew all year.
- Squirt out a glob of glue into a dish or lid. I use a soy sauce dish, naturally. This just makes it each to dab your Purple Thang or toothpick into the glue, onto the foam ball then using it to poke the fabric square into the styro foam. Try to push the square into the foam about ¼ inch, in the approximate center of the fabric. I used the fabric right side up.
- Keep going around the foam shape adding a dab of glue, then pushing in a piece of fabric about every 3/8 inch, until full and foam is covered. Let it dry then use a needle with a big eye to thread through a loop of embroidery floss or thread to make a loop to hang with. Feel free to play with patterns or just randomly use fabric. For a few I did a focused patch on the top then a matching on the bottom. For larger spheres I used a cup to hold it while I worked away.
- For the 2 ½ diameter spheres, I used 66 – 1/2 inch squares, in case you are wondering… It took me about 15 – 20 minutes versus about 40 minutes for the larger ones (4 inches).


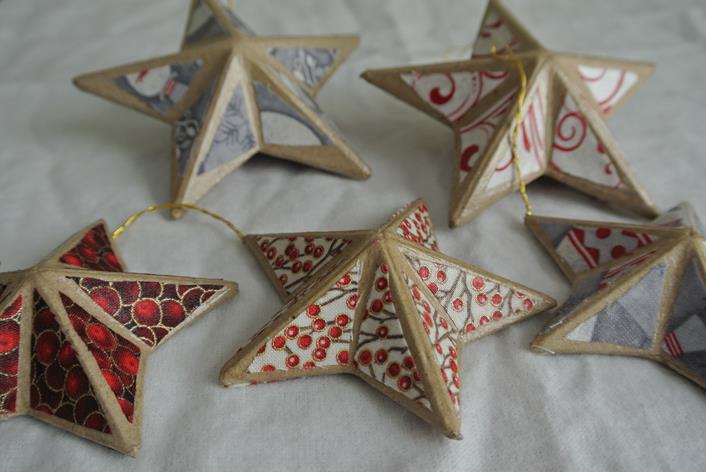
Mod Podge Paper Mache Ornaments – Idea Three
Materials
- Mod Podge (I used glossy)
- Paint Brush and water
- Paper Mache shapes or items that you want to cover with fabric
- Fabric scraps
- Pattern to cut fabric from (trace the shape and then trim smaller so that the pretty brown still shows
- Brush a thin layer of ModPodge onto shape. Thin substance with a little water if you like. Place the fabric where desired and coat with ModPodge again.
- Let it dry, and then do the other side. Then let it dry the rest of the way. You could add glitter if you so desired.
- Bonus: you can also just use the shapes and wrap thread around them. Voila!

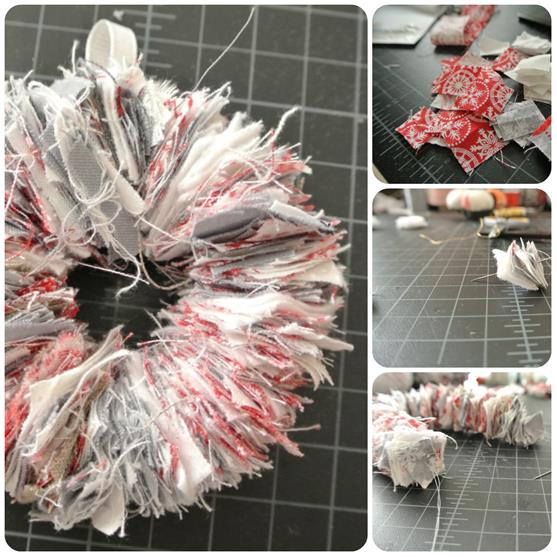
Scrap Wreath Ornament – Idea Four
- Super simple and uses up even smaller scrap fabric bits than the above ideas. You can use bigger scraps but will need to make longer. Most of mine are about an inch square and the final chain was about 8 inches before the two ends were tied tightly together forming the loop. If you tie it lose it will sag and be an oval. You may also string a ribbon loop to make a hanger as well.
- You can bet I have another one of these started for all the other scraps. Maybe a garland someday another wreath. Just like above, another way to remember your projects, especially those you give away.
Quilted Fabric Ornaments or Package Toppers – Idea Five
- This is the perfect use (besides a dog bed) for using up odds bits of batting. You are basically quilting small ornaments by sewing scraps onto a base fabric, adding a layer of batting and backing, sewing the sandwich together and trim with pinking shears to the shape of your choice. If you forget to add the loop before the final sew around the edges, you can just use a large eye needle and thread it though the top.
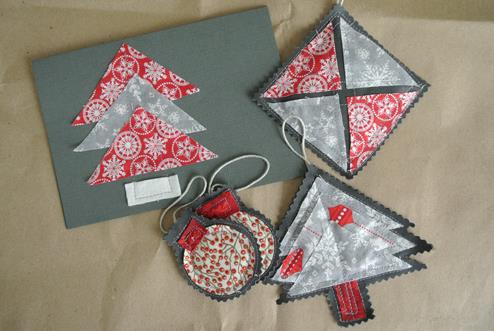
Bonus: Fabric Holiday Cards
- Just cut fabric scraps into designs that you like. I love triangles that turn into Christmas trees. Sew them down onto some blank cards. Here is a post I did last year with more ideas for cards and scrap fabric.
Pfew! I am exhausted for all this scrappiness and totally covered in farbeedos….. Bliss!
This years tree decoration. Almost 75% Made by Megan!

Are you having a Go Cougs Christmas?
Could be … 🙂